How to Create A Disk Image Backup on Mac?

updated on 2022-06-15 to Mac Disk Clone
Make Disk Image on Mac:
- 1. Create disk image backup using Carbon Copy Cloner
- 2. Using CCC to restore an entire hard drive Disk Image on a Mac
- 3. Create a disk image of Mac using AweClone for Mac
Create disk image backup using Carbon Copy Cloner
Carbon Copy Cloner, a free third-party tool, may be used to generate an image of a Mac hard drive. The final disk image will be stored in the .dmg format, which may be used for a variety of purposes, including producing a drive clone for backup, restoring the image elsewhere as a bootable backup, and even distributing the same Mac OS X installation across several devices. Making a disk image of a whole hard drive is also useful for upgrading or replacing a hard drive since you can clone the existing drive to the new one.
Carbon Copy Cloner simplifies the way of developing and recovering a disk image of a complete Mac hard disk, regardless of why you need to clone a drive. This article will show you how to make a disk image of a complete hard drive on a Mac, as well as how to recover that cloned disk image to a Mac drive.
The steps outlined here will show you how to make an exact image clone of a Mac hard disk. If the hard drive being imaged is huge, the resultant disk image will be large as well. Make sure you have enough capacity to support the image or save it somewhere else.
Carbon Copy Cloner is a free program from Bombich that you may download and install in your /Applications/ folder.
Launch Carbon Copy Cloner and pick "Macintosh HD" or whatever the Mac hard disk's name is from the "Source" menu.
Select "New Disk Image" from the "Destination" option.

Give the disk image a name and a destination; if you don't have enough local storage for such a huge disk image, make sure the image destination is an external or network drive.
Choose ‘Read-only disk image’ from the ‘Image Format’ menu to save the image in the familiar DMG format.

"OK" should be selected.
Return to the main CCC menu and select "Clone" to produce a disk image file that is an identical clone of the drive.
The time it takes to create the disk image depends on a number of factors, including the speed of the Mac, the size of the disk being imaged, and the image's destination. Don't be shocked if the backup file takes a long time to produce.
When you're done, you'll get an a .dmg image file that's an identical clone of Mac's hard drive. If you wish to use the picture on a Windows computer, you should convert it to an.iso first.
You'll note that we didn't generate an encrypted image; this is an option you may use if it matches your needs; however, producing encrypted disk images takes much longer, and there's a risk of complications when restoring later.
Using CCC to restore an entire hard drive Disk Image on a Mac
Now that you've created a cloned hard drive disk image using CCC, you may use the software to restore the whole disk image to another drive:
- On your Mac, open the Carbon Copy Cloner application.
- Select "Restore from disk image" and navigate to the backup disk image you made before.
- Select a volume from the Destination menu to restore the disk image to (i.e. another hard drive) - remember that you can't restore a complete Macintosh HD to a presently booted/running OS, so if you're replacing a hard drive, clone it while attached to the Mac, then swap out the drives.
- Set any configuration choices you want, such as "Preserve newer data, don't remove anything," or restore the disk completely from the image if you want.
- When you're happy with the clone restoration options, click "Clone" to start the procedure.
It takes a long time to restore a whole disk image and clone it to another hard drive, and the procedure might take several hours depending on the speed of the hard disk(s) and the Mac itself. It will take a long time to restore a disk with hundreds of gigabytes or terabytes, so be patient and wait.
When upgrading a hard drive, we prefer to use Carbon Copy Cloner to create entire disk images. For example, if you're replacing a hard drive in a Mac with a new improved one (say, from an HDD to an SSD), you'll clone the old drive (HDD) and restore that clone to the new drive (SSD), then physically replace the old HDD drive with the new SSD after it's completed. When everything is finished, the new drive will be set up exactly like the old one, with the exception of the new hardware. This makes hard disk replacements as simple as they come, however it's worth noting that Time Machine can also clone and restore drives.
Create a disk image of Mac using AweClone for Mac
AweClone for Mac is another powerful and easy-to-use disk cloning application for Mac. It can help you securely and easily create a disk image of any hard drive on Mac, including creating a disk image of Mac’s startup disk.
AweClone for Mac
- Clone HDD, SSD or other device on Mac.
- Create a bootable clone backup for Mac.
- Create a disk image backup for Mac.


Step 1. Download and install AweClone for Mac, run it from Launchpad. Then choose disk cloning mode - Disk Image Create. It can help you create a dmg or zip disk image of any hard drive.
Step 2. If you want to create a disk image of your Mac. Just connect an external hard drive to your Mac. Select the Mac startup disk as the source drive and select the external hard drive as the destination drive.

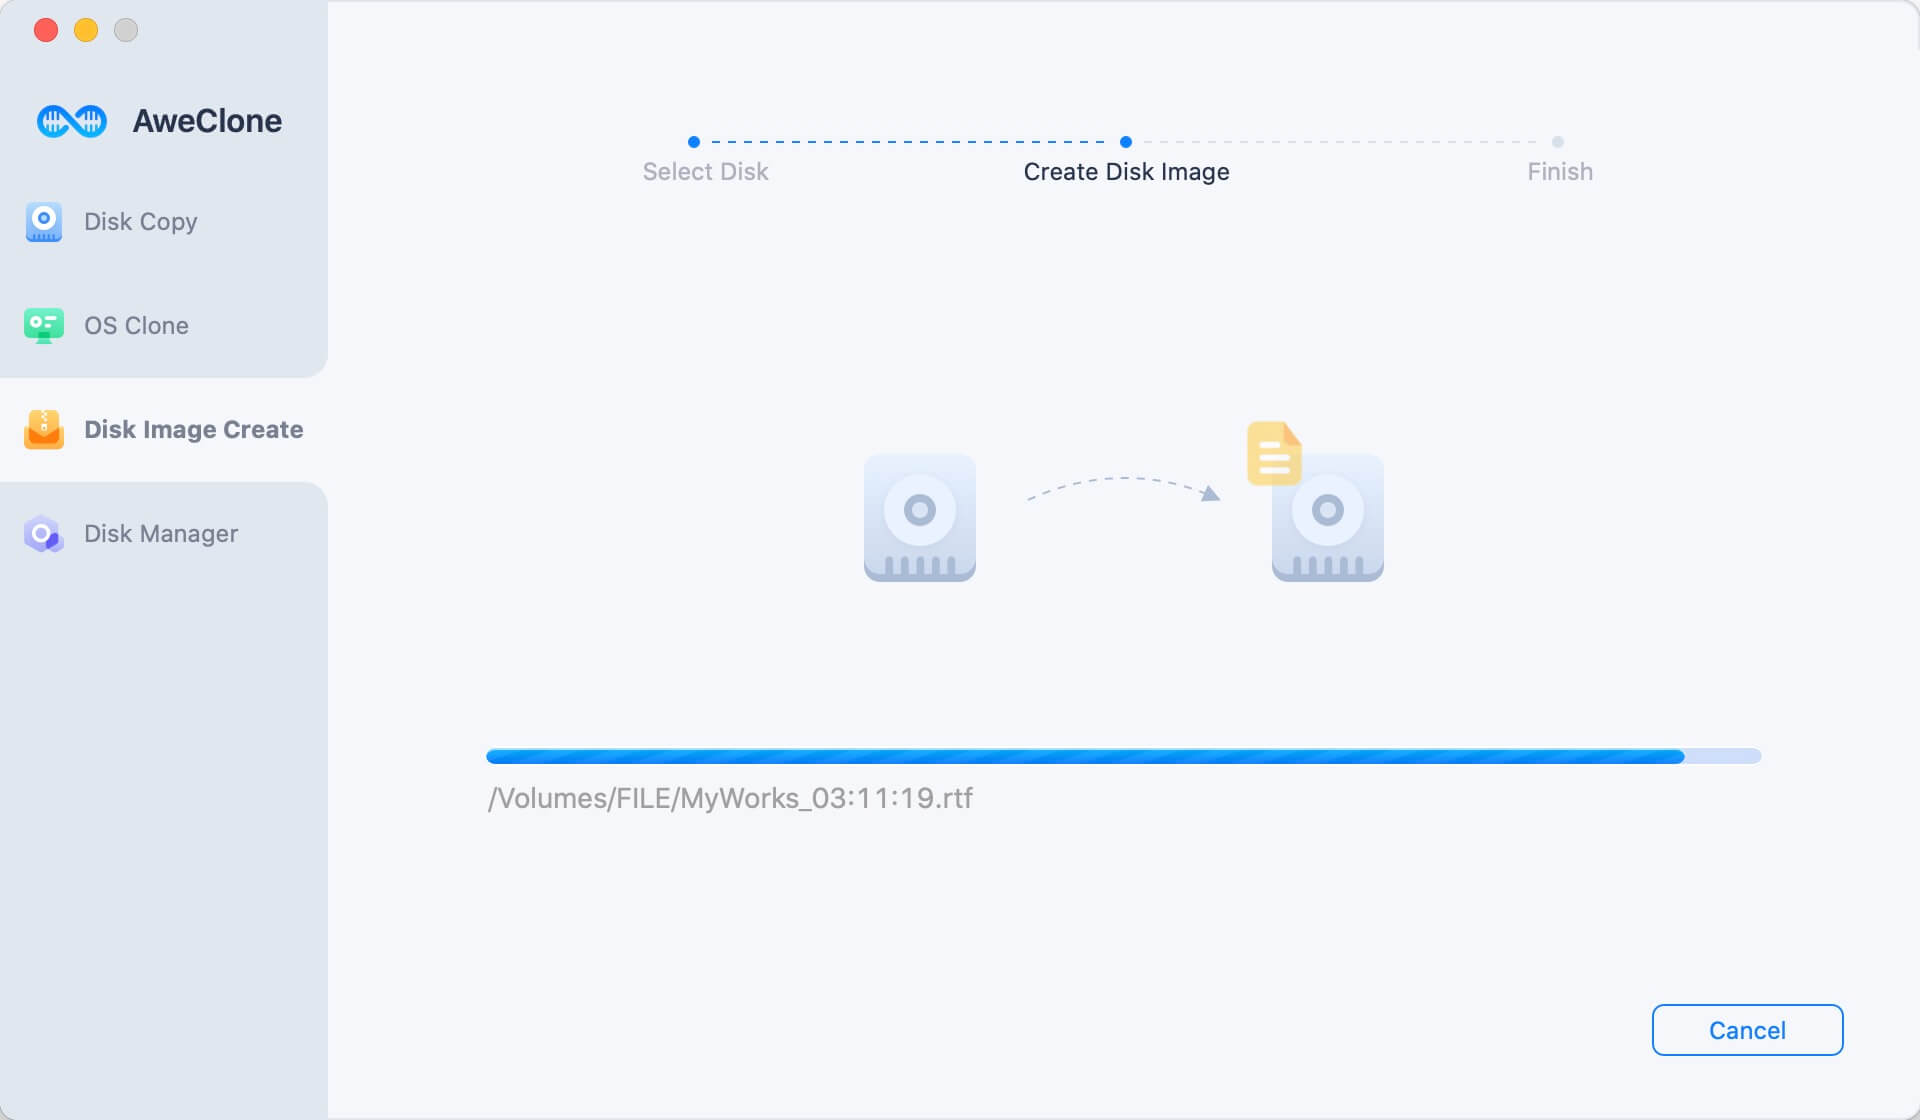
Step 3. Click on Create Image button to create a disk image of your Mac and save it to the destination drive.
Once the process gets finished, you can check the image backup on the external hard drive.