Magoshare Data Recovery for Mac
The best Mac data recovery software to recover deleted, formatted or lost data.
Free Trialupdated on 2022-03-28 to How To
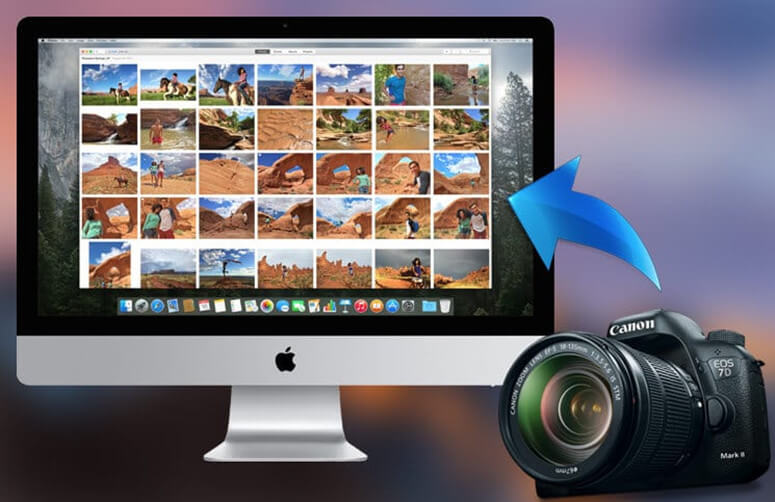
Transferring photos from a camera to a desktop may be a complex procedure, especially if you've recently switched from analogue to digital form photography, or if you're switching from a PC to a Mac for the first time.
We'll show you three alternative ways to import/export photos from your camera to your Mac using a card reader or a camera connection in this article.
To access your photographs via your Mac, you'll need a card reader or a camera cord before you start.
If you have a Mac with an SD card slot, such as a Unibody MacBook Pro, you may immediately plug an SD memory card into your computer; otherwise, you'll need to buy a specialist card reader or use the wire that came with your camera.
The memory card stores every photograph you take with your camera, with the number of photographs it can contain varying depending on the card's size. Although the majority of digital cameras on the market today require an SD card, there are other card types available, including the aforementioned Secure Digital card and Compact Flash (CF).
The Finder file manager is included with every copy of OS X and allows you to traverse your Mac's file system. To keep your computer organized, use Finder to duplicate, move, rename, and delete files, as well as create new folders and search your hard drive for a certain file or folder.
Step 1: The First Step is to Find Your Device.
In the Dock, click the Finder icon.
Under the Devices tab, find your device and click to access it.
Step 2: Make highlights.
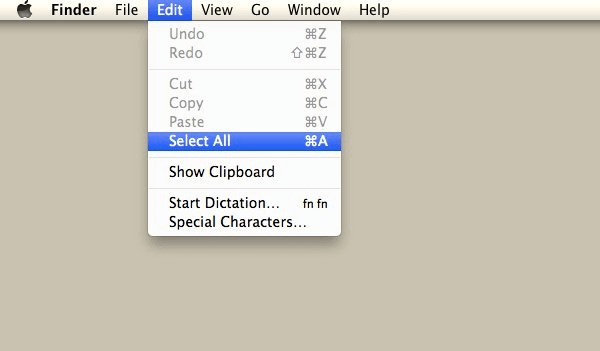
To highlight every single image on the device, click Edit on the toolbar running along the top of the screen, and then tap Select All. You may also select all by hitting the and A keys on your keyboard at the same time.
Step 3: Make a copy and paste it.
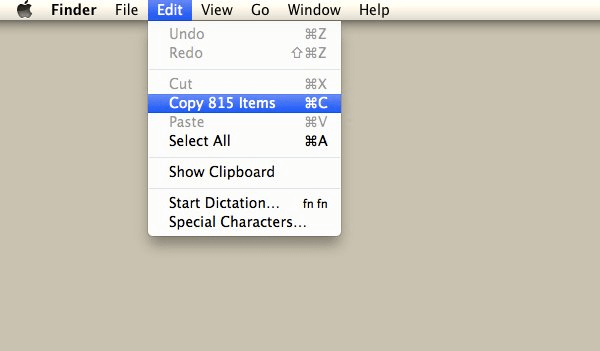
To copy the highlighted photos, click Edit again and then Copy (or and C).
Navigate to the folder where you want to save your photos, or make a new one by right-clicking and hitting CTRL at the same time, then selecting New Folder from the menu.
To transfer your chosen photographs from your device to the selected folder, click Edit and then Paste (or and V).
Depending on the file size and the number of photos you're importing, it might take several minutes for images to transmit.
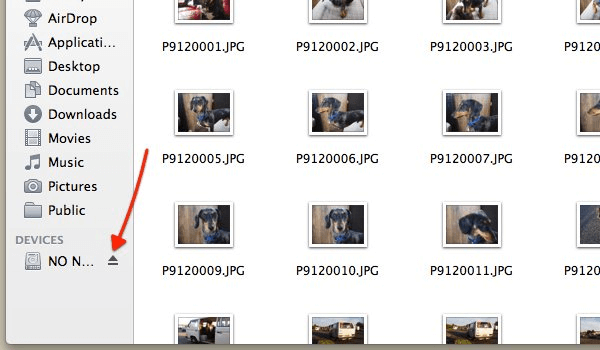
Step 4: Eject.
Eject is the fourth step.

To safely uninstall your gadget, click Eject.
After your photographs have been transferred, click the Eject symbol next to your device's name, and then disconnect it from your Mac.
Clicking Eject will verify that your device has been safely unplugged, preventing data damage and the deletion or overwriting of files. It's a good idea to eject any device attached to your Mac as soon as you're done using it, as failing to do so securely is one of the most prevalent causes of data corruption.
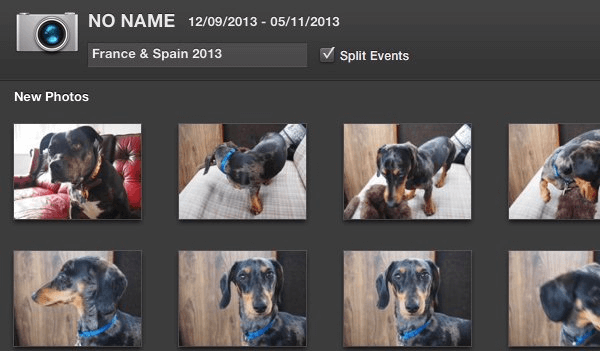
iPhoto is an Apple-developed picture editing and management tool that uses facial recognition algorithms to organize your photo collection by event, location, or person. Imported photos may be modified in-app and shared with friends and family through social media, slideshows, and even tangible items like greeting cards and calendars.
Step 1: Open iPhoto.
In the Dock, choose the iPhoto icon. Every image in iPhoto will be shown as a thumbnail.
Your device will be recognized instantly when you run iPhoto, and every photograph will be shown in thumbnail form.
Step 2: Name
Give your photos a name.
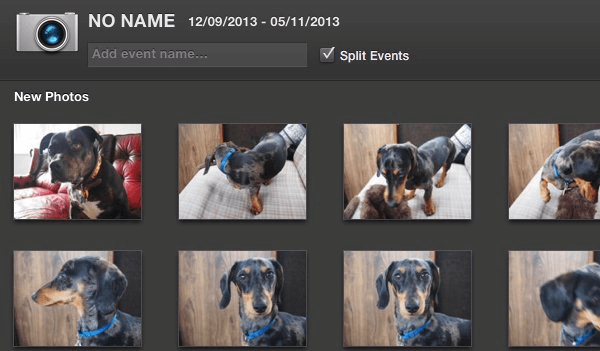
Fill in the Add Event Name form with a name for your collection of photographs.
Step 3: Import
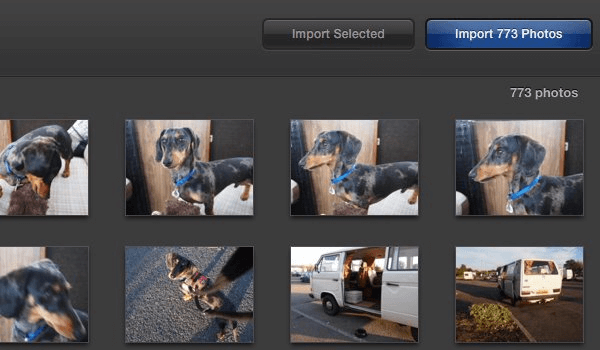
To import all of the photographs on your memory card, click Import Photos, or choose specific images and hit Import Selected to import just a handful.
After that, your photographs will be imported, which might take several minutes depending on the size of your files.
To delete items, click Delete Items, or to keep them, click Keep Items.
You will be given the choice to keep or delete the imported files once your photographs have been properly imported. To delete items, click Delete Items, or to keep them, click Keep Items.
Step 4: Take a look around

Your freshly imported photographs may be accessed on the sidebar, organised by event, under Events.
Eject is the fifth step.
Unplug the device from your Mac by clicking the Eject icon next to the name of the device in the Finder.
We've shown you two distinct ways to import photos from your camera to your Mac in this lesson, as well as the significance of carefully ejecting your device to avoid data corruption. If you have a question, please ask it.
If you lose important photos from digital camera or Mac, try Magoshare Data Recovery for Mac to help you get the lost photos back.
When you are going to sell or donate your digital camera, you can use AweEraser for Mac to help you permanently erase all data from it to avoid data recovery.
Magoshare Data Recovery for Mac
The best Mac data recovery software to recover deleted, formatted or lost data.
Free TrialSecurely and permanently erase data before selling, donating or giving away Mac.
Free TrialClone startup disk, external disk, USB flash drive, memory card and more on Mac.
Free TrialHOT PRODUCTS
Data Recovery