How to Reuse the Time Machine Drive?

updated on 2022-05-19 to Mac Data Erasure
You may restore your backup to your new Mac using Migration Assistant and your Time Machine external disk when you get a new Mac. However, because the identity of the internal drive on your new computer does not match the identifier of the internal drive on your old computer, Time Machine will not back up your new computer to that external drive. (It's attempting to prevent the backup of another disk with the same name from interfering with existing Time Machine backups.)
There are two ways to get around this:
- 1. After you restore, you may format the Time Machine disk and configure it as the Time Machine destination as usual. Of course, this implies that all of your previous backups are gone.
- 2. You may link your new internal drive to Time Machine, letting it continue backing up your data.
It's possible that anything goes wrong during the association procedure, causing you to lose all of your prior backups. But it should work, and formatting the drive will very probably prevent you from accessing your previous backups.
To load everything onto our then-new(ish) MacBook Pro, we utilized Migration Assistant and a Time Machine backup. We were unable to set up Time Machine on the new MacBook Pro using the previous Time Machine disk since everything transferred successfully. I'm not sure why, but we needed to purchase a new external hard drive for a new Time Machine backup. Because the initial Time Machine backup drive was less than half full, this was a bit of a waste. Also, because the new MacBook Pro didn't recognize the previous Time Machine drive, we couldn't retrieve backups from before the transfer.
How to associate your computer with a Time Machine?
To link your new computer's disk to your Time Machine drive, follow these steps:
- Ascertain that your backup has been restored to your new machine and that everything appears to be in order. Again, you should have all of your backups, but just in case, double-check that everything is already on the internal drive.
- Determine the location of your backups. Double-click Backups.’backupdb’ on the Time Machine external device in Finder. Double-click the folder with your computer's name, which should be the only one there. Scroll to the bottom of the page until you see the Latest, then double-click it. Double-click on the folder that contains the name of your hard disk at this stage.
- Select Show Path Bar from the View menu. (Ignore the following phrase if the only Path Bar option you see is Hide Path Bar.) At the bottom of the Finder window, you should see something.

The name of your Time Machine disk is on the far left, followed by the name of the.backupdb folder, your computer's name, the date-time of the latest backup, and the name of your internal hard drive.
Continue to use the Finder window.
You'll need to replace some bits in the following command with the information from your machine. It's critical that you don't add or delete spaces, or modify anything else but the bits specified.
sudo tmutil associatedisk -a "/Volumes/New Internal Hard Drive Name" "/Volumes/Time Machine Disk
Name/Backups.backupdb/Computer Name/Latest/Old Internal Hard Drive Name"
This is what has to be changed in the command above. Here's another photograph of mine for you to use as a guide:
Name of the new internal hard drive: This is the name of the internal hard disk in your new computer. If you haven't modified it, it will default to Macintosh HD. (This is the name on the disk icon in the upper-right corner of your new computer's desktop if you haven't relocated it.)
Time Machine Disk Name: This is the name of the external disk you use to back up your data. When you attempt to examine your Time Machine drive in Finder, it's whatever appears, including spaces.
Name of Old Computer: This is the name of your old computer. If the default settings are not modified, it will look like Joe's MacBook Pro.
Name of your former internal hard drive: This is the name of your old internal hard disk. This is how it would appear if it were adjusted for my computer:
"/Volumes/Bill" "/Volumes/Baracuda/Backups.backupdb/KevG5/Latest/Ted" sudo tmutil associatedisk -a
- You must again adapt it to your computer's information. Please utilize the comment feature below this answer if you have any queries.
- Now open Terminal (under Applications > Utilities), copy and paste your modified command, and hit Return/Enter. Your computer login password will be requested. The characters will not display when you write it; this is to be anticipated. Return/Enter once more after typing your password.
- After you've completed all of this, you should be able to utilize your old Time Machine disk with your new computer and resume backups as if nothing had happened.
This is how you can reuse a time machine drive.
If you want to sell, donate or discard the old Time Machine drive, you can try Data Eraser to permanently wipe all data from it to prevent data recovery.
Data Eraser - AweEraser for Mac
- Permanently wipe data from any hard drive or device.
- Shred files and folders.
- Repair damaged disk on Windows/Mac.
- Format Time Machine drive on Windows/Mac.


Once your data is erased by AweEraser, the data will be gone forever, can’t be recovered by any data recovery software. Now, follow the steps below to wipe the Time Machine drive.
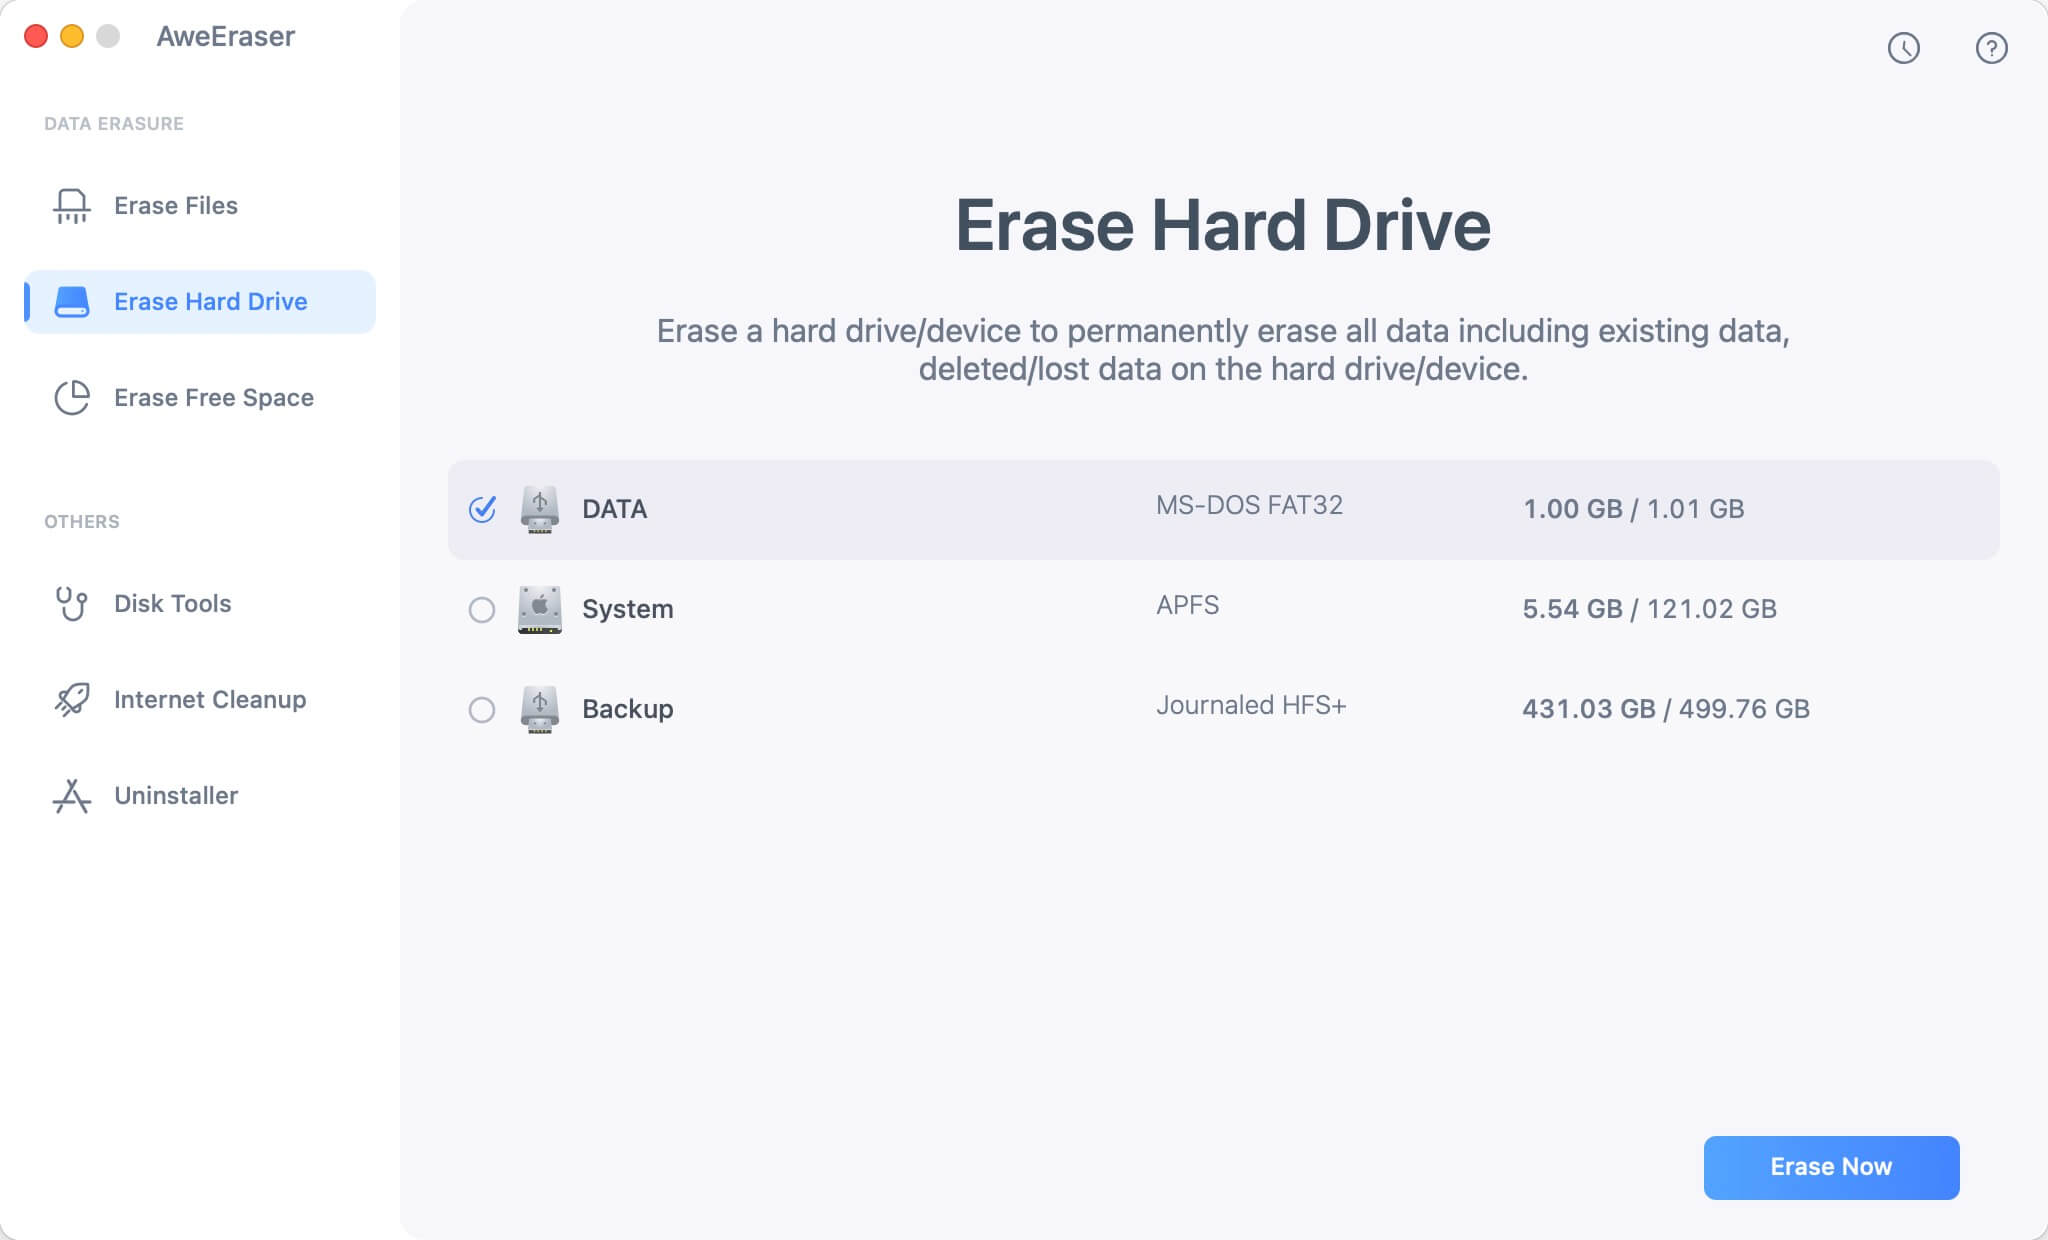
Step 1. Open AweEraser on your computer, choose data erasure mode - Erase Hard Drive. Select the Time Machine drive.
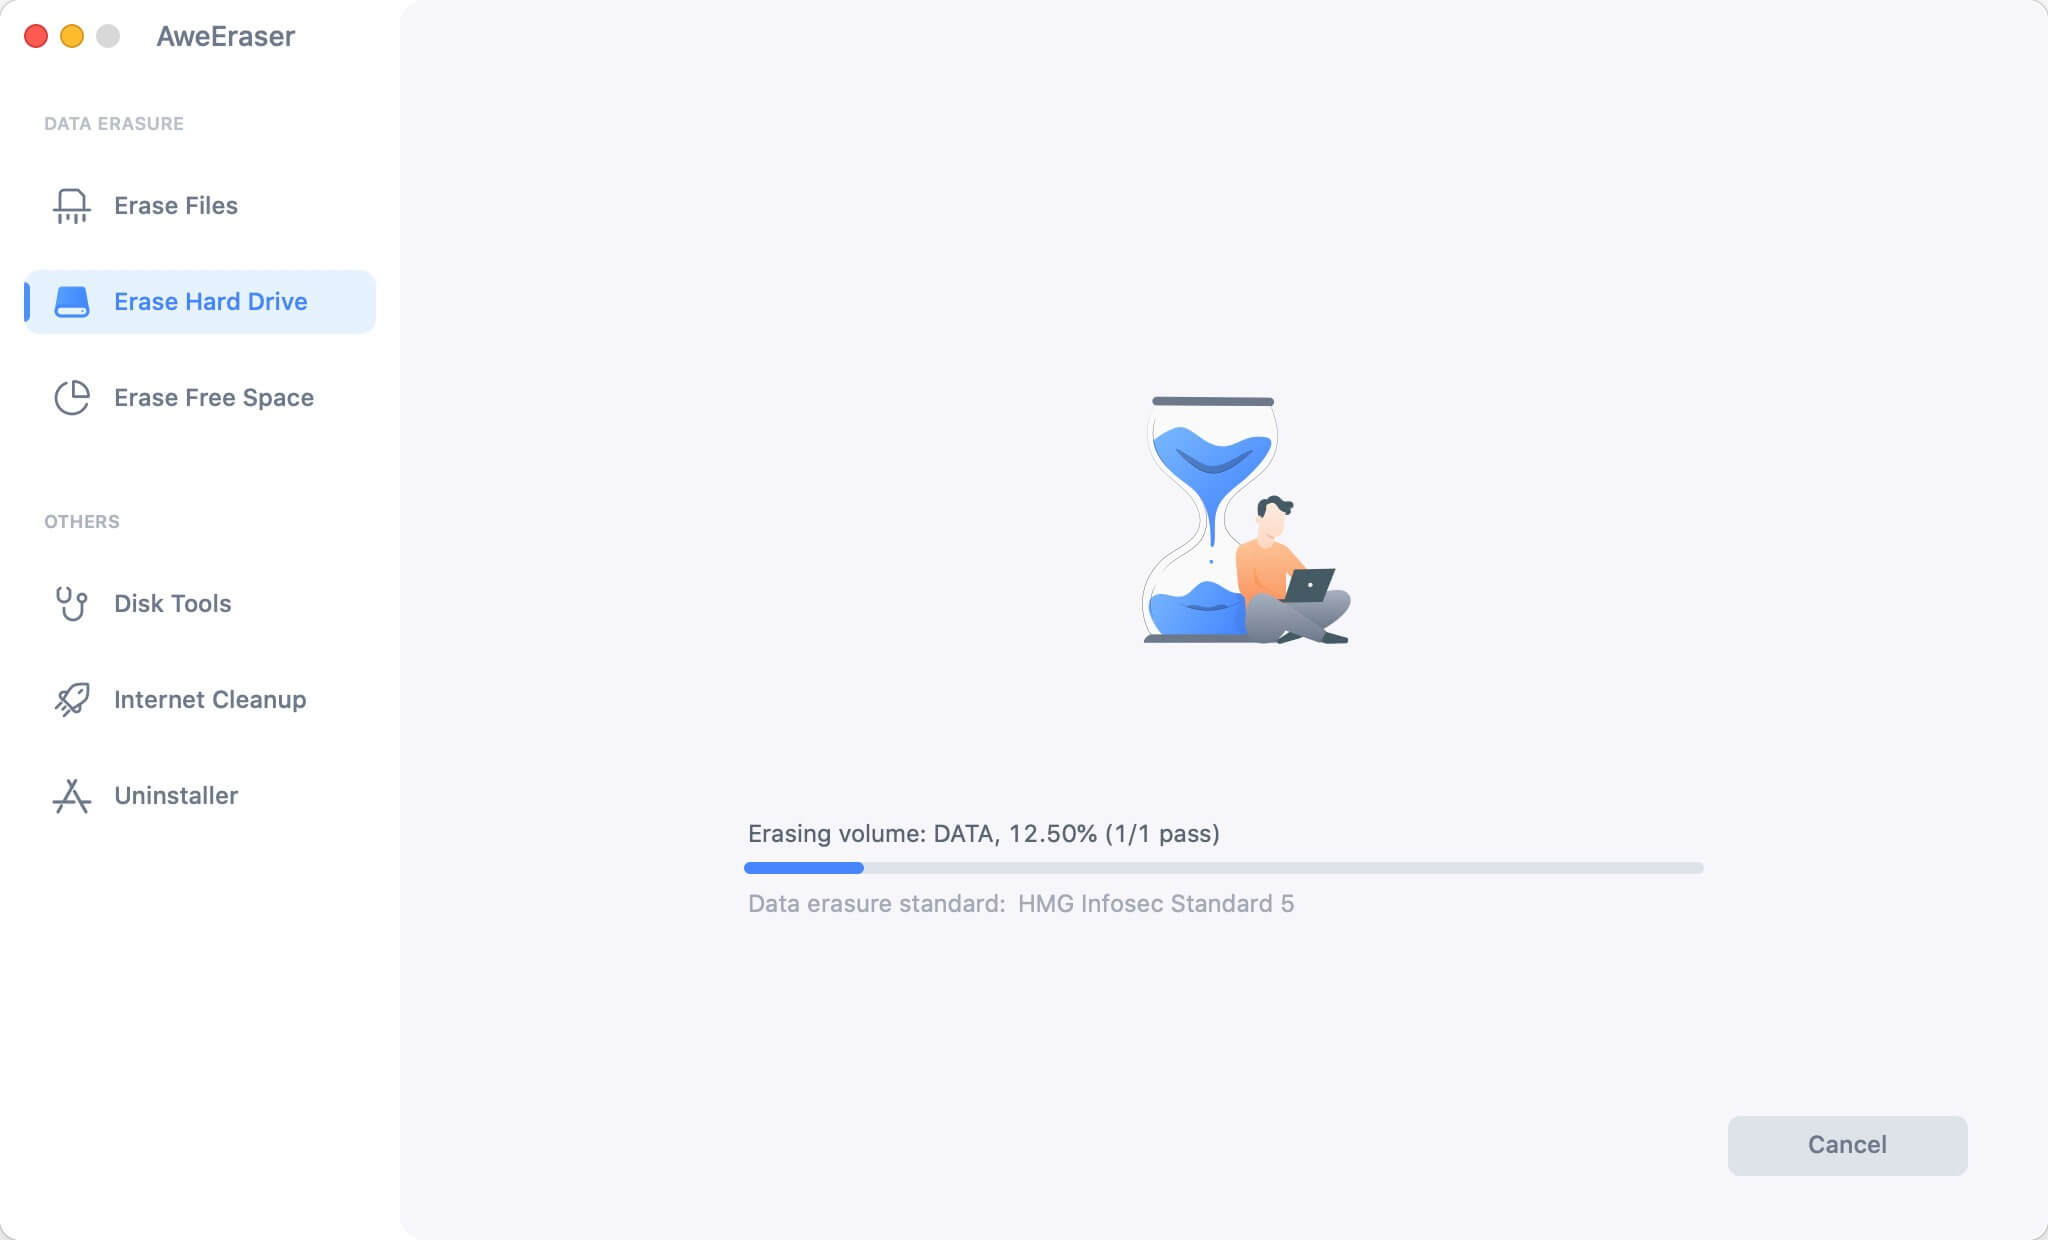
Step 2. Click on Erase button to securely wipe all data from the Time Machine drive.
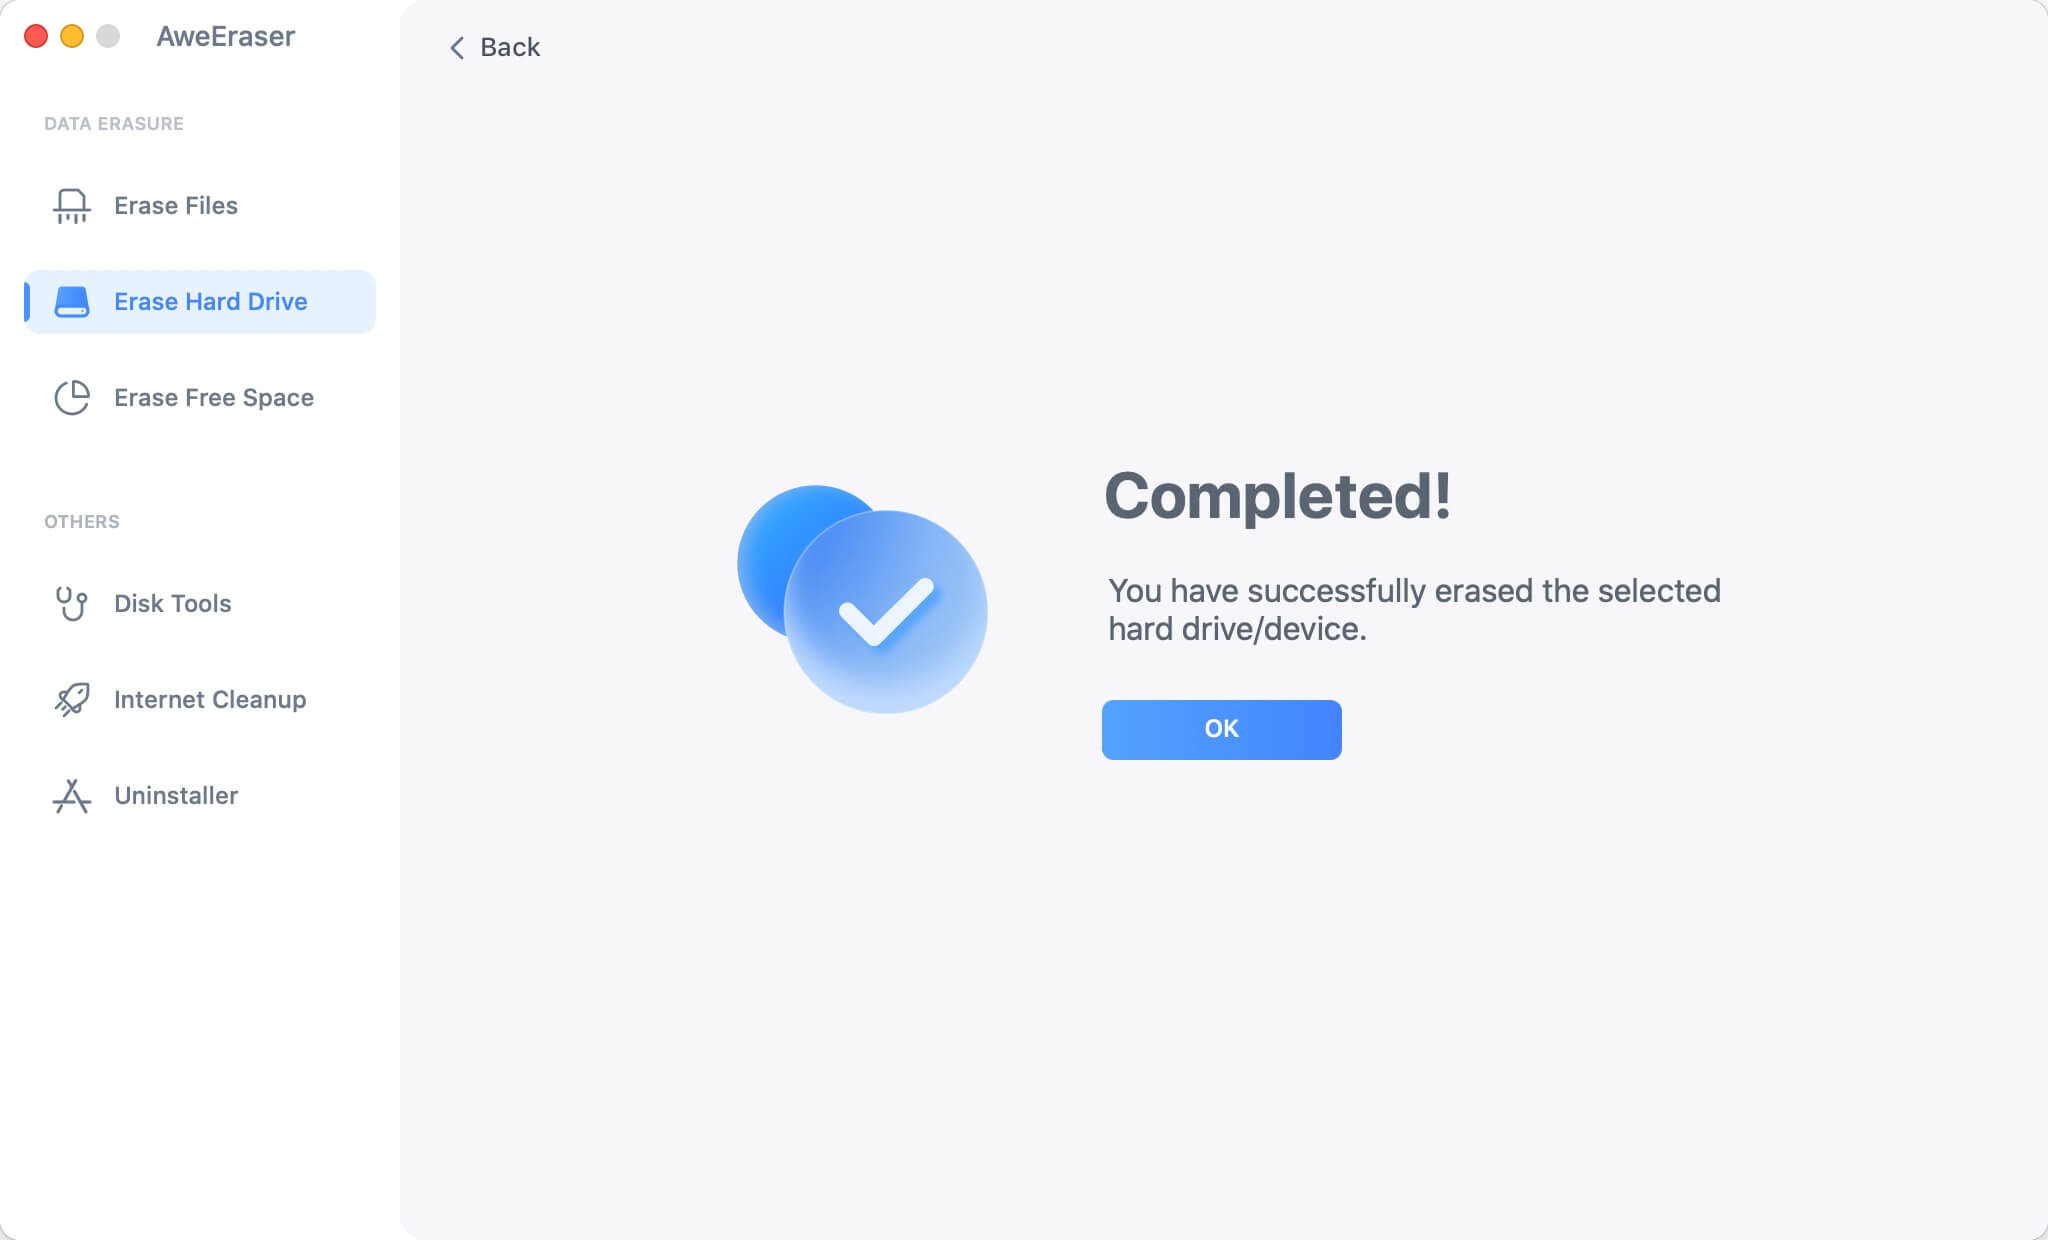
Once the process gets finished, all data on the Time Machine drive will be gone forever.