macOS Can’t Repair A Disk, How to Solve This Issue?

updated on 2022-05-09 to Mac Data Recovery Solutions
On the Mac operating system, Disk Utility, which Apple created, is a thorough utility that allows you to execute disk and disk volume-related activities. Several steps must be taken before these procedures may be carried out successfully.
Disk Utility may be used to fix a disk that has a variety of issues. On the other hand, Disk Utility can’t identify or fix all disk issues. You may get an error message indicating ‘Can’t repair the disk’ if you attempt to repair the disk using First Aid.
If the error notice doesn’t help, it means that while you can access and copy files from your drive, you can’t save changes to them. It is possible to repair ‘macOS Disk Utility Can’t Repair This Disk’ by following the instructions provided in this article.
Repair The Disk Using First Aid
Repairing this disk again is one of the most often used solutions. Follow these instructions to do First Aid.
To go to Disk Utility, go to Launchpad and search for Other.
At the top left of this app, choose View and select Show All Devices.
In the left sidebar, choose the volume or disk you wish to repair, and then select First Aid at the top.
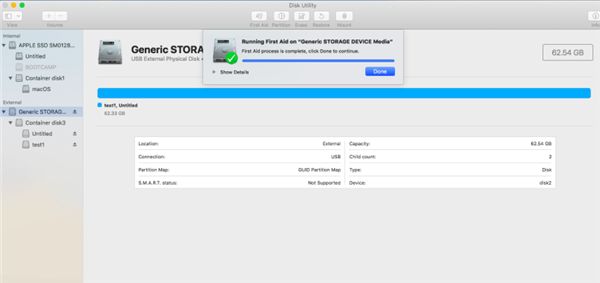
In order to fix this disk, use First Aid.
Check and fix disk faults by clicking Run.
For example, Disk Utility can’t repair your hard drive and is reporting that the First Aid procedure has halted or failed, and it’s requesting that you back up and reformat the disk to prevent additional data loss.
Before Things Worsen, Make A Backup
If Disk Utility can’t fix your disk the second time you attempt, you’ll need to use alternative methods. Though, you must first create a backup of your hard drive. In order to do so, you may utilize Time Machine, a built-in backup utility in macOS.
In the Apple menu bar, choose System Preferences.
Choose the Time Machine option.
Choose a disk to backup to by pressing Select.
In the menu bar, choose the Show Time Machine checkbox.
Choose Backup Now from the Time Machine menu bar.
For those who don’t want to utilize the built-in Time Machine feature, you should use an external program to back up the disk that is giving the error notice. When everything else fails, you will have a copy of your data.
On A Mac, How Do You Cure The ‘Disk Utility Can’t Repair This Disk’ Error?
Overall, there are several options that you may take to address the issue. There will be no data loss in most cases due to the techniques presented here. However, you should still create a copy of your hard drive for safety’s sake.
Method 1: Use FSCK Command
You may always turn to use the command line if everything else fails. Although it seems to be a little difficult at first, following the instructions step-by-step will make it a breeze. Please follow these instructions.
Go into Single User mode by restarting your Mac. Hold down the Command + S key when the starting sound plays on an earlier Mac; hold down the Command + S key. On M1 Macs, choose Utilities and Terminal by holding down the Command + R key while restarting the computer.
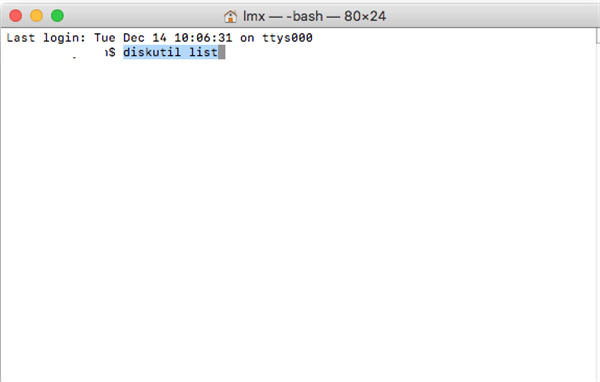
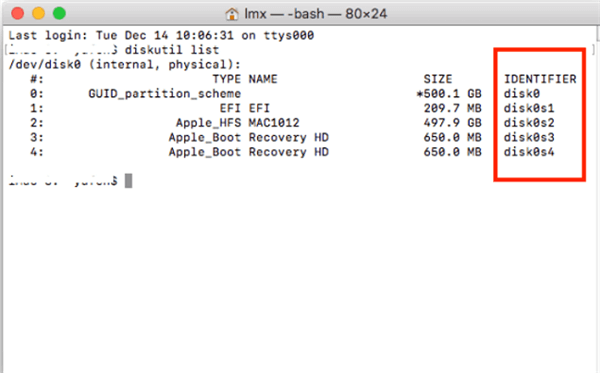
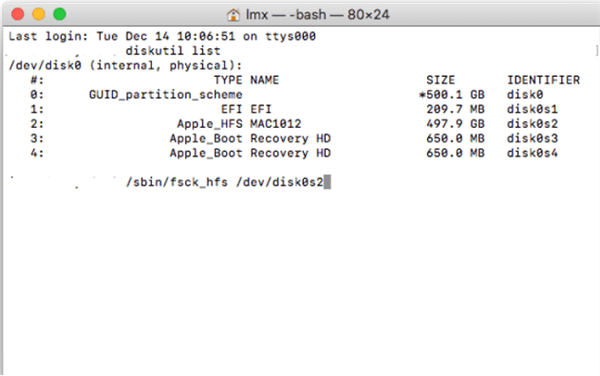
Input the following: diskutil list and hit Enter to get a list of all external hard disks attached to the computer.
Make a note of your external hard drive’s identity in the third column and use that to identify it for repair.
Type the command: /sbin/fsck file system –fy /dev/drive identifier (e.g., disk0s2), then hit Enter to begin the checking and fixing process.
To restart Mac, type Reboot and hit Enter.
“The volume (name of your drive) could not be confirmed entirely” indicates that the disk cannot be repaired by using the FSCK program. Don’t do anything until you see whether the problem can be solved.
Method 2: Use Single User Mode
Running the FSCK command line on your MacBook might help fix the problem if it continues. External hard disks may be verified or repaired using the Terminal method.
Before the Apple logo displays on the screen, restart your MacBook and hit Command + S simultaneously.
After you’ve done this, your machine will enter Single User Mode.
Type: /sbin/fsck -fy at this point.
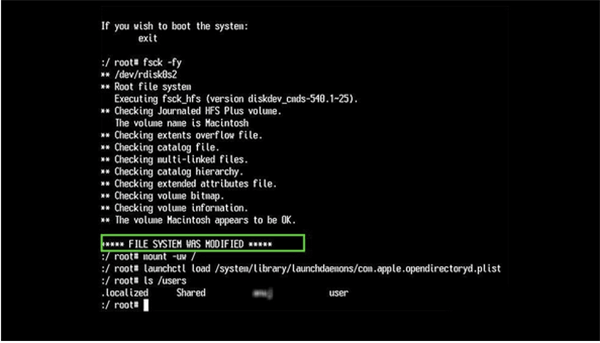
If you get the message = File system was updated, you need to run the command line again and continue the procedure until you see = The volume appears to be OK.
Type “reboot” on the command line to restart your Mac.
Disk Utility should now be able to repair your disk without giving you the dreaded warning “Cannot repair this disk.”
The macOS can’t repair disk notification is a frequent and easily remedied problem. In the event that First Aid does not solve the issue, you may also attempt the FSCK command and the single-user mode. Keep a copy of all of your vital data in a safe place.
Recover lost data from damaged or erased disk on Mac
Whether your disk has been erased by Disk Utility or not, just try a data recovery application to help you get all lost files back. Magoshare Data Recovery for Mac is able to help you securely and easily recover lost data from damaged, erased or inaccessible disk on Mac.
Magoshare Data Recovery for Mac
- Recover deleted, formatted, erased or inaccessible data.
- Recover lost data from local disk or external storage device.
- Recover all file formats.


Step 1. Download and install Magoshare Data Recovery for Mac. Then open it from Launchpad. Make sure the disk where you delete or lose your files is connected to your Mac.
Step 2. Select the disk to start data recovery.

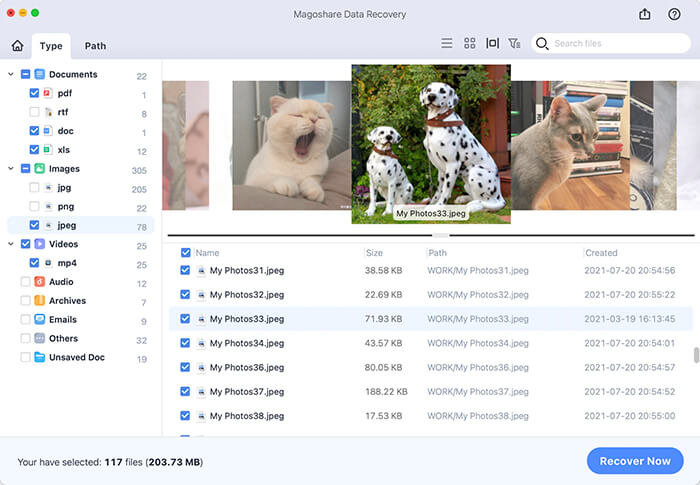
Step 3. Click on Scan button. Magoshare Data Recovery for Mac will deeply scan the disk and find every recoverable file.
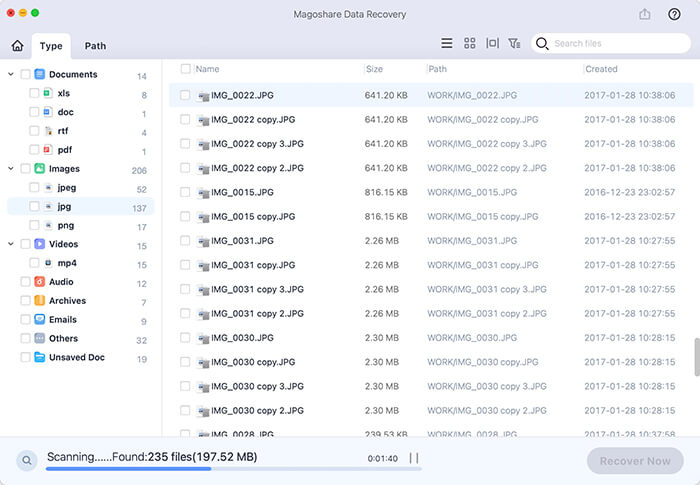
Step 4. Once the scan is completed, you can preview all recoverable files. Select the wanted files and save them.