How to Format Hard Drive on Mac?

updated on 2021-08-19 to Mac Optimization Solutions
Quick Navigation:
- Format internal or external hard drive with Disk Utility
- Format and wipe hard drive with Mac Data Eraser - AweEraser
- How to partition an external hard drive on Mac?
For Windows users, it is simple to format a hard drive partition or external disk with built-in format feature or disk management. What is the right way to format a hard drive on Mac? Don’t worry, here, we will introduce two methods to help you securely and quickly format hard drive or external device on Mac.
Format internal or external hard drive with Disk Utility
Whether you are going to sell your Mac or have bought a new hard drive for your machine, in both the cases you would have to format the hard drive of your computer. Fortunately, with the help of Disk Utility, you can format the hard disk by just following a very few steps.
Formatting the hard disk could be a frustrating and tiring job for many of us. But, once you completely understand how it works, it would not be scary for you.
Here, you would learn the way to format your Mac through a few easy-to-follow steps.
So, what are you waiting for? Go get to know the steps and format your disk when you need.
Before you format the drive of your Mac, make sure that you have already saved all of your files, as formatting would wipe out all of your crucial data. The following are the steps you need to follow if you are interested in formatting your Mac drive.
Step 1: Firstly, connect the external hard drive you want to format with your Mac.
Step 2: Go to the spotlight search, type "Disk Utility" and click the first option. It will open the Disk Utility app, and here you will find all the devices connected with Mac either externally or internally.
Step 3: Click on "View" present just at the top left corner of the Window. And then, choose the show all devices.
Step 4: Here, you can choose all the devices which you want to format. Get this option at the left-hand side of the screen just under the "External hard Devices," To get the best results, choose the disk. It is the highest available option in the external tree.
Step 5: At the top of the menu, click on the "Erase". And as a result, a small pop-up window will appear on your screen. It will warn you that the erasing of the drive would delete all the files which have been saved here. You cannot undo this action.
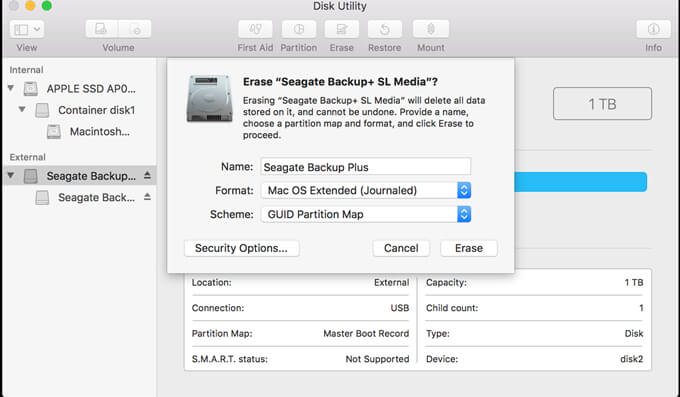
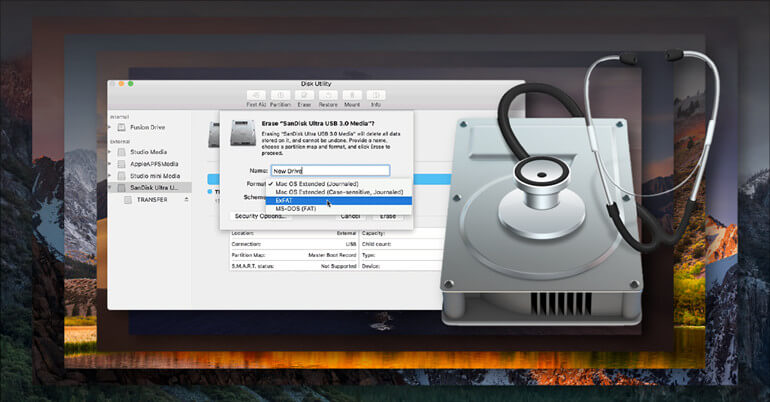
Step 6: You need to select the name, format, and scheme for your drive. Here, you can select the name which you want and do not forget to choose the GUID Partition Map for Scheme, and you can select any of the following formats:
- exFAT is compatible both for the Mac and PC
- APFS or Apple File System is only suitable for the new Mac running the macOS 10.13 or later versions
- Mac OS Extended is an ideal option for all Mac users as it is compatible almost with all Macs
- MS-DOS (FAT) is compatible with both PC and Mac, but remember that here you can transfer the files which are smaller than 4GB
Step 7: When you have provided the complete setup details, click "Erase". After that, all the data will be wiped out from the drive.
For various reasons, a message on the screen pop up informing that Erase process has been canceled. If the same thing happens with you, click done and then click on continue. Time Machine running on the external could be the major reason for this, and therefore you would have to close this Time Machine.
Format and wipe hard drive with Mac Data Eraser - AweEraser
Please note that even the disk has been erased by Disk Utility, the erased data on the formatted disk is not lost forever and can be recovered by data recovery software - such as Magoshare Data Recovery for Mac.
Before you sell, donate or dispose of your Mac, you’d better permanently erase all data on your disk drive. Is there any way to format and wipe disk on Mac? Yes, just try data erasure software - AweEraser for Mac.
Mac Data Eraser - AweEraser
- Format and wipe the hard drive, all data on the hard drive will be permanently erased, can’t be recovered by any data recovery software.
- Shred files and folders on Mac.
- Permanently erase data from Mac HDD, SSD, memory card, external disk, USB flash drive, digital camera, etc.


AweEraser for Mac is a powerful Mac data erasure application. It offers certified data erasure standards, such as: HMG Infosec Standard 5 (1 pass), Peter Gutmann's algorithm 2 (2 passes), U.S. Army AR380-19 (3 passes), DoD 5220.22-M ECE (7 passes), Peter Gutmann's algorithm 35 (35 passes). Now, follow the steps below to format and wipe hard drive on Mac.
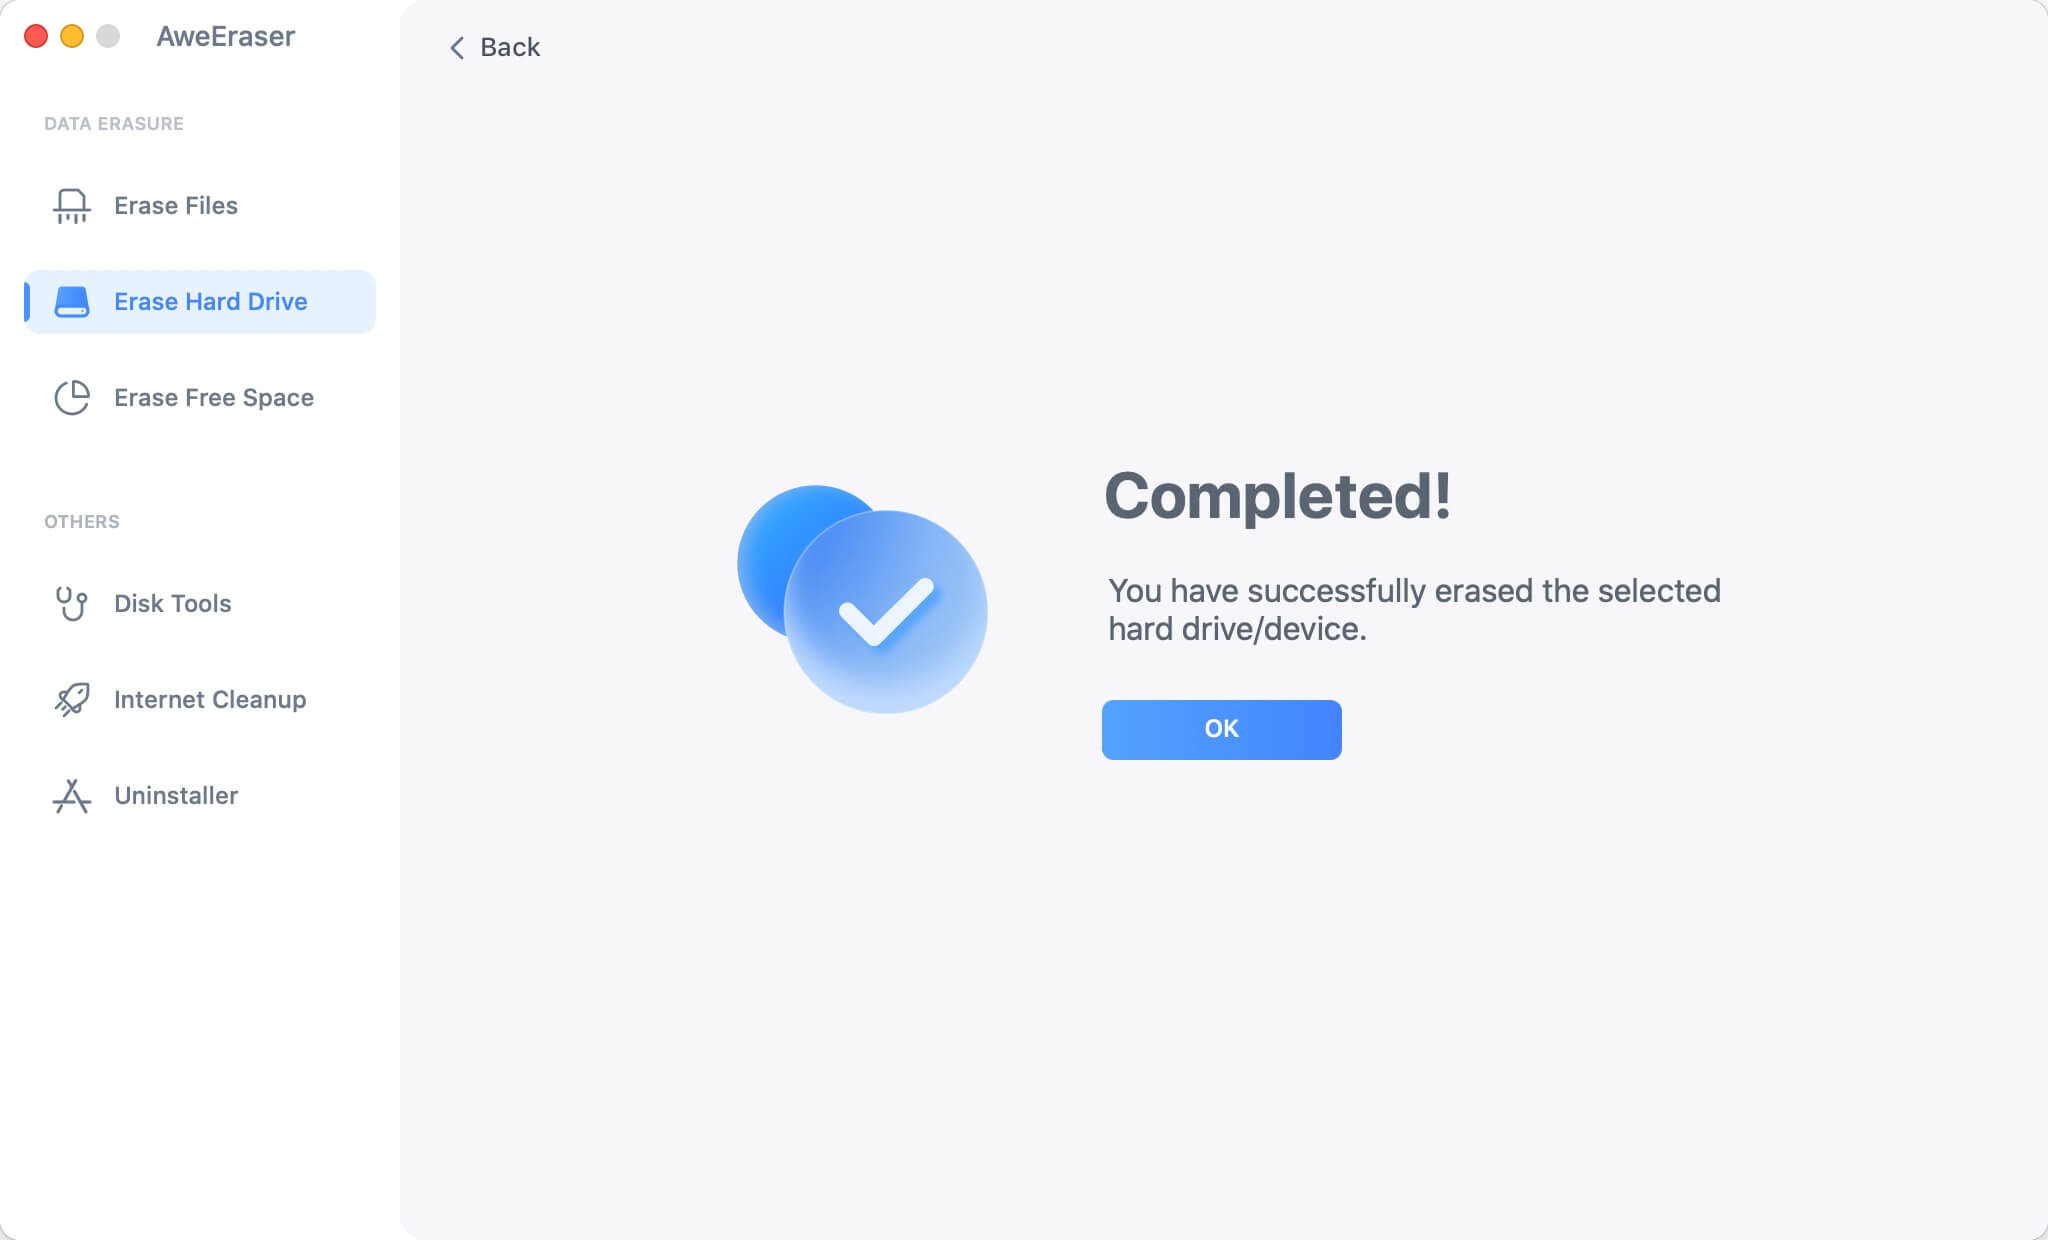
Step 1. Open AweEraser for Mac and then choose data erasure mode - Erase Hard Drive.
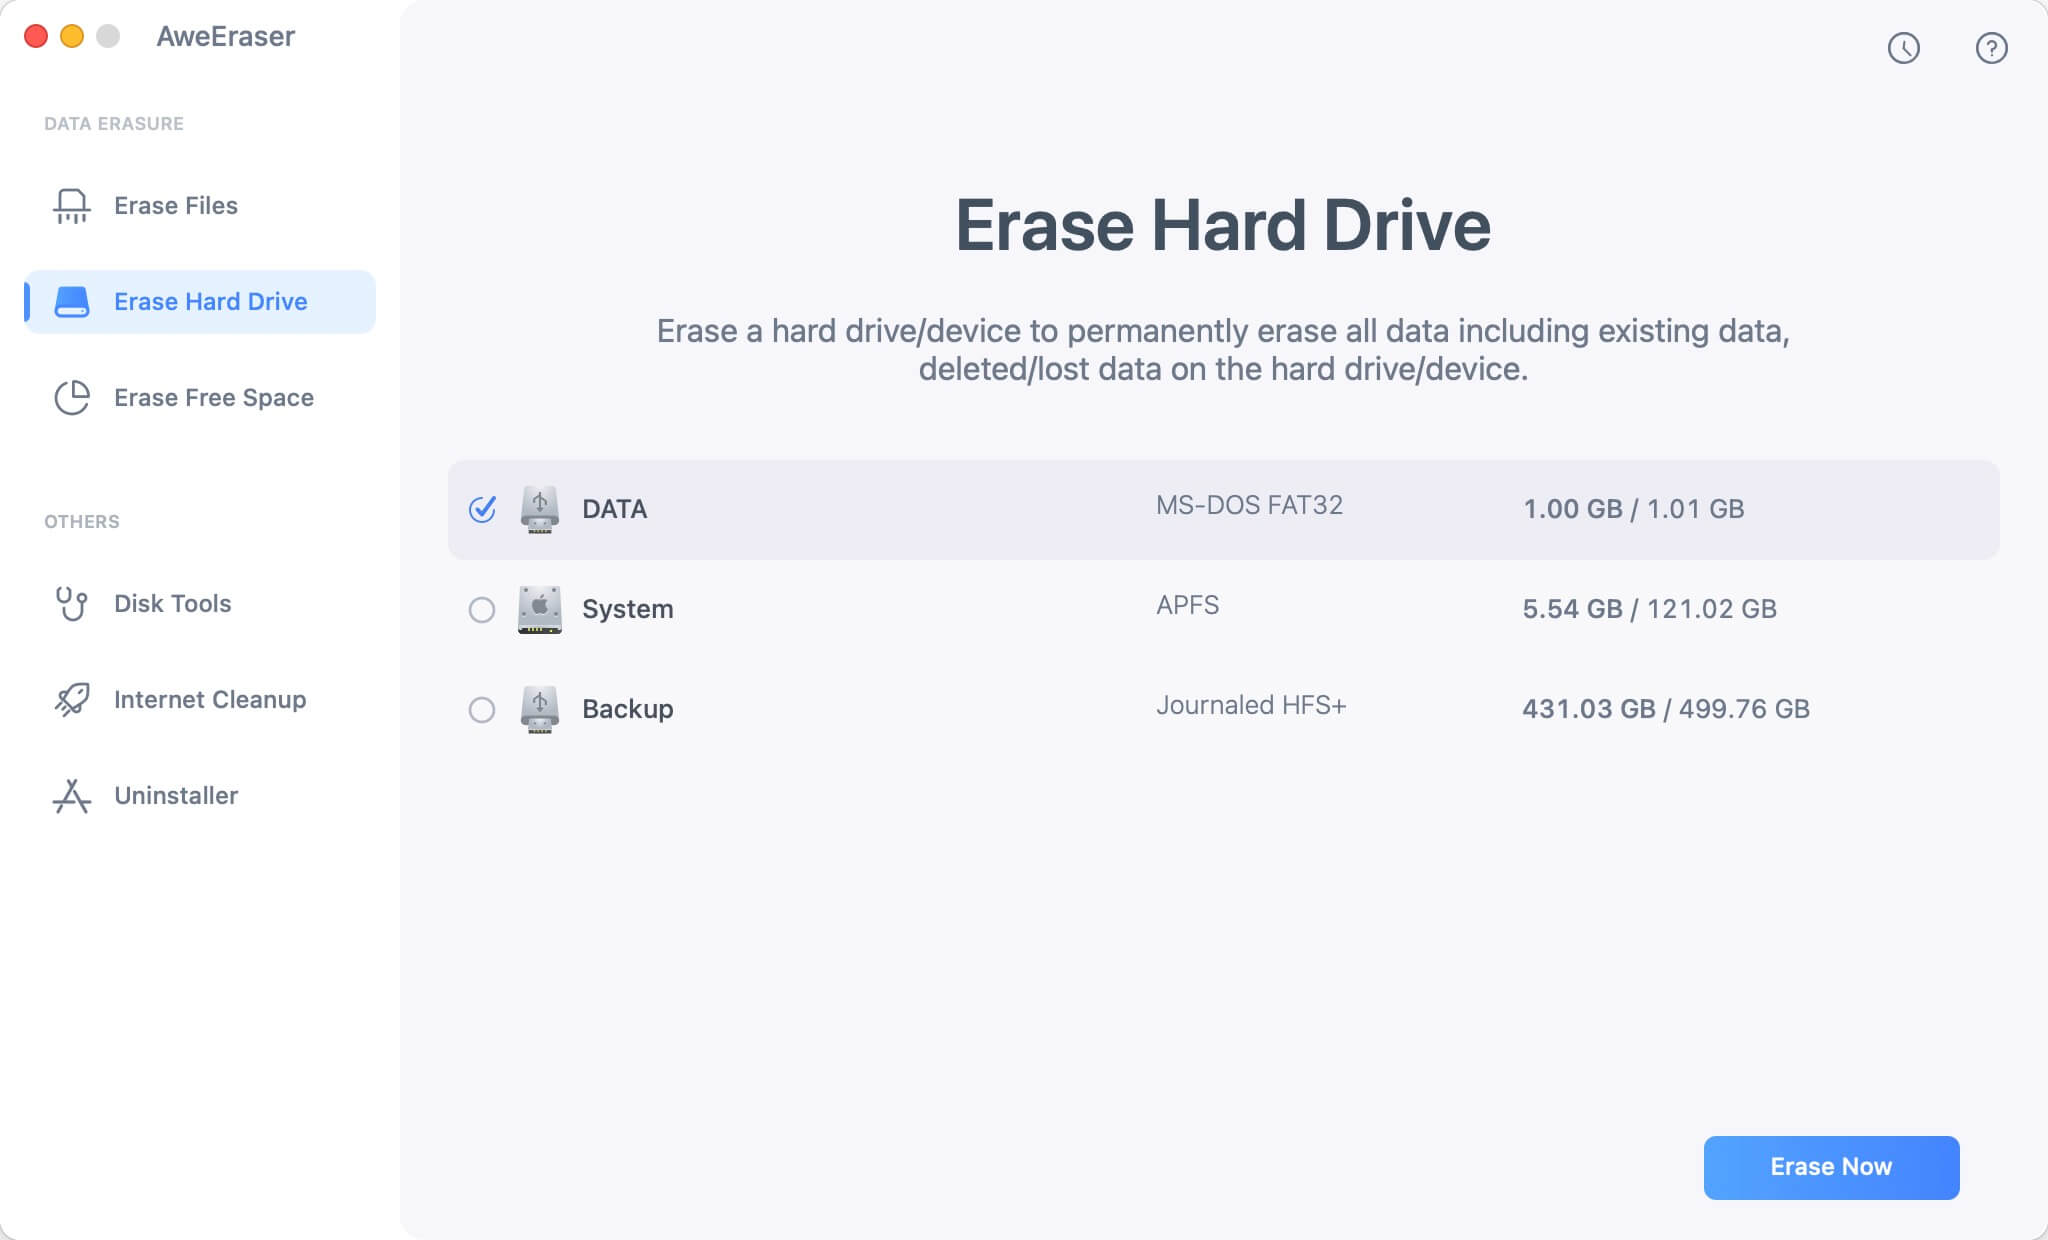
Step 2. Select the disk drive you want to erase, then click on Erase button.
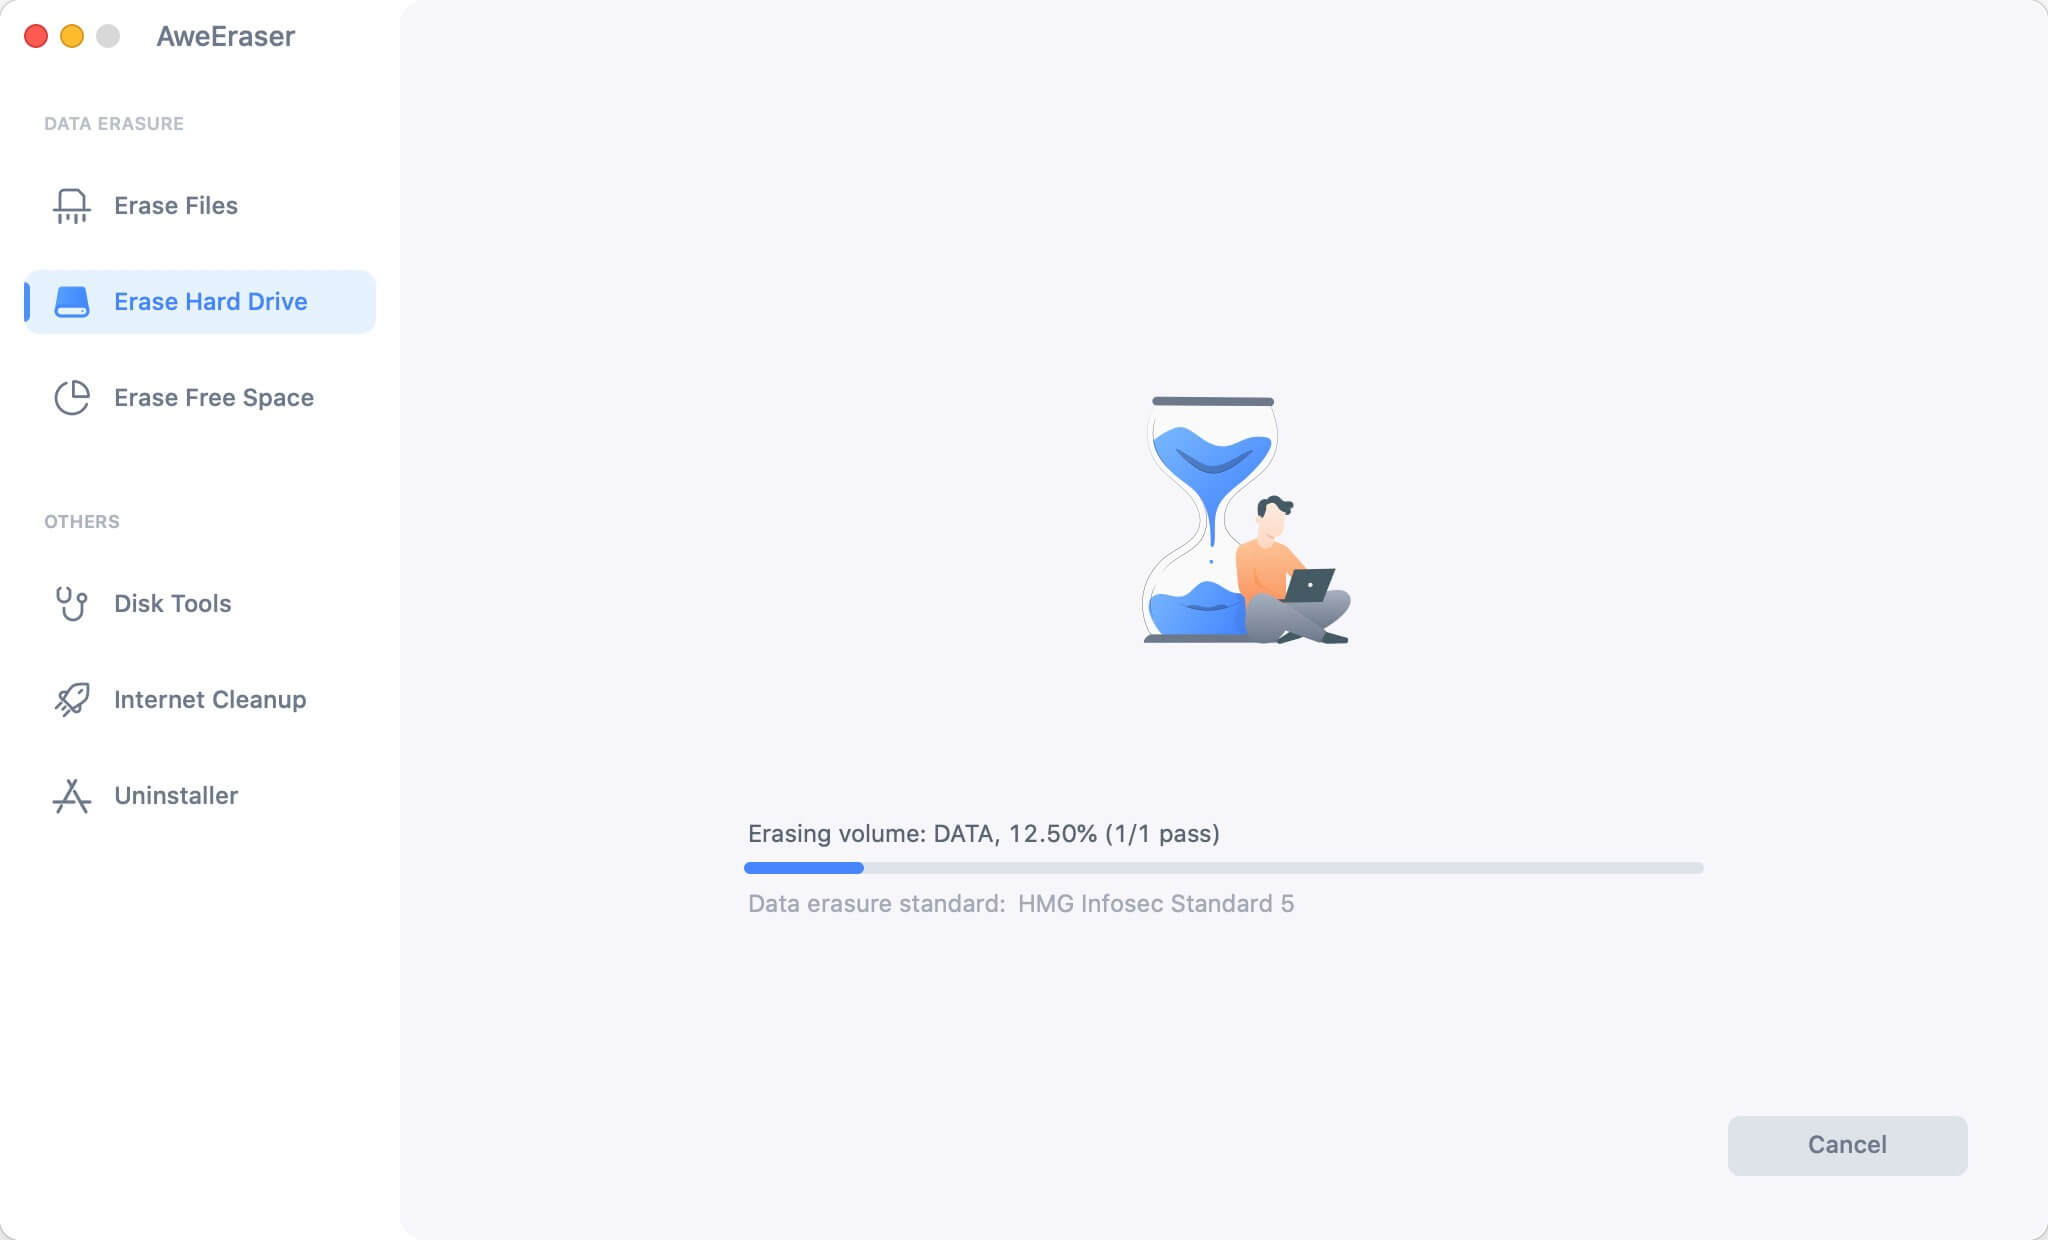
AweEraser for Mac will format and wipe the disk. All data on the disk will be permanently erased, can’t be recovered by any data recovery software.
How to partition an external hard drive on Mac?
Once you have done the formatting of your hard drive, you can make the partitions of your hard drive at the very next step.
It would split the drive into two formats, and this is the best feature that helps you transfer the files between different operating systems.
Follow the under given steps to get the multiple partitions in your hard drive:
- Highlight the drive and then click on the Disk Utility. For this purpose, you would have to open up the Disk Utility app and then highlight the external hard drive. Be sure that you have selected the disk icon, which is present just below the "External," and click the one which is present just below the partition, it would become grey, and the whole page would become grey.
- Make sure that the hard drive has been formatted completely, and then choose erase and wait till the whole process gets complete.
- A window will appear on your screen, and on the left side, a big blue colored circle will appear on the screen, which would show the name of the external drive and the volume size.
- Next, click on the "+" and get the number of partitions just as much as you want on the external disk.
- You can allocate the desired volume to each partition, and to do so, click on the small white circle and drag it around.
- In the end, rename the partitions and define the file systems for each of them. And as soon as you would click the Apply button, a new window will pop up on the screen and ask you about the confirmation. Take just a few seconds, read the text description, and click the Partition button to continue.
- Here, you would have to wait until you get the successful operation message on your screen.
Conclusion
Sometimes, it becomes crucial to format the hard drive for all Mac users because of multiple reasons. But, many who have little technical knowledge find it a pretty difficult job. There is no doubt it's a bit tricky job. But, by following the above steps, you can easily format the hard drive and make the partitions.