How to Use System Restore on Windows 11?

updated on 2022-02-22 to Data Recovery
Any time Windows 11 encounters issues, such as latency, lagging, freezes, viruses, and so on, users have the option of performing a system restoration. Windows 11 users are quite familiar with the concept of System Restore. It’s a savior whenever the system experiences a catastrophic failure.
When it comes to using the system restore feature on your computer, here is where you’ll find information. System restores in Windows 11 will be covered in this article.
Check whether System Restore is turned on
On Windows 10/11 devices, the Advanced System Settings may be found in the Control Panel. Microsoft has deleted the Control Panel link, so now users have to go via the Settings program to find out whether System Restore is enabled.
Doing so is as follows:
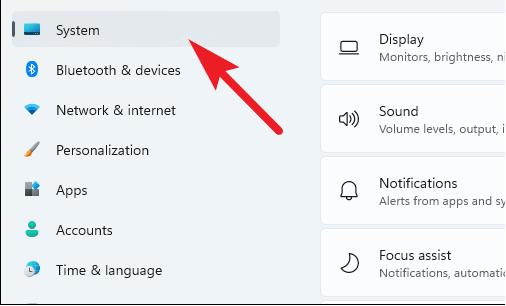
- Get started by clicking on “Start” and then “Settings.”
- Afterward, click on the “System” tab in the sidebar of the ‘Settings’ page.
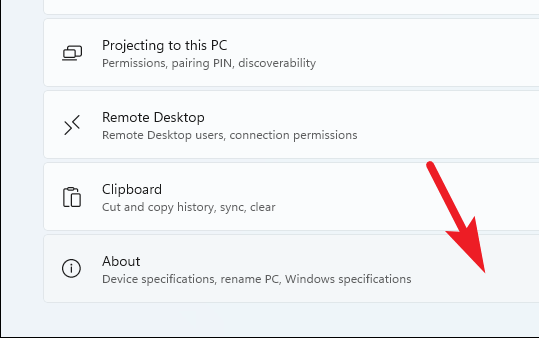
System settings include an About option at the bottom; select it.
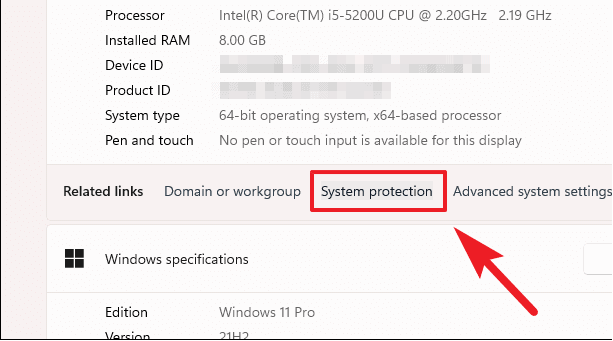
Click on the “System Protection” link on the page that appears to activate it.
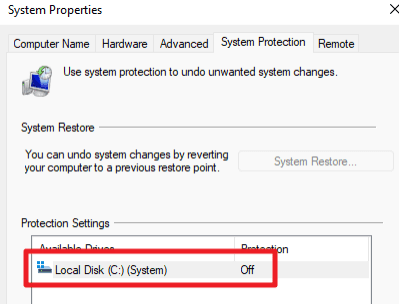
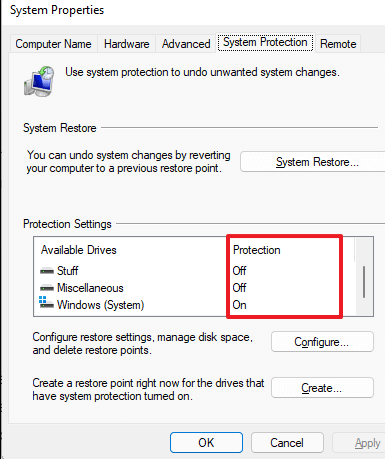
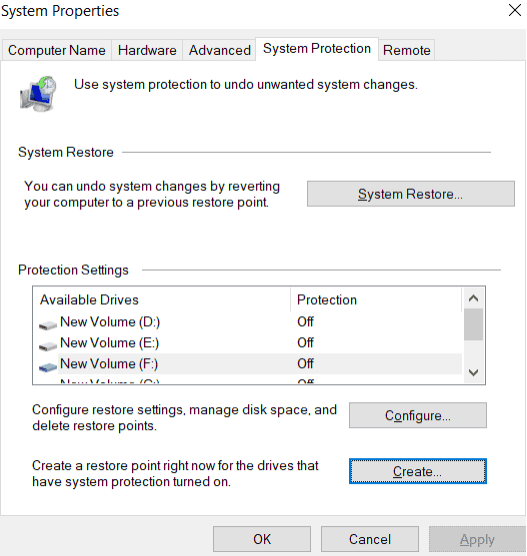
The System Properties pane is still there in Windows 11, even though much of its functionality has been moved to the Settings program.
For example, if you notice “Off” next to your primary disk or additional drives, then System Restore is disabled. On the screen, you’ll also note that the System Restore button is inactive, which means that you can’t restore the system to a prior state using this method.
Set-Up System Restore on your Windows 11
You must first activate System Restore in order to establish a System Restore checkpoint for your computer.
The ‘Protection settings’ pane in the ‘System properties’ window will now display the current protection status of your disks. As long as the drive has System Restore enabled, the ‘Protection’ column will indicate that the drive is protected. Any other state than ‘On’ indicates that the drive is off.
It is possible to activate System Restore by clicking on ‘Protection settings’ and then clicking the ‘Configure’ option under it.
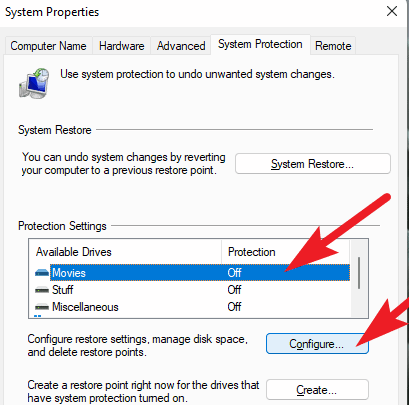
A new ‘System Protection’ window will appear on your screen.
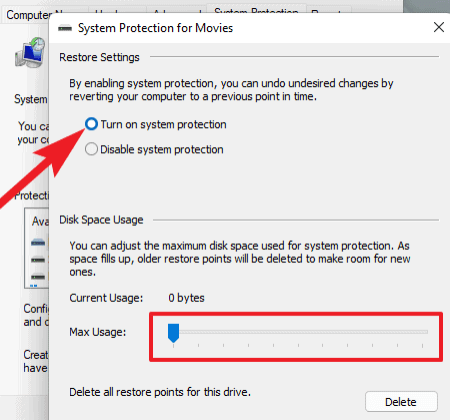
To activate System Restore, choose the radio button next to the ‘Turn on system protection’ option. Then, under the ‘Disk Space Usage’ area, use the slider to choose how much space you wish to set aside for a System Restore point.
After that, click ‘Apply’ to confirm your changes and ‘OK’ to dismiss the window.
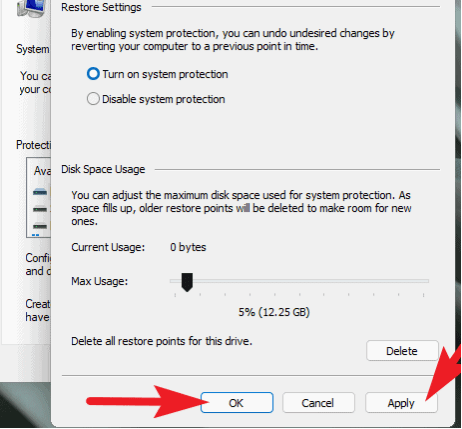
System Restore has been activated on the drive you chose. Windows now automatically create a System Restore Point whenever an application or an update is installed on your PC. The System Restore feature cannot be enabled globally. To use the feature on all of your drives, you must repeat this step for each drive.
How to manually create Windows 11 System Restore points
Following the instructions in this article will create a restore point for your computer system. However, if you want to automatically generate a system restore point whenever you make any system changes, you may follow the procedures below.
Click on the Start button or use the Windows key on your keyboard to open the start menu. Open the create a recovery drive program from the Start menu by searching for it.
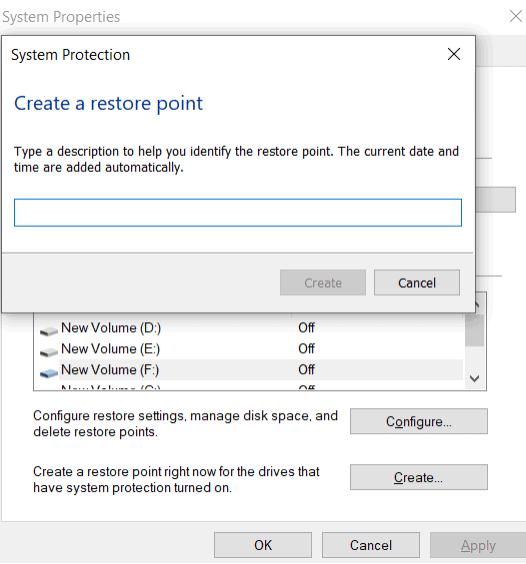
In order to access the system properties window, go to the top of the list and click there. Under protection settings, choose the Create option.
Restore points must be named. Before moving on, be certain you’ve named it appropriately. Create a restore point with that name by clicking on the Create button.
Any time you modify the system, you can manually create a system restore point.
How to reverse changes in Windows 11 using System Restore
It is possible to roll back Windows 11 to an earlier period to reverse changes made by an installation or configuration modification and address any issues that may arise. Desktop or advanced starting options are also ways to achieve this.
1. Make use of the Desktop to Restore Point
For those who have desktop access, use these procedures to undo any modifications you’ve made:
Open the Start menu.
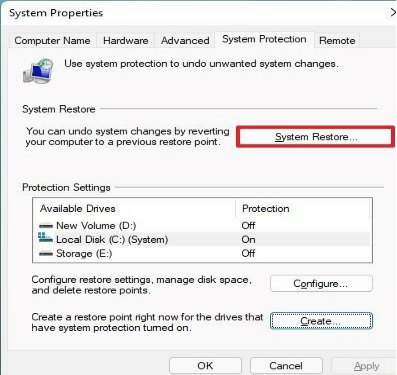
To access the System Properties window, search for “Create a restore point” and then click the first search result that appears.
The System Restore may be accessed by clicking on it.
Click on “Next.”
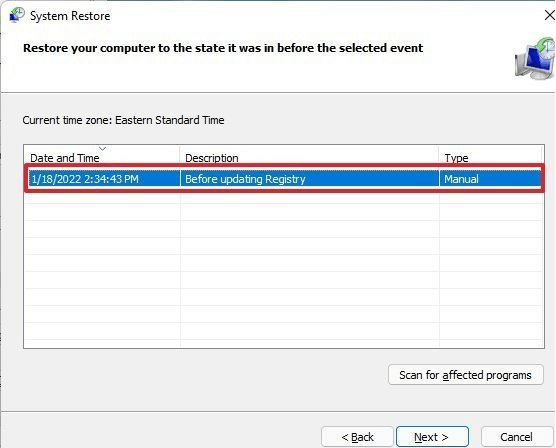
To reverse a change in Windows 11, go to the Restore Point.
Click on “Next”.
Click on the Finish button.
The restore point will be applied after you’ve finished the instructions, restoring the device to its prior excellent operating condition. You’ll have to manually reinstall one or more applications if they’ve been impacted.
2. Make use of the Advanced Startup to Restore Point
If the device has difficulty starting up, you may utilize the Advanced startup options to utilize System Restore. Follow these steps to go to Windows 11’s Advanced startup environment and apply a restore point:
- Start the device.
- Press power button as soon as the Windows logo shows on the screen to interrupt the boot process.
- Steps 1 and 2 should be repeated twice. (Or until the device enters the Windows Recovery Environment (WinRE)).
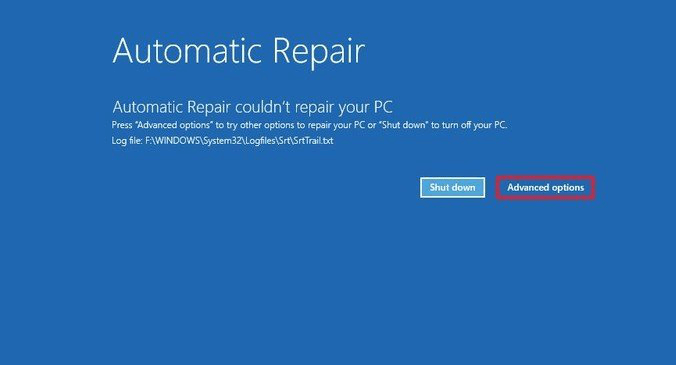
After completing the steps, follow the instructions below to restore the system to an earlier point in time. If you’re having difficulties booting into the recovery environment, start the device using the Windows 11 installation Disc, click the Next button, then the Repair your computer button from the bottom-left corner.
Following these steps will allow you to utilize System Restore from the Advanced startup environment:
Click the button “Advanced options”.
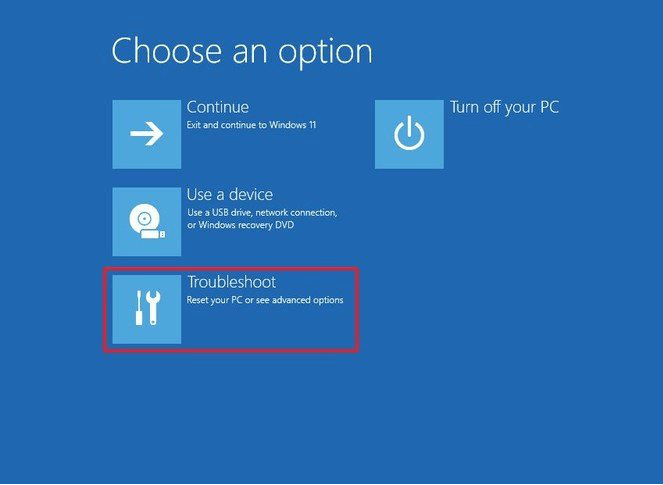
Choose Troubleshoot.
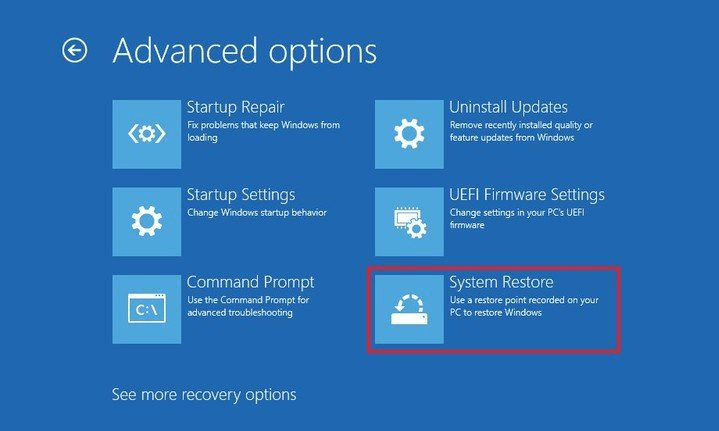
Click the button “Advanced options.”

Click System Restore.
Click on “Next.”
To revert changes and repair computer issues, choose the restore point.
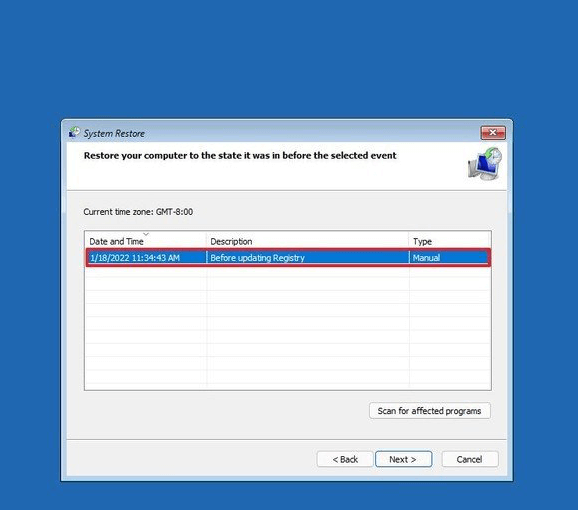
Click on “Next.”
Click on the Finish button.
After following the instructions, System Restore will restore the system to its previous state to correct any problems that may have occurred after installing a new driver, updating the system, or altering the Registry.
If you want to recover lost data due to Windows OS crash, you can use data recovery software - such as Magoshare Data Recovery to quickly get lost data back.
Magoshare Data Recovery
- Recover deleted or lost files on Windows 11.
- Unformat hard drive on Windows 11.
- Recover lost data on Windows 11 due to system restore, system crash, OS upgrade, etc.


Conclusion
That’s how you may utilize the system restore in Windows 11. System restores in Windows 11 are a useful feature that allows you to restore your system to an older state in the event of a system failure or crash. So please feel free to take advantage of it and make your visit valuable.