How to Clone Disk on Mac Studio?

updated on 2022-04-24 to Mac Disk Clone
Your Mac Studio is already set up the way you want it, with all of your favorite movies, images, and documents. But what will you do when your hard drive fills up? Here's how to relocate your system from one disk to another and keep your system and information intact, using a procedure known as Cloning.
In the event that you need to recover files from a failed system, having a backup copy of your hard drive eliminates the risk that you will lose all of your data.
Cloned backups are distinct from "incremental" backups in that they make an exact copy of your Mac that you may keep for as long as you choose, while incremental backups overwrite previous versions of your Mac.
How to make a copy of your Mac Studio disk?
A few steps must be completed if you want to create a backup copy of your Mac Studio’s hard disk. To begin, you'll need an SSD or external hard drive with a fully empty volume, either brand new or one that's been wiped. You'll also need software to duplicate the original.
Prepare your SSD or any other external device for cloning
The first step in creating a Mac hard drive backup is preparing a location for the clone to reside in. Ideally, using an external drive, an SSD disk is a popular choice since it is less likely to fail than other types of drives.
It's necessary to format the new drive before you can copy data from the original Mac hard disk to it. When creating a clone, this external drive should only be utilized for that purpose. Purchase a bigger external hard disk, or a number of smaller ones, if you want to save several backups.
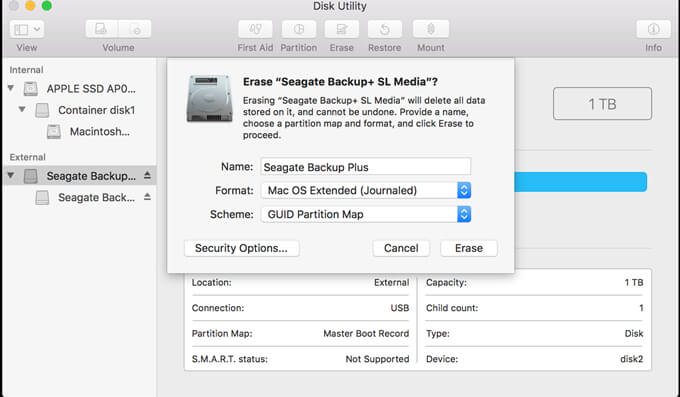
Before cloning Mac Studio disk to an SSD, make sure that you have enough space on the SSD. You'll require to use Disk Utility to wipe the external disk on Mac. Connect the external disk to your Mac and start Disk Utility. Disk Utility may be opened by double-clicking on it in the Applications folder. Disk Utility is Apple's built-in tool for cloning Mac hard drives.
Erase all data on the hard disk. In the sidebar, choose the external drive, and then click the Erase tab. macOS Extended and GUID Partition Map are the default options in most circumstances.
Download a disk cloning software for Mac Studio
AweClone for Mac is a powerful & easy-to-use disk cloning application. It supports to clone disk on any type of Mac machines including Mac Studio. Now, download and install it on your Mac Studio computer.
AweClone for Mac
- Clone HDD/SSD/external disk/USB drive/memory card on Mac Studio.
- Create bootable disk clone for Mac Studio.
- Create disk image of Mac Studio disk drive.


Create a bootable clone backup on Mac Studio
AweClone for Mac can help you clone disk, create disk image and create a bootable disk clone. Now, we will show you how to create a bootable disk clone on Mac Studio.
Step 1. Run AweClone for Mac from Launchpad, then select mode - OS Clone. This mode will help you clone the whole Mac OS disk.
Step 2. Insert the external disk into your Mac Studio computer. Then select the external disk as the destination drive.
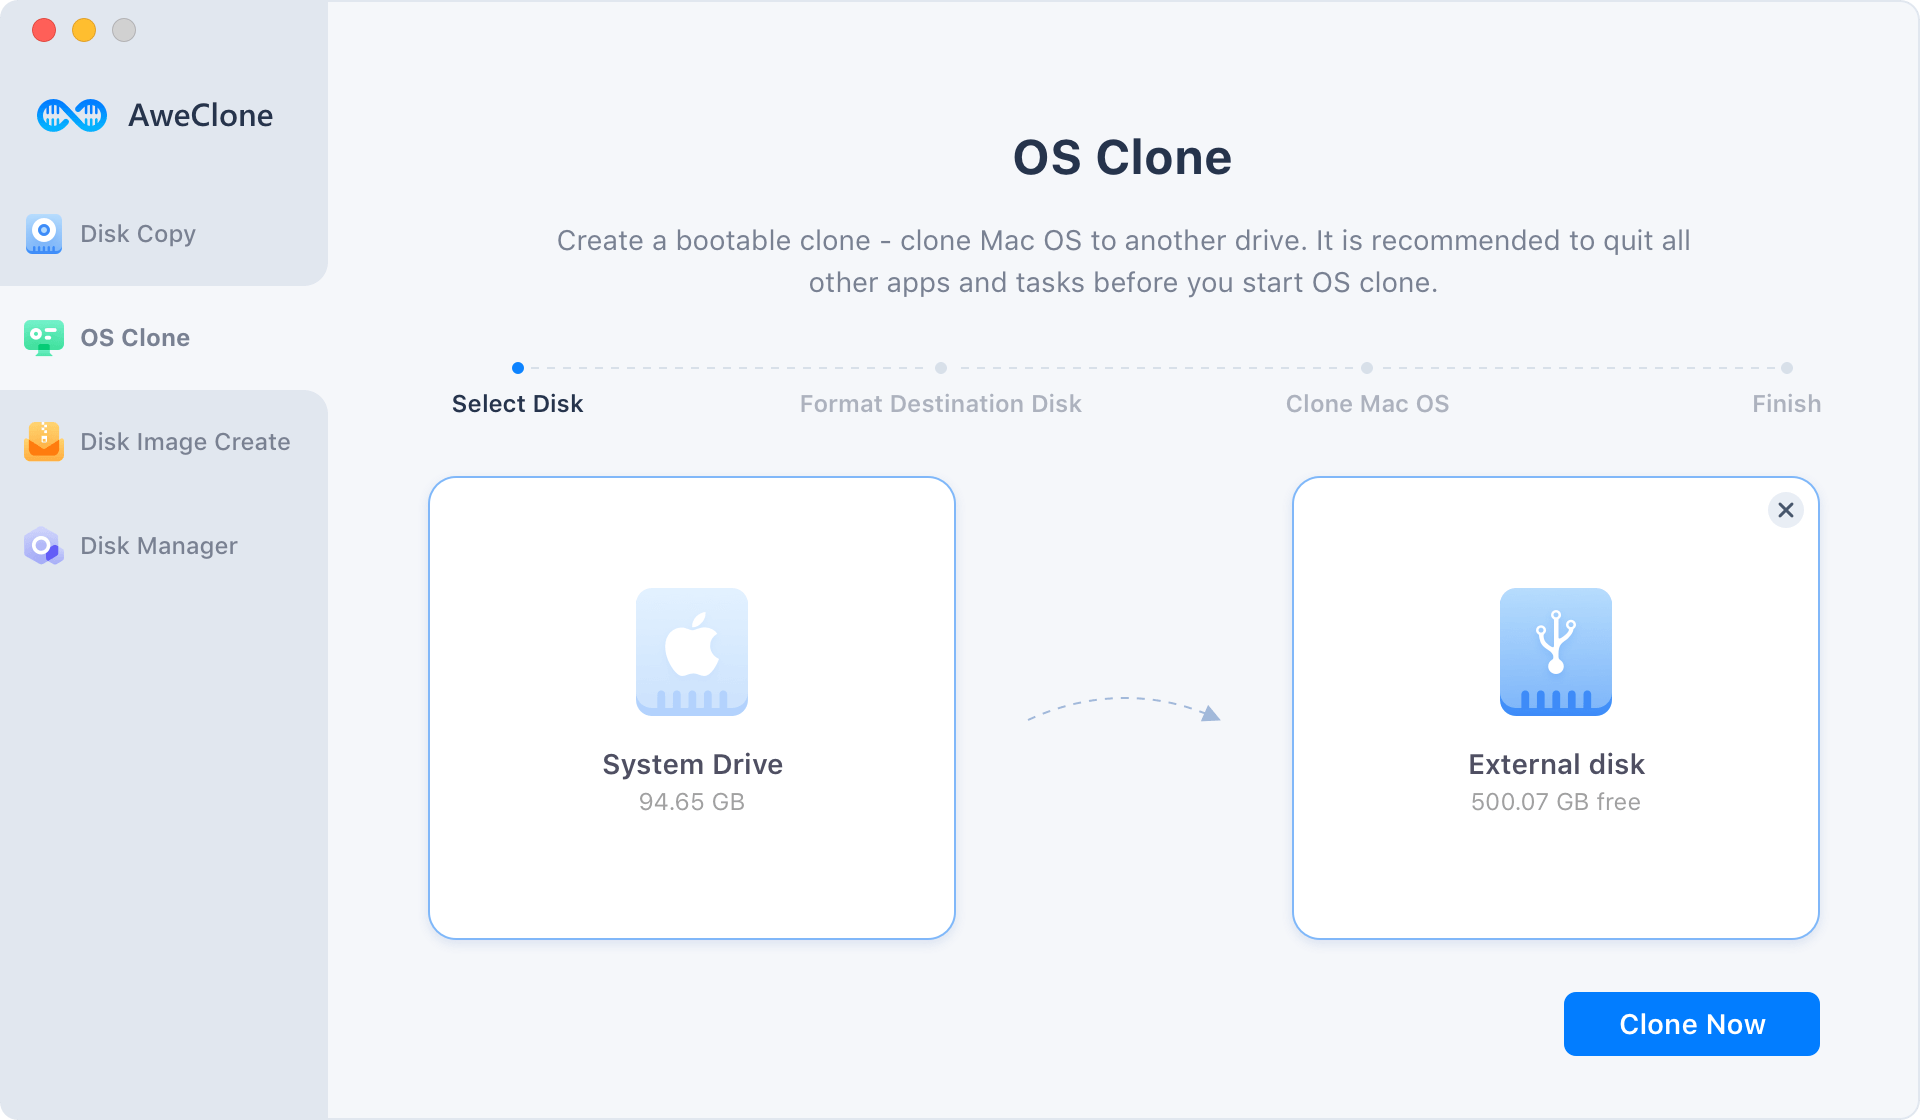
Step 3. Click on Clone Now button. It will clone the entire Mac OS disk to the external disk.
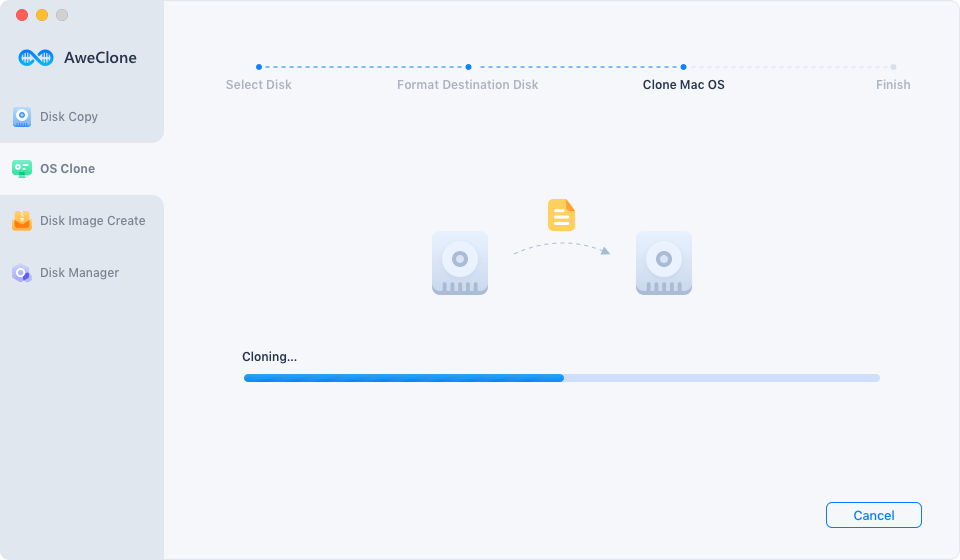
Please be patient, it will securely clone the Mac disk to the external disk.
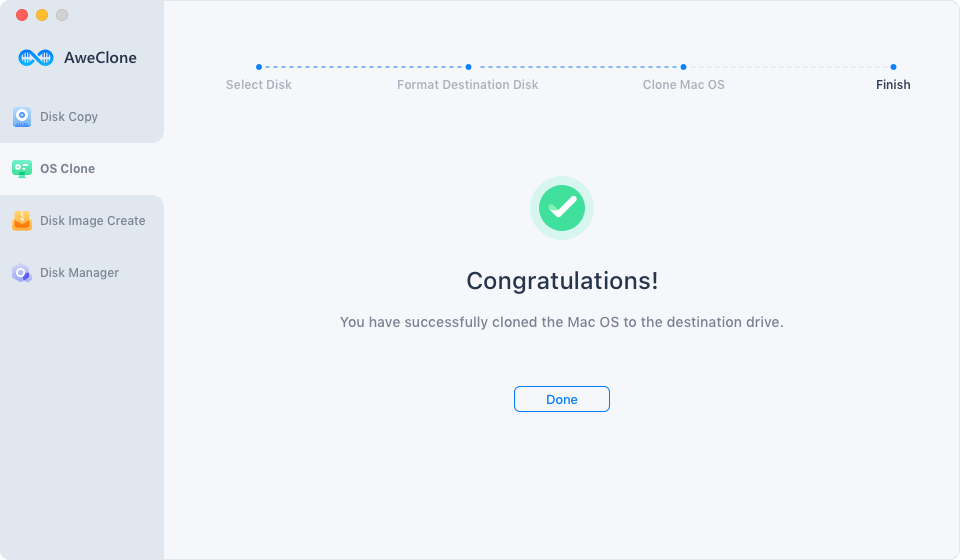
The clone backup can be used as a bootable disk or a source to restore your Mac OS.
AweClone for Mac also can help you 1:1 clone a hard drive to another hard drive. It even can help you create a disk image of any type of hard drive.
Conclusion
Even if you only make a backup once every few months, it's still a good idea. You can use incremental backups, but if you need to restore data that were backed up months ago, this strategy is unlikely to work.