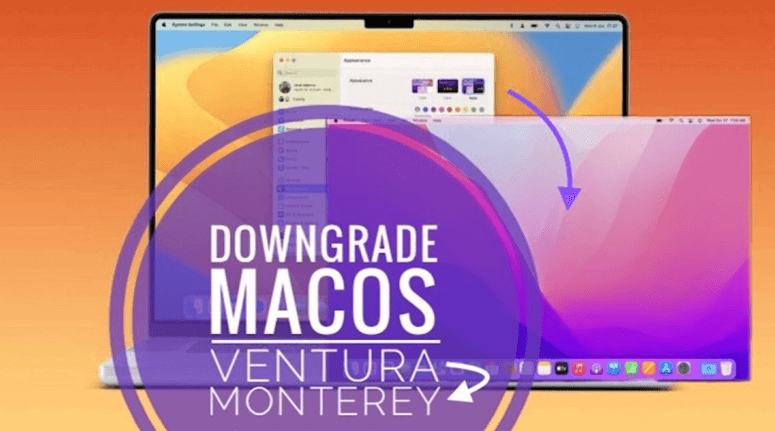
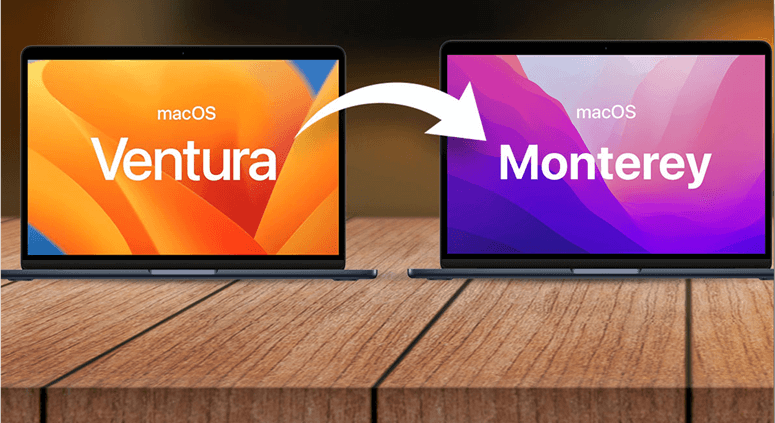
The new features in the beta version of macOS Ventura are sure to be entertaining for those who have access to them. However, you will need to know the procedure immediately if you abandon the program’s testing phase and revert to macOS Monterey.
It’s conceivable that issues with macOS Ventura may render your Mac unusable, so you’ll need to know how to roll back to macOS Monterey.

Before beginning the procedure, the first and foremost step is to back up all of your data. Time Machine, Apple’s in-built method for backing up all of your data and keeping them available after you’ve downgraded, is also highly recommended for the backup.
Reverting to An Older Version of macOS from A Time Machine Backup
I recommended making a backup before upgrading to the beta. This strategy works best if you also have a backup plan. If it doesn’t work, read on for a different approach.
Join the Time Machine drive to the Mac.
Select Restart by clicking the Apple icon.
Access the boot menu now.
For Apple Silicon Mac:
To turn on an Apple Silicon Mac, press the power button until the login screen appears, then choose Options, then Continue.
For Intel-based Mac:
For Intel-based Macs, when you see the Apple icon or hear the starting chime, press and hold Command + R.
Choose Restore from Time Machine Backup and then press Continue.
Click Continue after reading through the procedure (optional).
Choose the Backup source, then click Continue once again.
Select the most up-to-date backup you made of macOS Monterey, then click continue.
It might take a while, so relax and have a coffee or a nap.
Note: You should know that restoring from a backup will overwrite everything on your Mac. And if you value your information too much to risk losing it, make sure you have a backup of those documents.
Another Method to Downgrade from macOS Ventura Using macOS Recovery
You may revert to the previous, successful installation of macOS using macOS Recovery. Alternatively, you may revert to the operating system that was installed on your Mac when you first bought it. As soon as you power off your Mac, you’ll need to restart using a new set of keys. Choose “Shut Down” from the Apple menu to power down your Mac.
Simply pressing the Power button will activate the device. Please choose one of the following options and input it quickly:
- Use the Command + R shortcut to reinstall the current OS (Ventura).
- By pressing Shift+Option+Command+R, you may revert to the original version of macOS.
- Pressing Option+Command+R will upgrade your Mac to the most recent supported version of OS.
After entering the password, choose Continue > Next > Reinstall macOS.
Relax while your Mac attempts to revive itself. Don’t worry if the installation takes longer than the time shown on screen; keep your Mac’s lid open.

Use The Bootable Installer to Set Up macOS Monterey
Now, let’s go to the concluding phase. We’ll utilize the bootable installer to roll back from Ventura to Monterey.
Remember that certain drives can’t be downgraded until they’re formatted first, so you may need to delete anything on your starting drive before you do this. Now is the moment to copy any vital data currently stored on Ventura to establish a safe backup, which can then be transferred to any of your available external devices.
All right? The time has come to set up Monterey, so let’s do it now.
Connect the installer’s bootable disk to your Mac.
Going into Recovery Mode.
On an Apple Silicon Mac:
To access the Startup Options menu on an Apple Silicon Mac, press and hold the power button. To continue, choose Options.
On an Intel Mac:
Press and hold Command + R on an Intel Mac to show the Apple logo.
Pick the disk you want to use as your primary boot device, then click the Erase button in the Disk Utility window that appears. Use APFS as the file system format and GUID Partition Map as the scheme. Select “Erase”.
When you’re done, close Disk Utility and turn off your Mac.
On an Apple Silicon Mac:
Hold the power button during startup to turn on a Mac using Apple’s Silicon chips.
On an Intel Mac:
Start your Intel-based Mac while holding the Option key.
Select the disk you want to use as the boot device, then click Continue.
Pick the disk you want to install Monterey on, then click Next.
The installation of macOS Monterey must be confirmed.
You may have your usual, wonderful Monterey after a few cups of tea!
Conclusion
It is our sincere desire that your transition back to macOS Monterey was a simple and uncomplicated one. Though it’s difficult, some have successfully downgraded from Ventura to Monterey.
It’s exciting to be among the first to try something new, but that privilege doesn’t come cheap. Even if you like macOS 13 Ventura for its features, you won’t be able to enjoy it because of the issues. Keep using the tried-and-true macOS 12 Monterey until the new, stable version is available.
If you want to make a bootable backup for macOS 13 or 12, just try disk cloning software - AweClone.
AweClone for Mac
- Clone HDD, SSD and external device on Mac.
- Create a bootable clone backup for macOS 13, 12, 11, etc.
- Create disk image backup on Mac.


