How to Clone APFS Hard Drive?

updated on 2022-05-11 to Mac Disk Clone
We have mastered APFS after several trial and error tries and are ready to share our expertise on how to create an APFS bootable backup using the macOS command line. If something bad occurs to your local disk, you'll have an exact replica of the disk that you can attach externally to your Mac and startup. By keeping all vital files and data, a clone copy of your disk will safeguard you against any physical or software damage to your computer and system disk.
On macOS 10.13 (High Sierra) or later, use the Terminal program to run all of the commands listed below.
What's a file system or APFS, exactly?
The file system on your Mac is possibly the most crucial piece of software. It's also one of the clearest, at least when everything is operating properly. The file system is used by every user and program. The file system organizes and keeps track of all of the data on the hard disk, as well as determining which users and programs have access to them. In addition, the file system keeps track of how many files you have and how much space they use up. The file system is responsible for every action you do when you look for a file, open a file, move a file, save a file, or delete a file.
ONLY for macOS 10.14 (Mojave) users:
Additional permissions must be granted to the Terminal app. To do so, go to the System Preferences dialog's "Security & Privacy" area, then to the "Privacy" tab and choose "Full Disk Access." Select Terminal program from the Applications/Utilities folder and add it to the list by clicking the lock in the bottom left corner, then clicking "+."
System rsync is out of date (the most recent upgrade was in 2006), and it lacks some parameters needed to create a full clone. rsync can be updated in a variety of ways. We recommend Homebrew.
/usr/bin/ruby -e "$(curl -fsSL https://raw.githubusercontent.com/Homebrew/install/master/install)"
/usr/bin/ruby -e "$(curl -fsSL https://raw.githubusercontent.com/Home

You must now install the following rsync version:
install Rsync using brew
Check to see whether rsync has been updated (version 3.1.3 was available at the time we wrote these instructions). If the rsync version hasn't been updated, restart the system and double-check the rsync version.
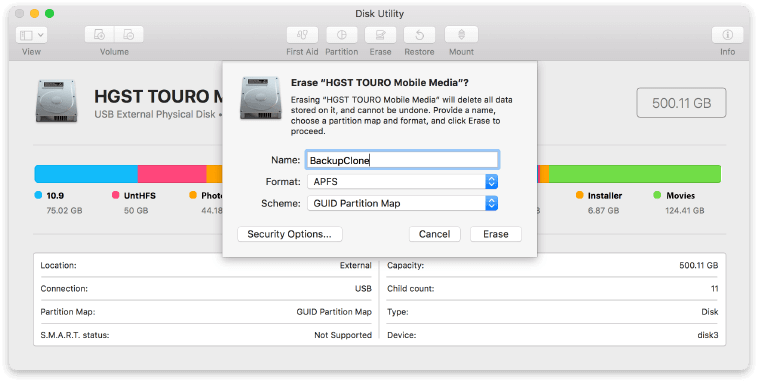
1. Create an APFS volume on your external disk with the Disk Utility software. Make sure your external drive is partitioned using the GUID scheme. It's also crucial that the size of the produced APFS volume matches or exceeds the size of the source system volume. BackupClone will be the name of the external drive volume.
2. Using the vsdbutil program, enable on-disk ownership on your drive volume. Copy/paste the following string into Terminal, replacing BackupClone with the name of your external drive volume, and pressing return:
/Volumes/BackupClone sudo vsdbutil -a
3. Using the rsync program, make a complete duplicate of the source system volume on the BackupClone volume:
Mac OS X 10.14:
For macOS 10.13: sudo rsync -xrlptgoXvHS —progress —delete —fileflags / /Volumes/BackupClone
/Volumes/BackupClone sudo rsync -xrlptgoEvHS —progress —delete
4. Our clone must now be made bootable. To do this, we must first construct a new Preboot volume in an APFS container that includes BackupClone, and then copy system files from the source Preboot volume to it.
Examine the present state of affairs with all of your volumes:
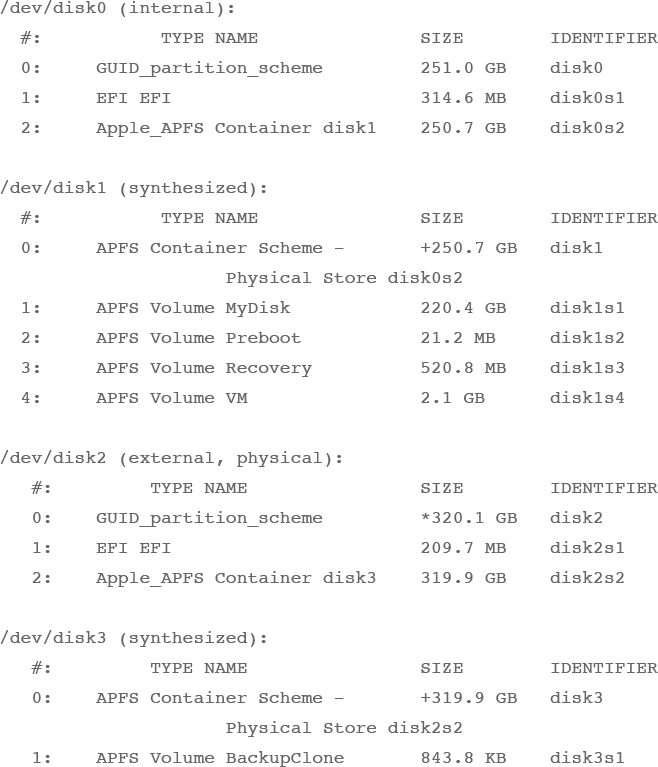
5 .As a consequence, MyDisk (disk1s1) is the source, while BackupClone (disk3s1) is the destination of our clone copy:
6. Create a BackupClone Preboot volume in the APFS container disk3:
Let's make a folder on the new Preboot volume with the same UUID as your volume BackupClone (disk3s1).
With diskutil, you can get the UUID: diskutil info disk3s1 | grep "Volume UUID"
This is the result, but with a different UUID value:
Create a folder on the Preboot drive with this UUID: mkdir /Volumes/Preboot/A579A99E-9795-4086-890E-04E2112D1E78
7. Now mount the Preboot source volume:
mount disk1s2 using diskutil
8. Obtain the source volume's UUID and copy the source volume's system files to the external Preboot volume:
9. Using the update dyld shared cache program, update dyld's shared cache on a clone volume: /Volumes/BackupClone -force sudo update dyld shared cache
10. Open the Startup Disk tab in System Preferences, then choose BackupClone and hit the Restart button. Your machine will restart and boot from the BackupClone volume that you created.
You've now produced a bootable clone of your APFS disk volume. Connect the external drive and restart your Mac while holding the Option (Alt) key until the boot disk selection shows the next time you need to boot from the clone. It is sufficient to repeat steps 3 and 8 to create a clone. But this methods seems difficult to common users. Here is another simple method to clone APFS hard drive.
Cloning APFS hard drive with AweClone for Mac
AweClone for Mac is a pretty simple to use disk cloning application. It offers three methods to clone hard drive on Mac: Disk Copy, OS Clone and Disk Image Create. First of all download it here:
AweClone for Mac
- Securely create a bootable hard drive for macOS.
- Clone APFS hard drive to anther hard drive or external storage device.
- Support for all types of Macs and file systems.


Now, we will show you the OS Clone method to clone APFS hard drive on Mac and create a bootable backup for your Mac.
Step 1. Connect an external hard drive to your Mac. Then open AweClone for Mac. Choose mode - OS clone and select the external hard drive as the destination drive.
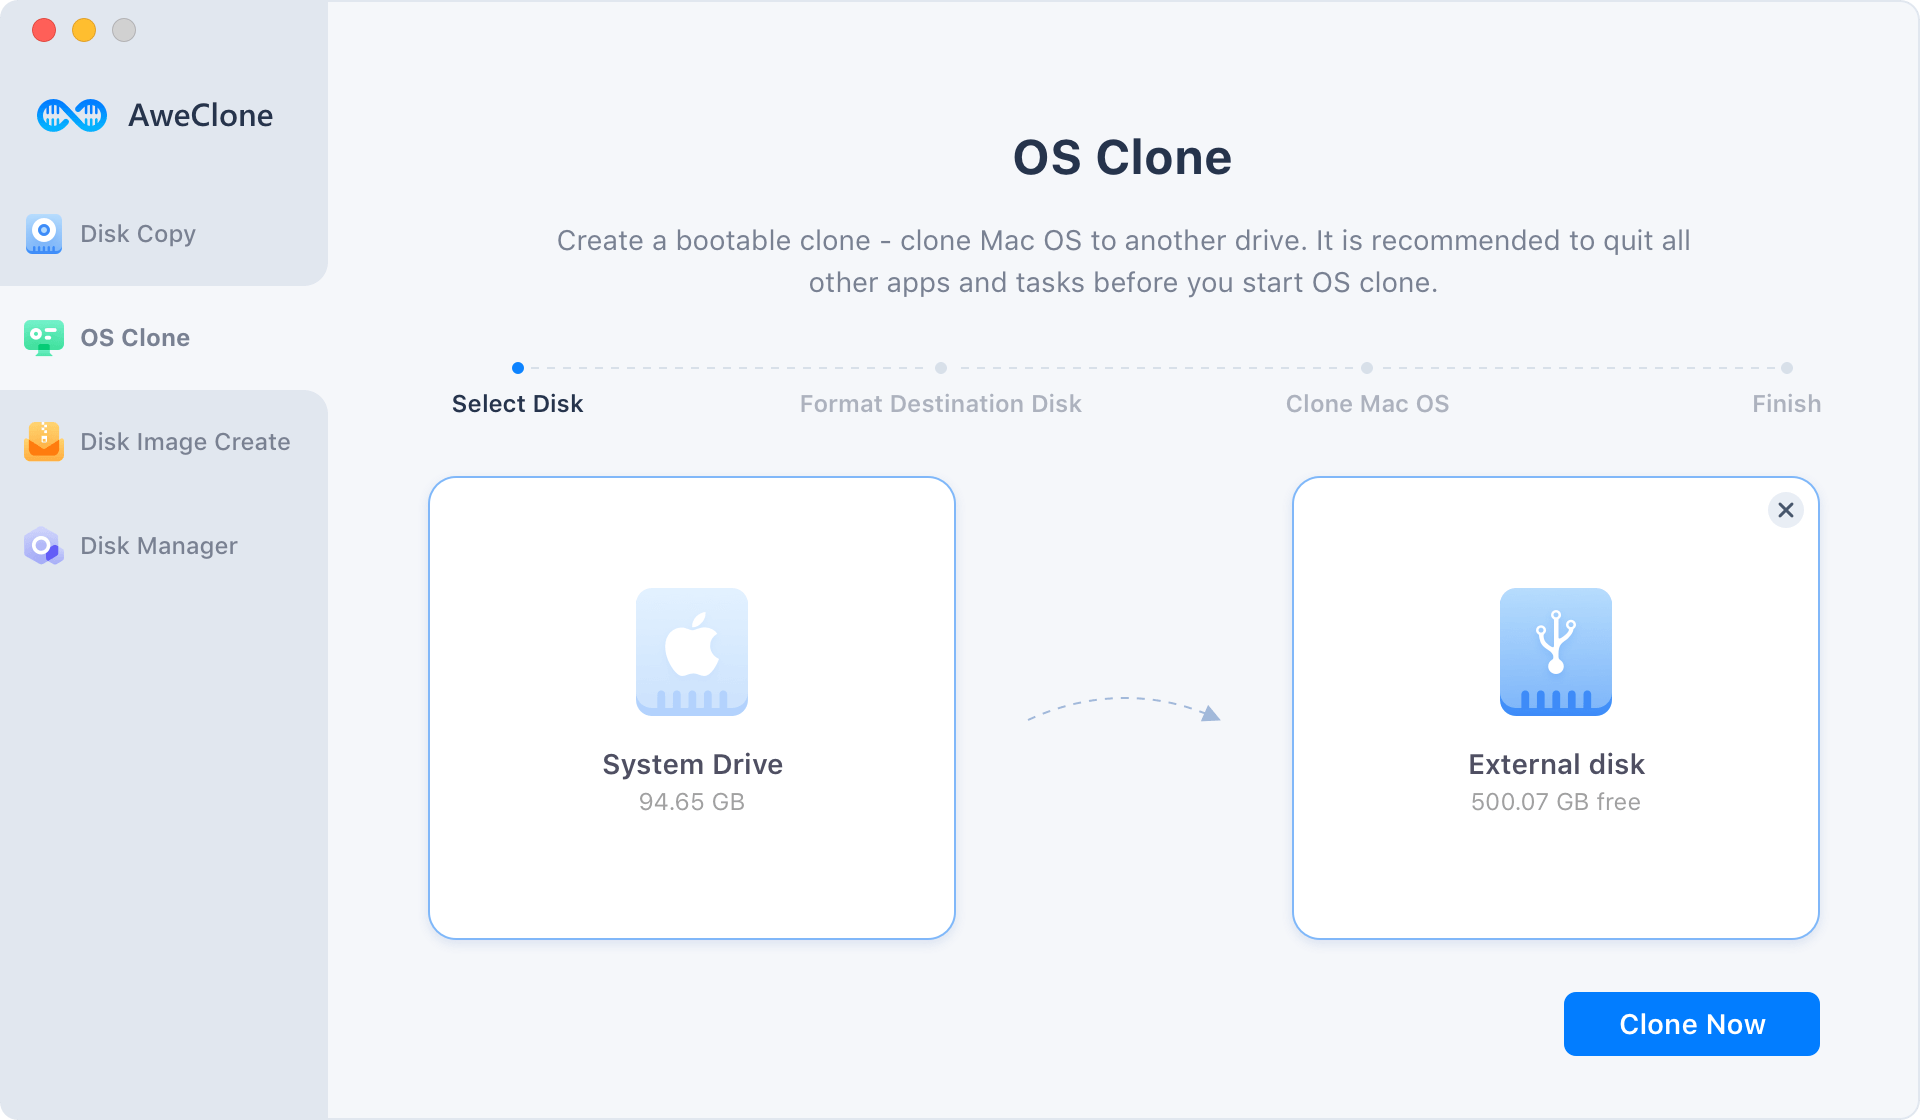
Step 2. Click on Clone Now button to securely clone the system hard drive to the external hard drive.
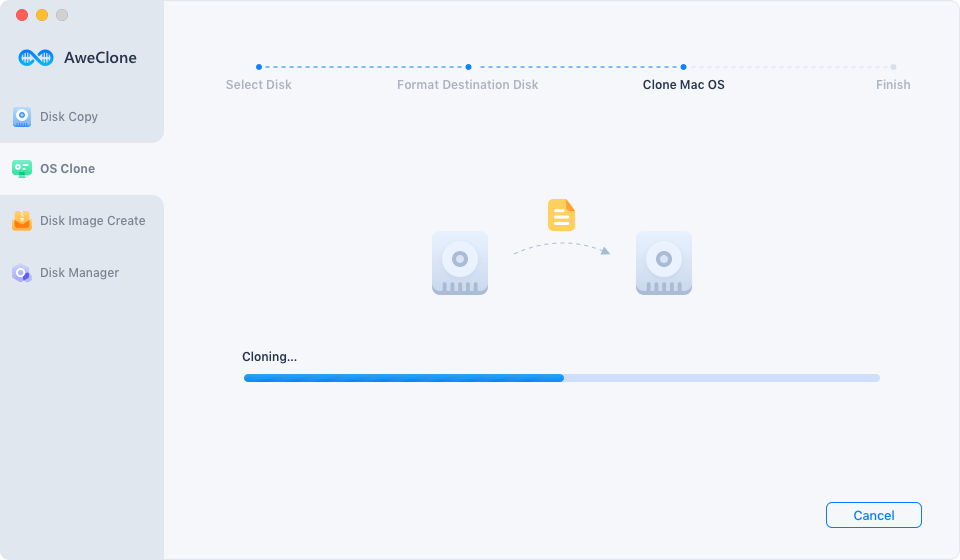
Once the scan is completed, you can check the clone on the external hard drive.