Upgrade Mac SSD: Clone Mac Data to A New SSD

updated on 2022-06-03 to Mac Disk Clone
Over a decade after the first SSDs began making their way into the consumer market, and roughly eight years after they began to appear at "consumer-friendly" pricing points, the SSD business has matured significantly.
SSDs have just recently become affordable enough to make a 512GB+ disk an impulsive purchase rather than a major financial investment. As SSD technology has matured and prices have decreased, more Mac users consider upgrading to an SSD.
When the update is complete, the speed of Mac and its overall performance will both see significant improvements. You may now extend Mac storage capacity and upgrade your Mac SSD to a larger capacity by following the instructions below.
When Is A Mac SSD Replacement Required?
If you see any of the following on your Mac, it's time to update the MacBook's SSD:
- Every time you turn on your Mac, it takes a long time to get up and run.
- Many applications suffer from sluggish performance (such as PS).
- System failures occur from time to time.
- Errors in file permissions without any warnings.
Format Your Solid State Drive
It would be best if you first format your new SSD in order to use it.
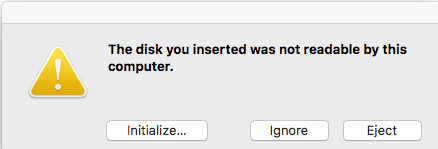
Use a SATA to USB connector to connect your SSD to your MacBook Pro. After plugging your SSD into your computer, choose to Initialize if you notice a pop-up window warning about its readability.
Find your SSD in Disk Utility's left pane by searching for it under the External label. Take a look at the top row of choices and choose Erase.
If necessary, add a new name and pick macOS Extended (Journaled) and GUID Partition Table from the drop-down choices.

To get your SSD ready for usage, choose Erase.
To complete the formatting, click Done.
Upgrade Your SSD to A Larger SSD and Keep All of Your Data Simply Cloning It
In order to minimize data loss while changing from an old Mac SSD drive to a new one, you need to use strong Mac disk cloning software to create a backup of your existing Mac drive.
As long as you have the AweClone for Mac software, you may clone your SSD drive to a new SSD.
AweClone for Mac
- Clone HDD, SSD, memory card, USB drive, and more on Mac.
- Create a bootable clone backup for Mac.
- Create a disk image backup for Mac.


To upgrade and clone a Mac SSD disk to a larger SSD drive without losing the data, just follow the steps below:
Step 1. Open AweClone for Mac and connect the new SSD to your Mac. Choose disk cloning mode - OS Clone. It will clone all data on the Mac to the new SSD.
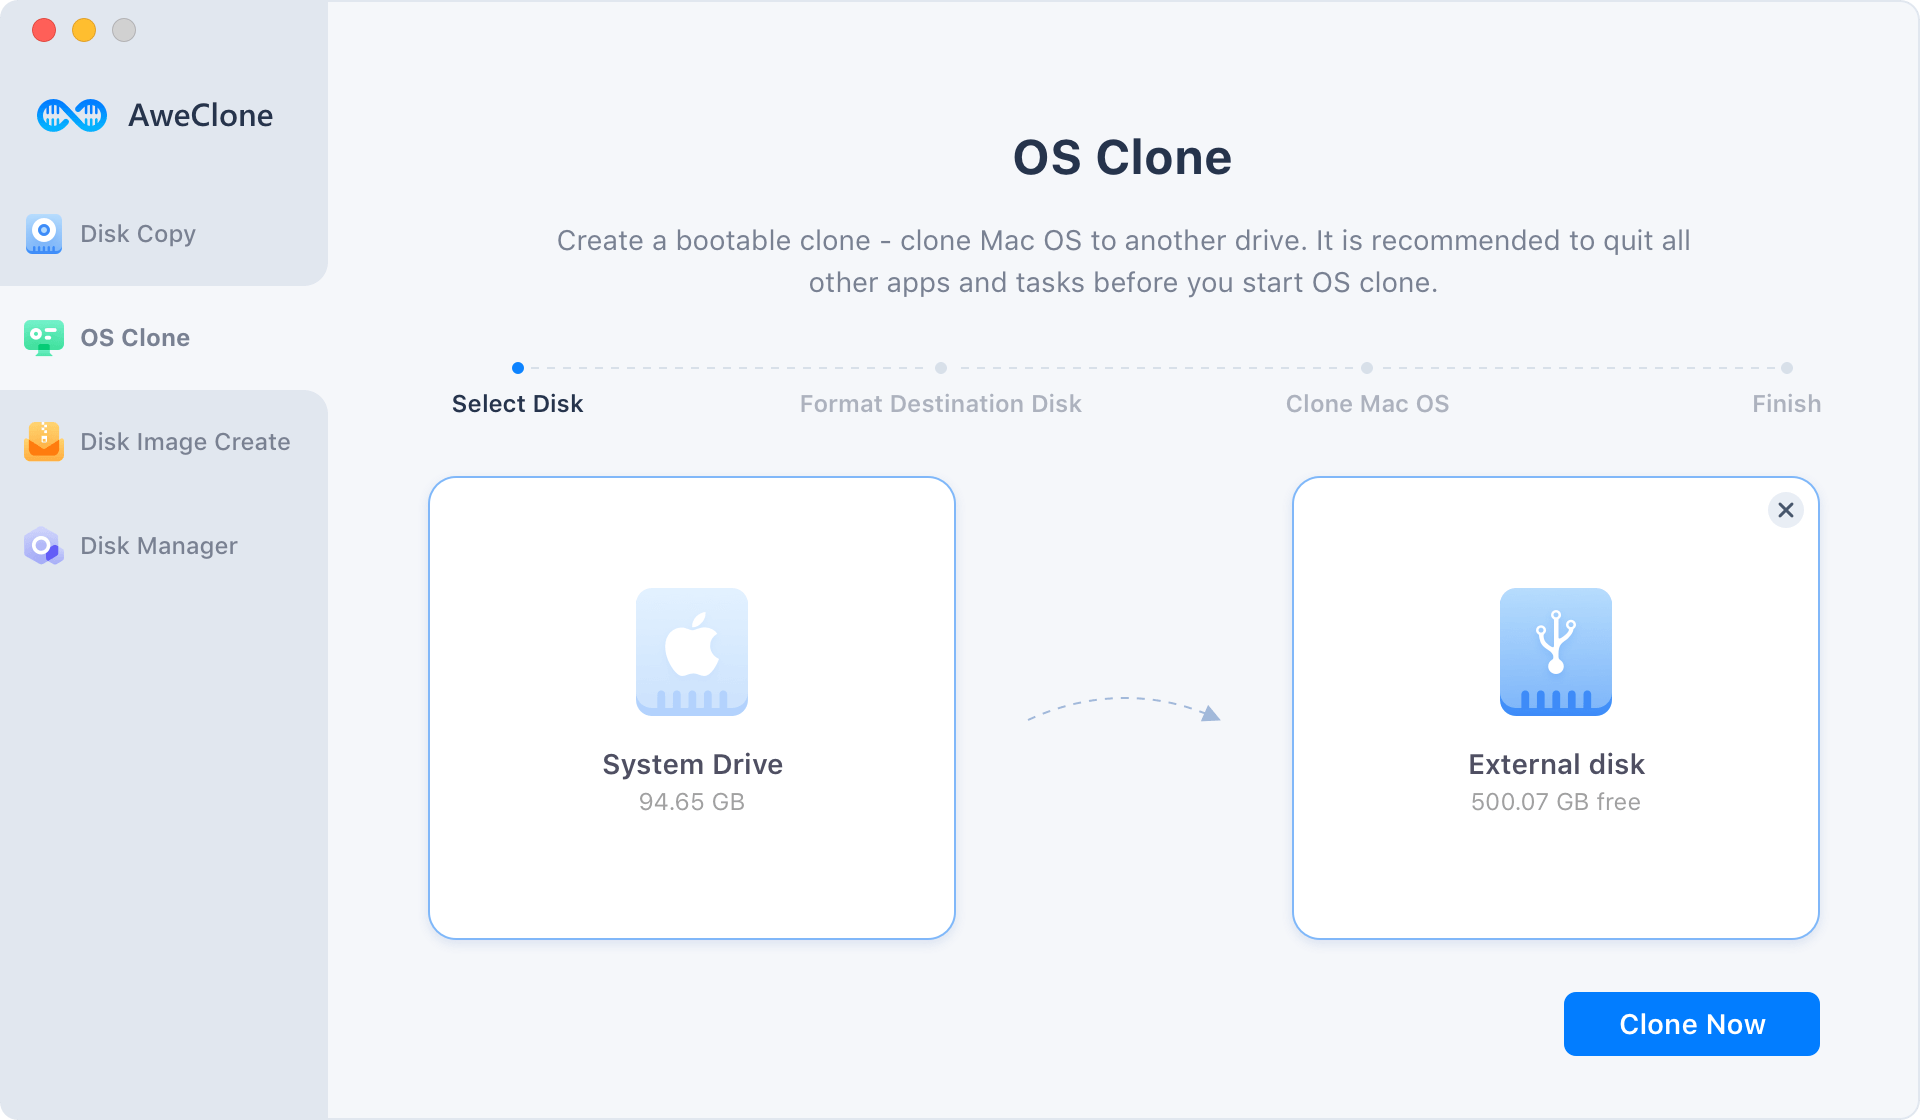
Step 2. Select the new SSD as the destination drive, click on Clone Now button to securely clone Mac startup disk to the new SSD.
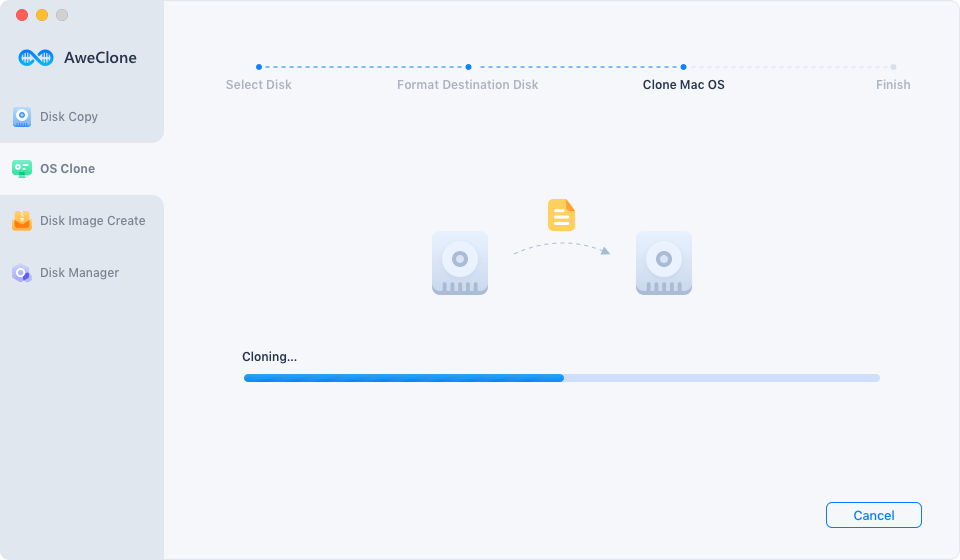
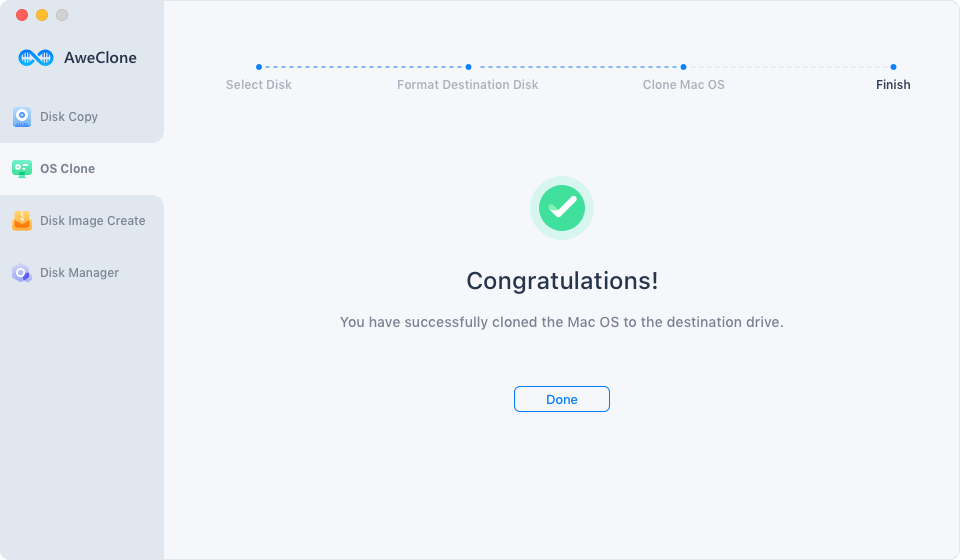
Once the process gets finished, you will get a bootable clone backup for your Mac.
Upgrade to A New Solid-State Drive (SSD) And Modify Startup Settings
Connect both the old and new SSD disks to Mac machines.
Navigate to the System Preferences menu. Hit on Startup Disk, then choose your system's boot drive's new solid-state drive (SSD).
Replace the SSD with a new SSD drive by right-clicking on the old SSD drive in Finder and selecting "Eject Only Macintosh HD."
Turn off the Apple computer and insert the new SSD drive onto the computer and restart the Mac machine once again.
Following this, you will have successfully replaced and updated the SSD drive in your Mac to a larger and more modern SSD without losing any of your data in the process.
Conclusion
Switching from a traditional hard drive to an SSD will not have the same "Wow!" effect as moving from an SSD to an SSD. Even though modern SSDs are unquestionably quicker than older models, the difference in performance isn't as substantial.
The upgrading to a new solid-state drive (SSD) is recommended for a number of reasons, the most important of which are the increase in affordability and capacity, as well as the improved dependability of a more recent drive model.