Erase An External Hard Drive on macOS Ventura

updated on 2022-11-02 to Mac Data Erasure
Sometimes, a new hard drive already has a Windows or Mac OS X installation. Often, external hard drives come with installation software already installed. Disk Utility is a tool on Mac computers that allows you to perform all of these tasks. Disk Utility is an application found on macOS and used to manage and format physical and virtual hard disks. When you upgrade to macOS Ventura, you also can use it to erase an external hard drive.
Mac users can view and manage files using Finder. Before reading or writing data, a hard drive must be formatted. Reformatting a hard drive erases its contents.
Select the right drive while formatting with Disk Utility. If unsure, unplug all drives and rejoin only the one you want to erase. Apple provides information about wiping Mac hard drives.
Disk formatting for an external drive:
External hard drives may employ spinning disks or solid memory when storing data. The Finder application on a Mac computer can be used to navigate and manage files across internal and external storage devices.
To make a hard disk usable for reading and writing, it must first be formatted, which involves erasing all data and setting it up again from scratch. It is common practice to completely reformat a hard drive to delete all its previous contents.
Make sure you're formatting the right drive in Disk Utility. If unsure which drive you want to erase, unplug all other drives and rejoin only the target drive. Apple provides detailed instructions for wiping hard drives.
Verify that the hard drive is securely connected.
Due to the dependence on cables for communication between your Mac and external hard drives, a loose connection may be to blame if your Mac does not recognize your external hard drive.
If the connection is unreliable, moving the computer around won't let you mount the external hard drive. The cable can get hot if there is a problem with the connection. Since this relies on a connection, a functional USB cable is a prerequisite.
Backup your Mac
To safeguard your information, you might employ any of the following strategies:
Use Time Machine. Since it is simple to restore information using Time Machine following a clean installation, this is the preferable method. You can't use Time Machine without an external hard disk.
Transfer crucial data by hand to a removable drive.
Make use of a cloud backup solution. If you use Chrome, Safari, or Firefox frequently, you probably already have a copy of your bookmarks, passwords, and other important information stored in the cloud. Please verify that synchronization is enabled in these browsers. For example, you can use iCloud or Google Photos to store and back up your media files, and you can use either of these services to save and share your files.
Note: It is recommended to make a bootable clone before installing macOS Ventura on your Mac.
Check if the external hard disk is NTFS.
The New Technology File System (NTFS) was created by Microsoft and is used by the company exclusively. However, macOS only supports NTFS in a read-only mode; its write support for NTFS is disabled by default due to instability. Disk Utility may detect an external hard disk formatted with NTFS, but the drive may not mount normally.
Suppose the external hard drive's file system is NTFS. In that case, you can use Disk Utility to find whether it is possible to convert the drive to a Mac-compatible file system (APFS, HFS+, or HFS) or a file system that is compatible with both Windows and Mac, such as FAT32 or exFAT, to back up the data on the drive.
However, the most remarkable aspect is the ease with which NTFS can be read and written on both Macs and Windows. If you have an external hard drive formatted in NTFS, you can use it with macOS without reformatting if you have a reliable NTFS for Mac application.
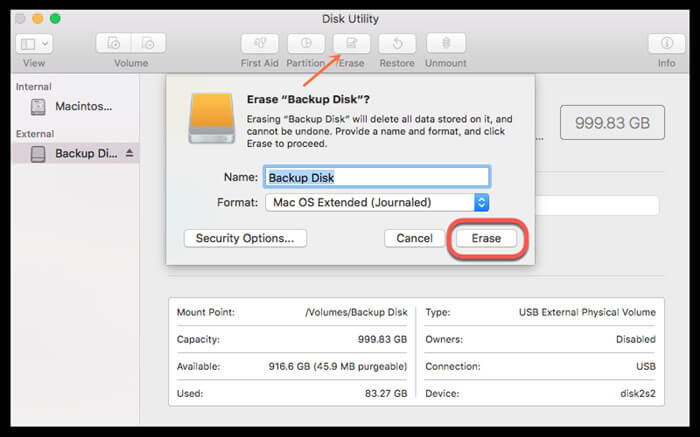
Erase an external hard drive on macOS:
To power down an M1 Mac, For ten seconds, press and hold the power button before letting go when the "Continue holding to startup options..." screen appears. "Loading Startup Options" > The menu bar > Disk Utility > Choose the Volume where macOS Venture was installed > The Erase option is located in the main menu.
Any external hard drive connected to your Mac through USB or Thunderbolt will do, but ideally, you'll set it aside just for Time Machine. It is recommended that the drive's capacity exceed that of your Mac's startup disk by at least a factor of two.
Note: if you erase an external hard drive using Disk Utility by mistake, you can use a data recovery application to help you scan the external hard drive and get all lost files back.
Wipe an external hard drive on macOS Ventura
If you want to sell or donate an external hard drive, you’d better permanently wipe all sensitive data off. AweEraser for Mac is a powerful data erasure application which is able to securely and permanently erase data from any type of disk or external storage device, and it is fully compatible with macOS Ventura.
Data Eraser - AweEraser for Mac
- Certified data erasure algorithm, including U.S. Army AR380-19 (3 passes), DoD 5220.22-M ECE (7 passes).
- Permanently wipe hard drive on macOS Ventura.
- 100% safe data erasure app, no damage to SSD.
- Certified data erasure methods.


Now, follow the steps below to erase an external hard drive after upgrading to macOS Ventura:
Step 1. Connect the external hard drive to your Mac, then open AweEraser for Mac and choose data erasure mode - Erase Hard Drive.
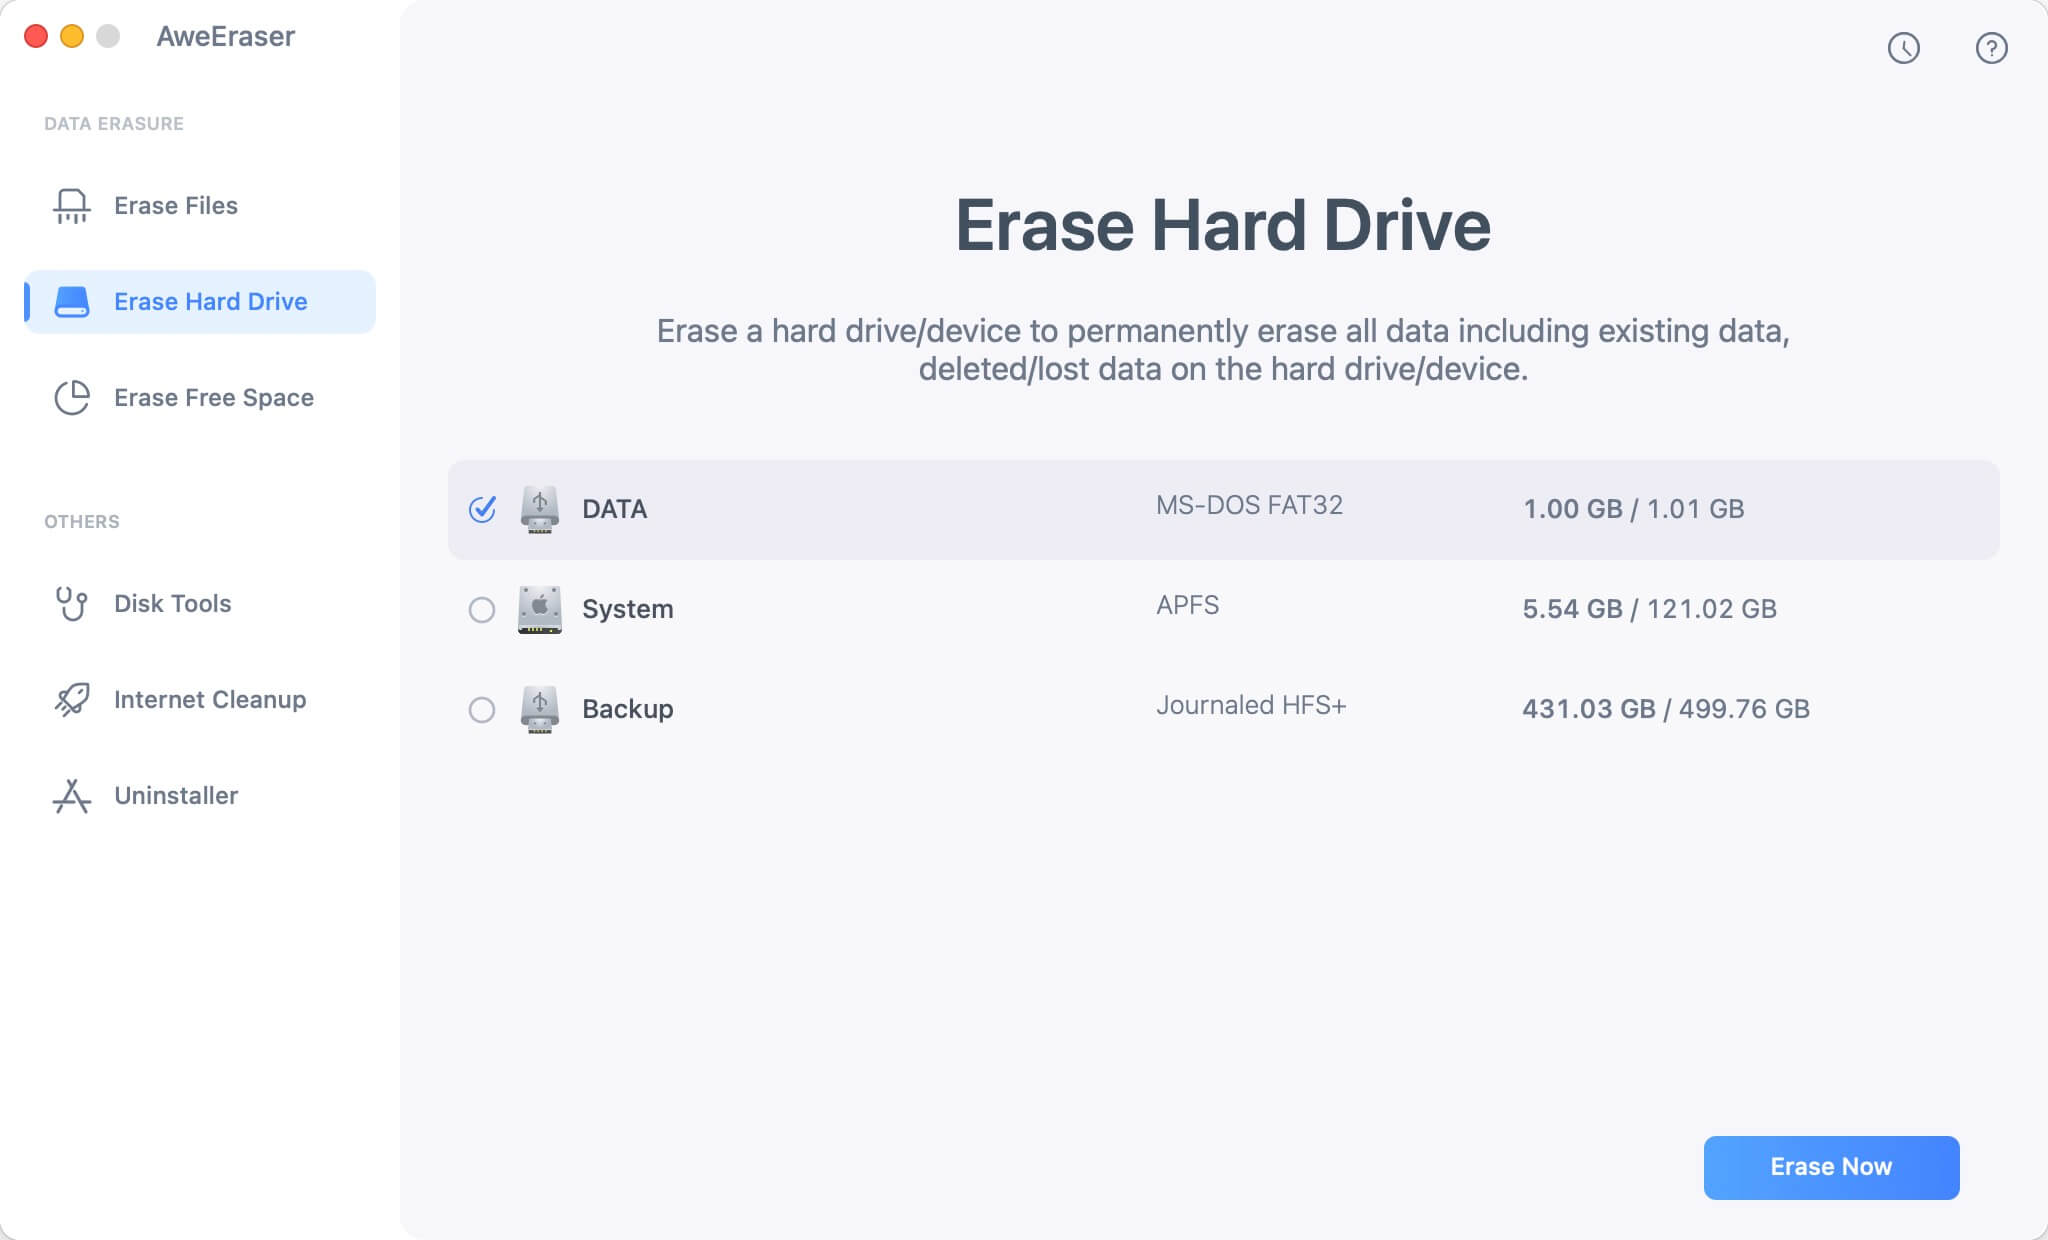
Step 2. Select the external hard drive and click on Erase Now button to format and wipe the external hard drive.
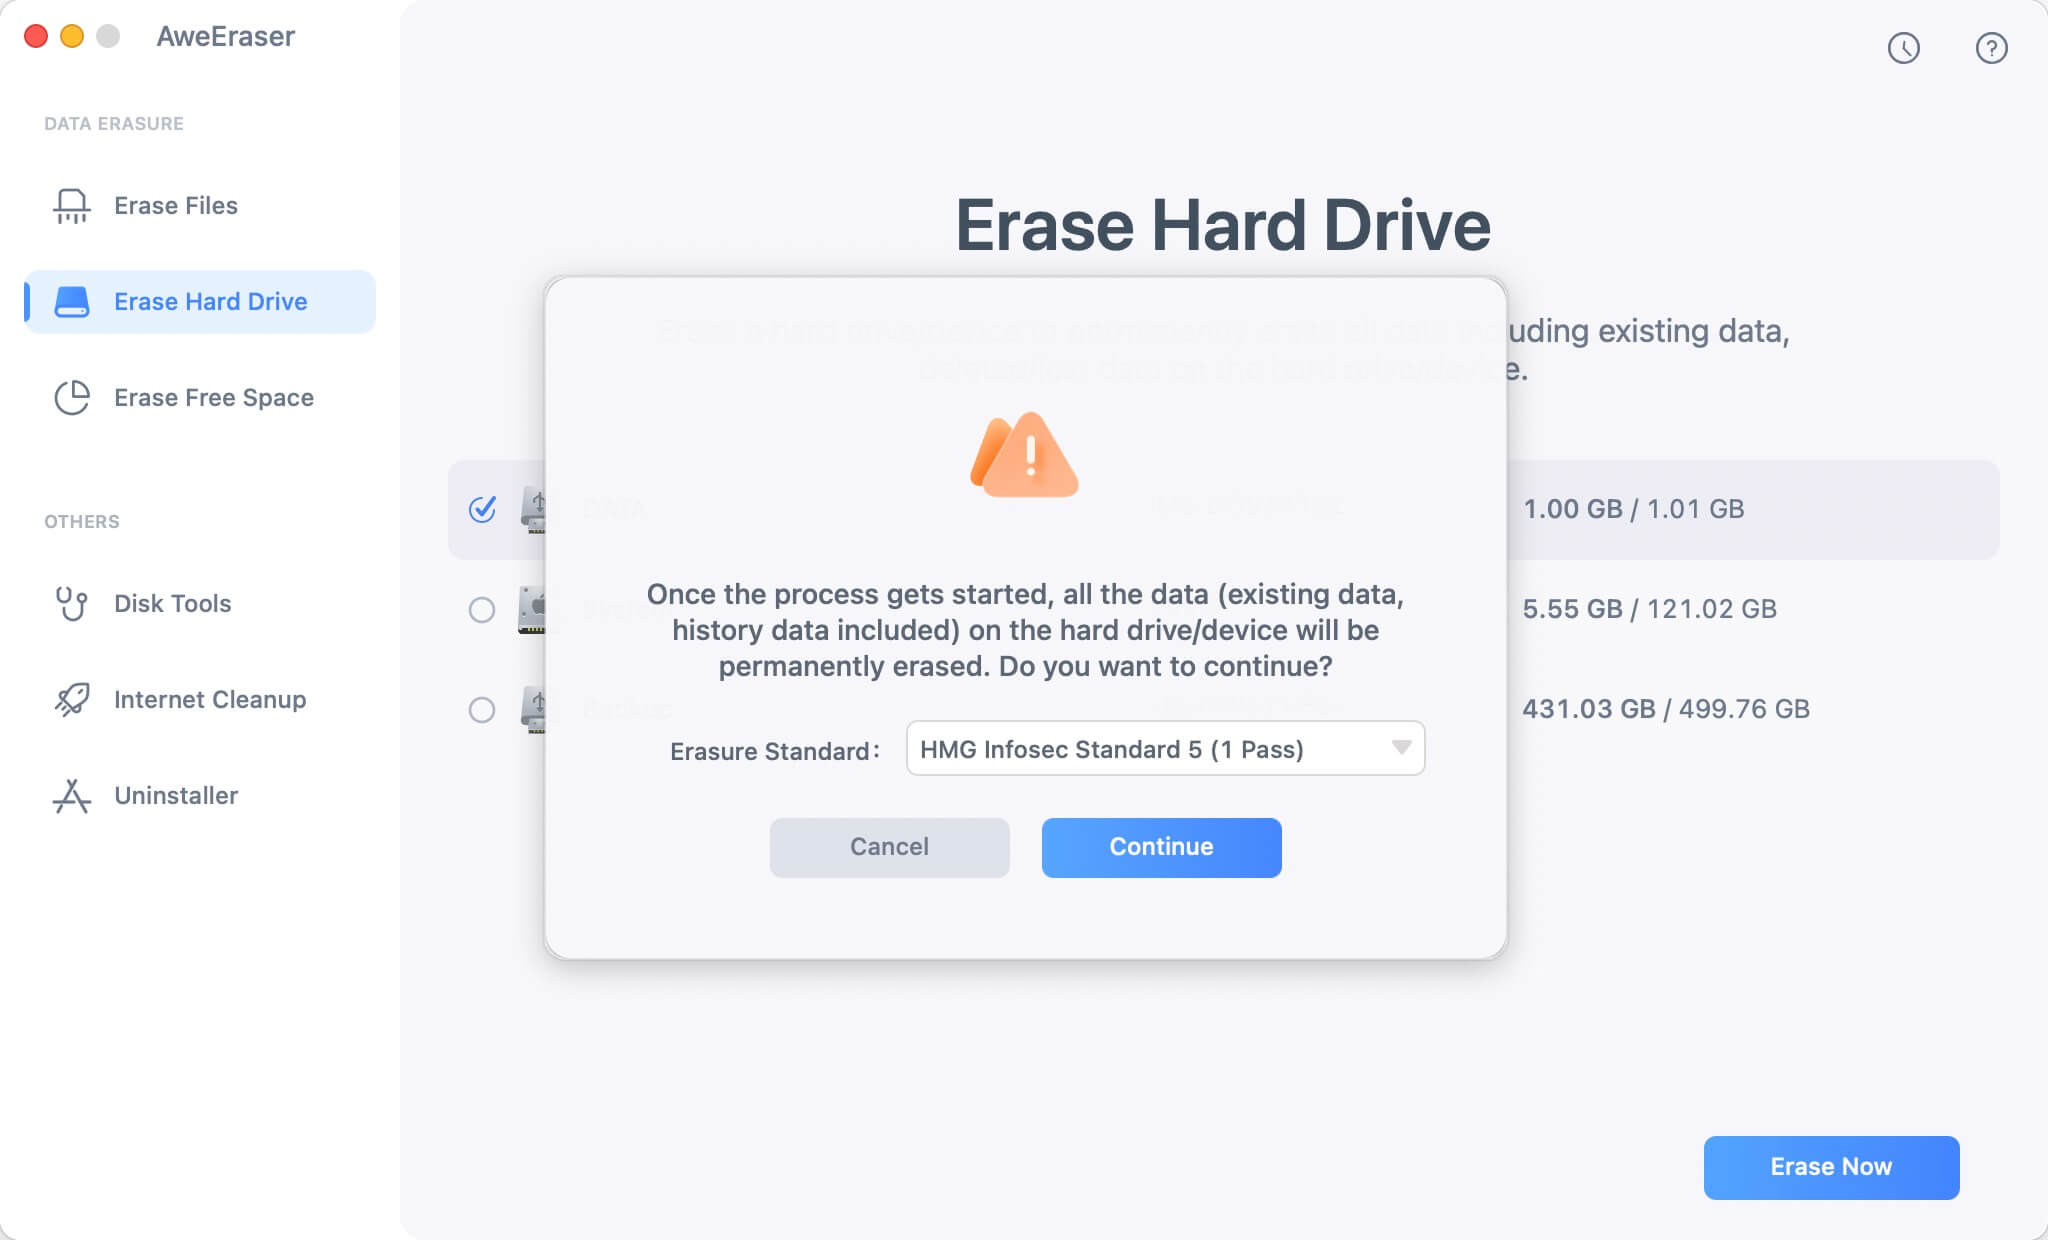
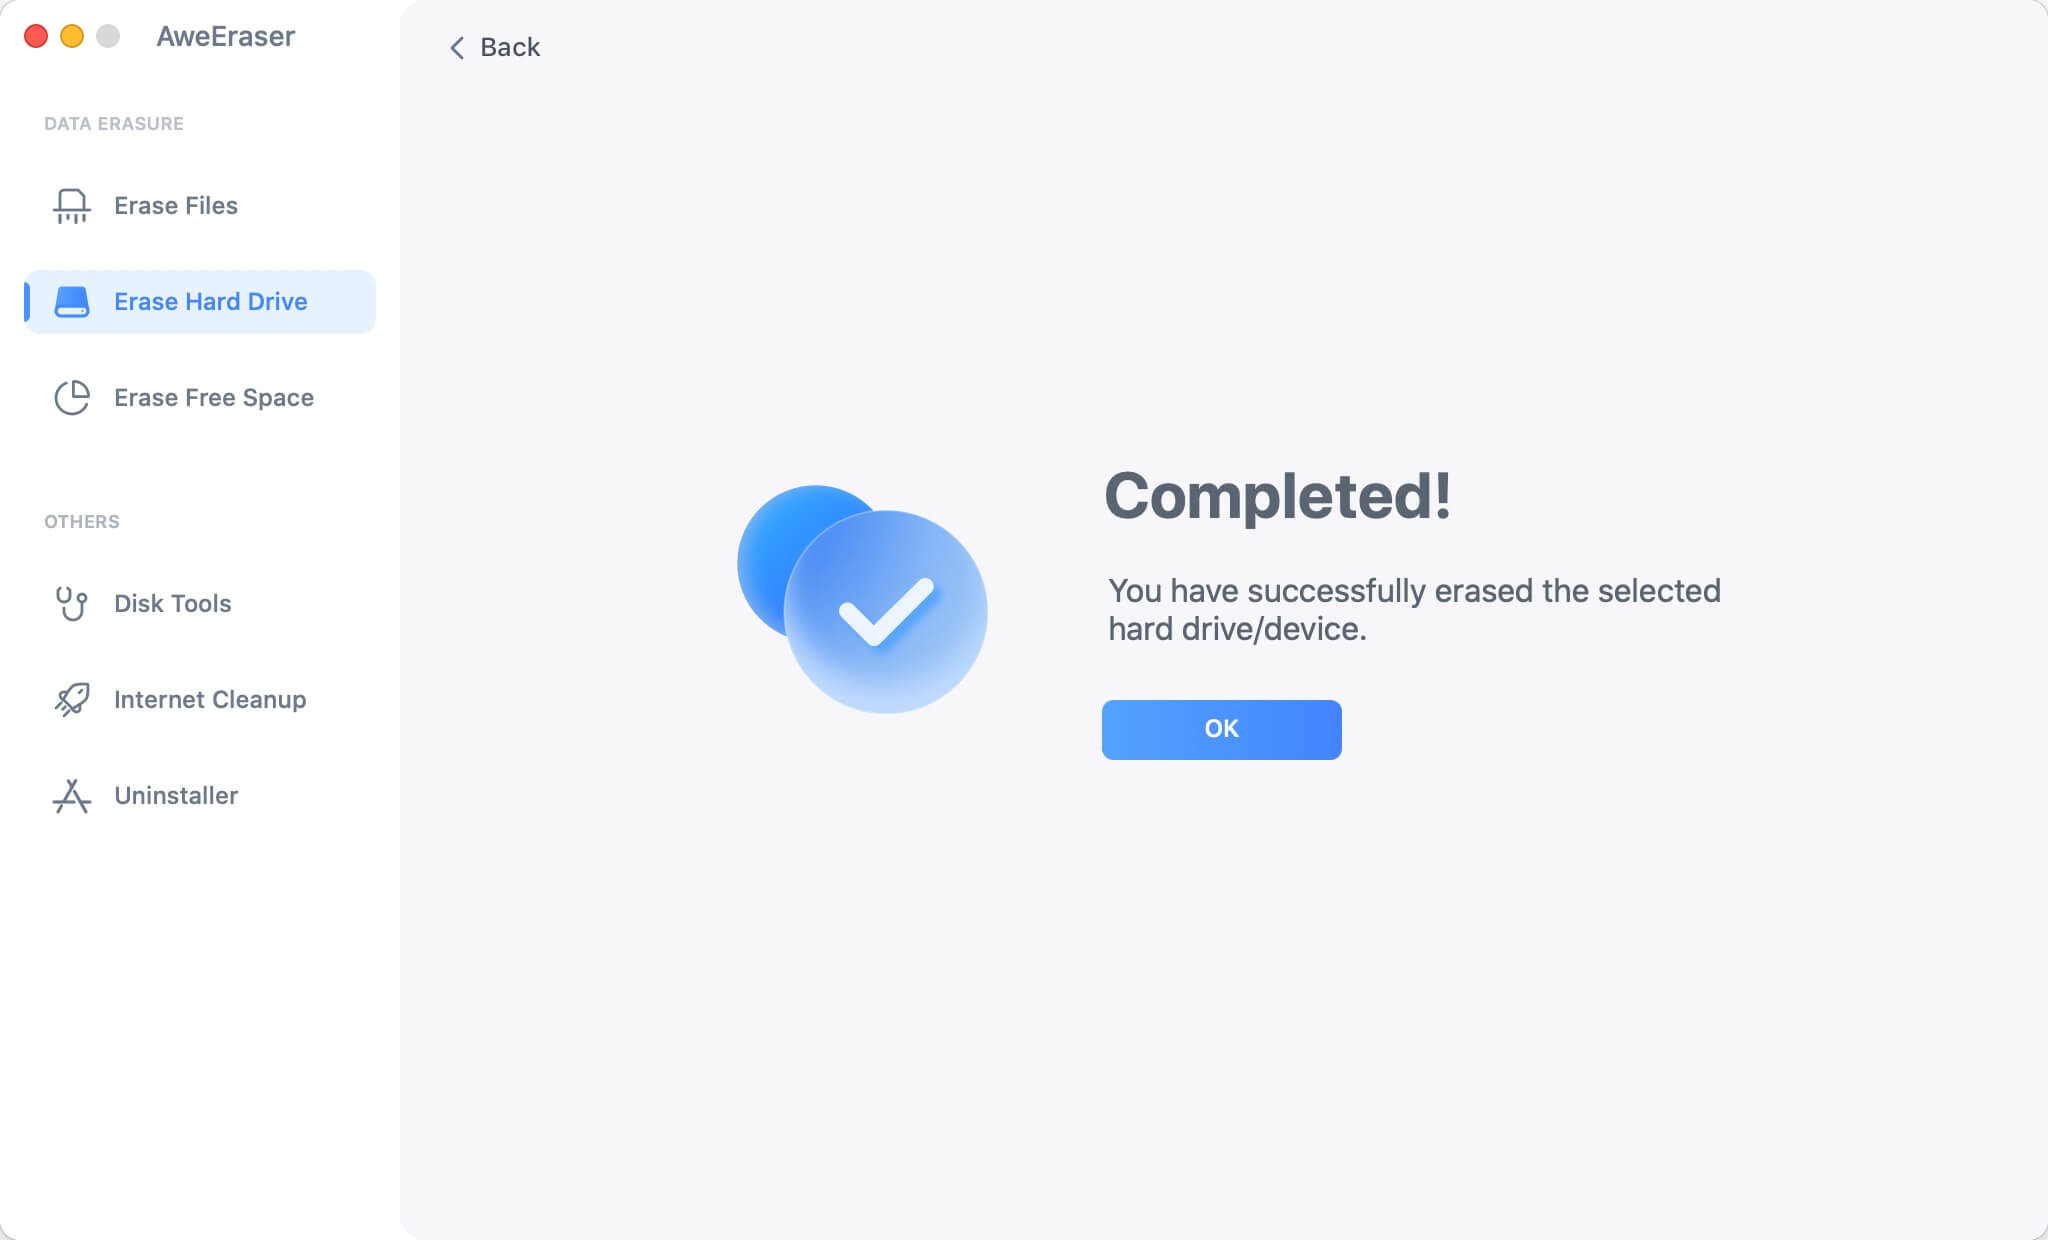
Step 3. Once the process gets finished, all data on the external hard drive is gone forever, can’t be recovered by any method.
Conclusion:
The steps discussed above are what you need to do to erase an external hard disk on macOS Ventura. You will have no trouble wiping the hard disk if you follow these steps. Before you sell or donate your external hard drive, you can try AweEraser for Mac to format and wipe the external hard drive, making data recovery be impossible.