How to Permanently Delete A File In macOS Ventura?

updated on 2022-09-24 to Mac Data Erasure

Quick Navigation:
- 1. What Do You Need to Know About Ventura?
- 2. How Can I Completely Erase My macOS Ventura Hard Drive?
- 3. File Shredder Software for macOS Ventura
Here, we'll show you permanently delete a file in macOS Ventura, so if you've been seeking a means to get rid of old files on your Mac PC or Desktop, you've come to the perfect spot. If there are any files on your computer that you do not want to transfer to your new device, you should remove them before making the switch.
Over time, this will prevent you from making room for newer files on your device. You may utilize third-party software you find online if you're worried you might need to restore the data in the future. Therefore, let us go right into the article itself without further ado.
What Do You Need to Know About Ventura?
Over a few years, macOS has seen several updates. The new interface, conceived by Big Sur, includes a reworked Notification Center and Control Center, among other improvements.
The next big thing was macOS Monterey, which included some neat new additions to FaceTime, including SharePlay for easy multimedia sharing and Voice Isolation for better audio quality. When compared to previous Mac OS releases, macOS Ventura surprisingly includes more high-quality additions.
The finest part about this update is that, rather than focusing just on adding brand new features, the Ventura macOS version has also enhanced the existing ones. macOS Ventura updated things like the Spotlight search tool.
The Mail application was chosen as a target for macOS Ventura's enhancements after hearing from several Mac users about their frustrations with the previous version. In Monterey macOS, users would utilize the spotlight to look for certain documents, programs, or media.
Among the new features introduced by macOS Ventura is an overhaul of the spotlight to facilitate better compatibility with other Apple products. Tab Groups, introduced in Monterey for the Safari browser, provide you control over how your tabs are organized and how quickly you can switch between them and other tabs you've opened.
However, Ventura macOS has gone out of its way to provide a Shared Tab Groups feature. Using this function, you may invite others to join the same set of Tabs.
How Can I Completely Erase My macOS Ventura Hard Drive?
Follow the detailed instructions below if you want to reset your new macOS Ventura to factory settings completely.
Restart your Mac and choose Apple Menu from the menu bar. At the next step, click the gear icon to access System Preferences.
Second, click the System Preferences icon and choose the Erase All Content and Settings option.
The next step is to launch Erase Assistant, which will prompt you to log in as an administrator. Then, input the password you normally use to access your Mac. Once you've entered the correct code, choose the OK button.
Let's say you've decided to make a copy of your files before wiping your macOS. Using the Time Machine shortcut on your Mac to create a backup of your important files is a good idea. After that, you may save your files to an external hard drive. To begin a new backup, choose Continue.
When you're ready to delete your files, settings, and other information, click the Continue button.
If you are prompted to log out of Apple ID, all you have to do is enter your password for your account and click Continue to begin the process of logging out of Apple ID.
As a further step, you'll need to double-tap the Erase All Content & Settings button.
Depending on the state of your Mac, you may see a progress bar or a blank screen when it restarts. It may prompt you to activate Mac's accessory icon if it needs to pair with a Bluetooth Accessory, such as a mouse or keyboard.
After 30 seconds, if you haven't succeeded in connecting the accessory, try turning it off and then back on again. You'll have to choose a language if you want to use a Bluetooth keyboard.
You could be instructed to use WiFi or a network cable in the future. The WiFi settings menu allows you to switch between available networks.
Once you connect your Mac to a network, it will begin functioning. The next step is to click the Restart button.
When you restart your device, a setup assistant will appear to walk you through the remainder of the Mac setup procedure.
When initially setting up a Mac, it's recommended that you consult a setup assistant guide.
File Shredder Software for macOS Ventura
When you delete a file and empty trash or erase disk using Disk Utility, the lost file or erased data is not lost forever, the data or file can be recovered by data recovery software. File shredder can help you securely and permanently delete a file or erase disk in macOS Ventura.
Data Eraser - AweEraser for Mac
- Permanently delete files and folders in macOS Ventura.
- Wipe hard drive in macOS Ventura.
- Wipe free disk space to permanently erase deleted data in macOS Ventura.


AweEraser for Mac can help you securely and permanently erase files and folders in macOS Ventura. Once the files have been erased by AweEraser for Mac, the files will be lost forever, can’t be recovered by any data recovery software.
Step 1. Open AweEraser for Mac, then select the files you want to erase, add them to the erasure list.
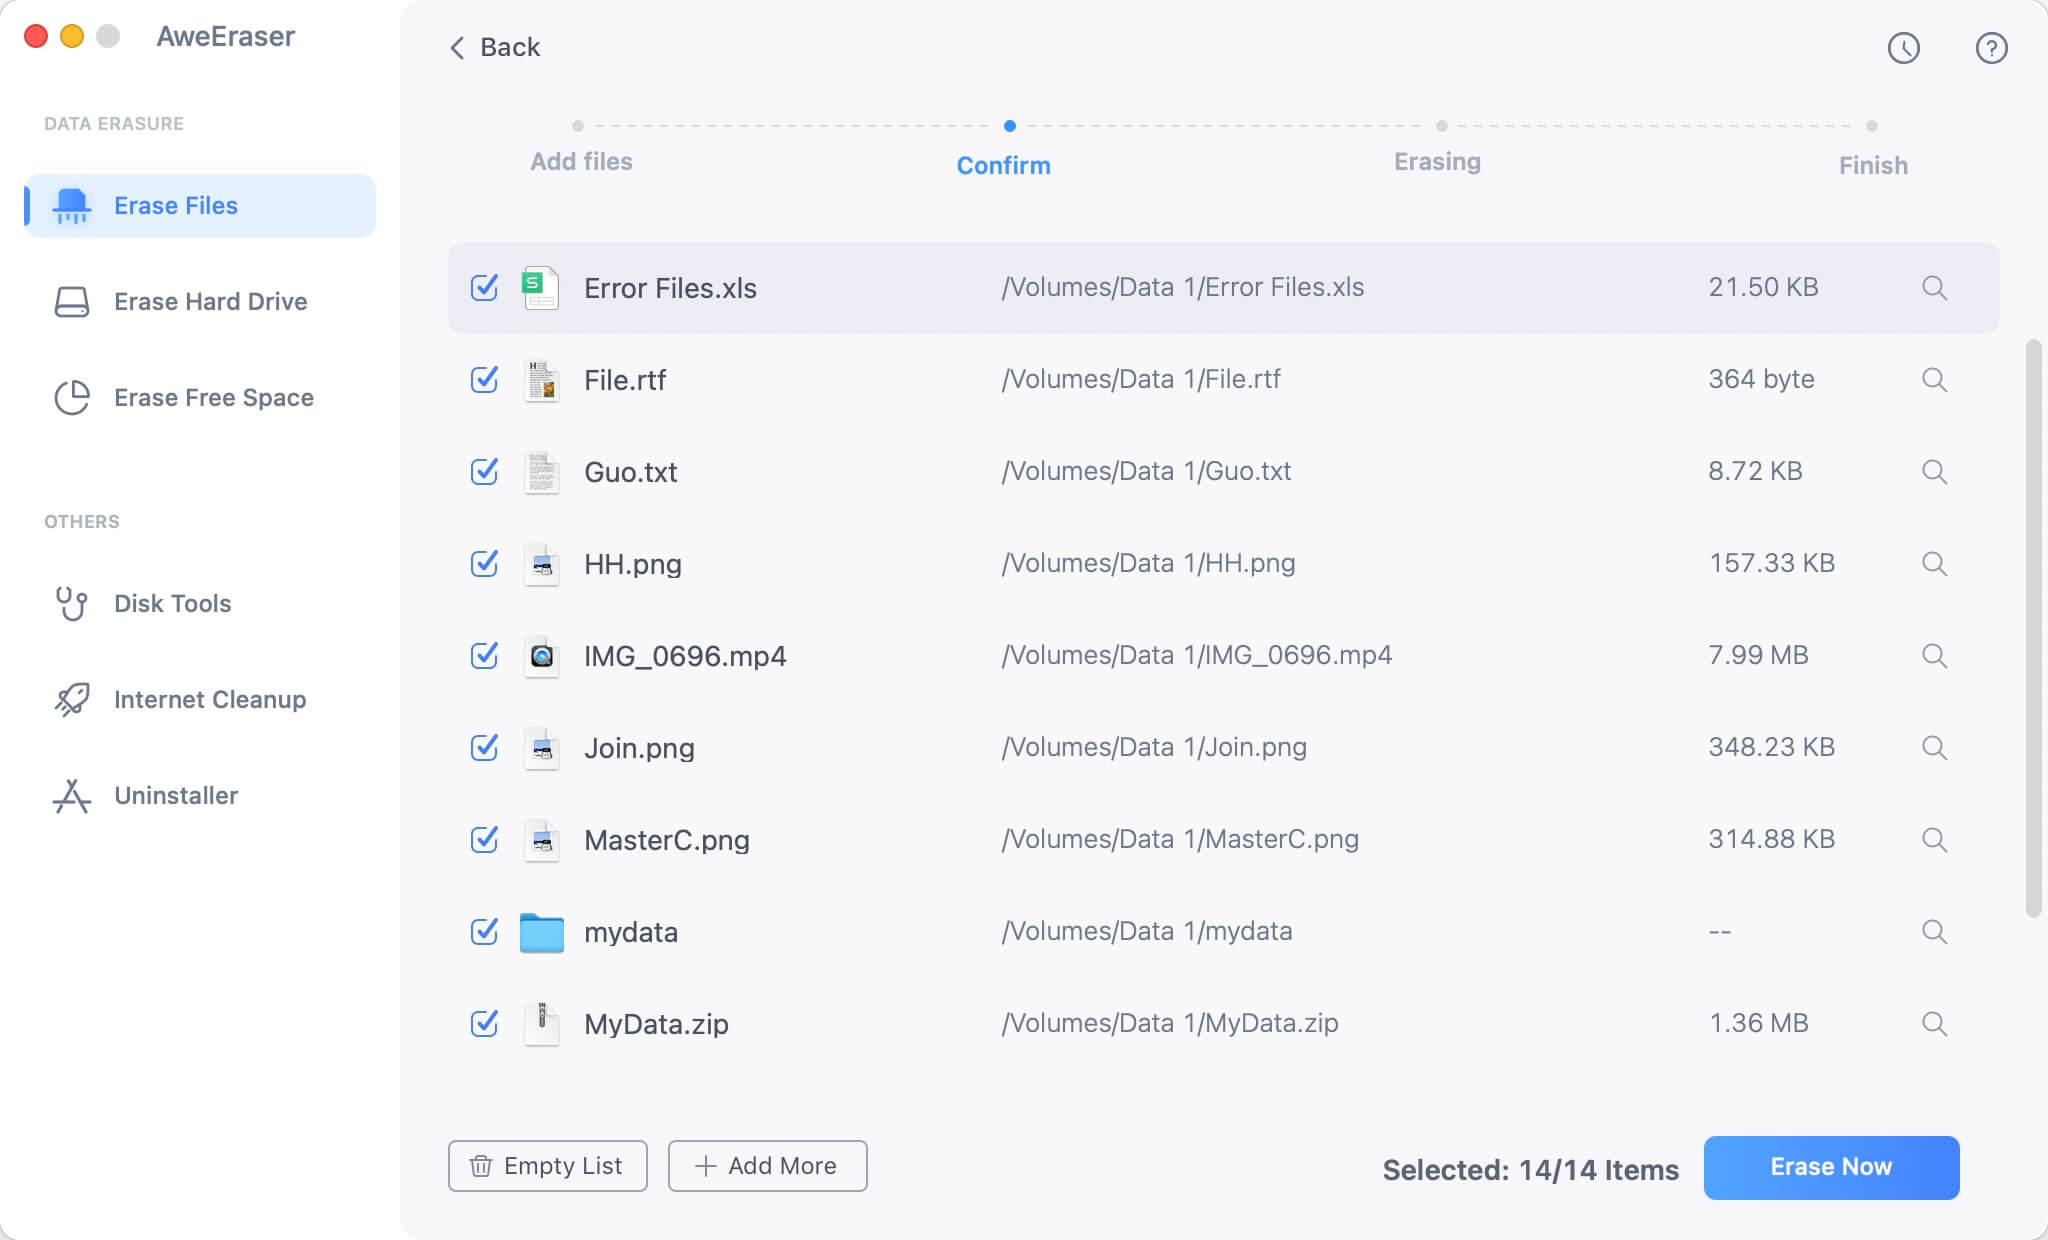
Step 2. Click on Erase Now button to securely and permanently erase the selected files.
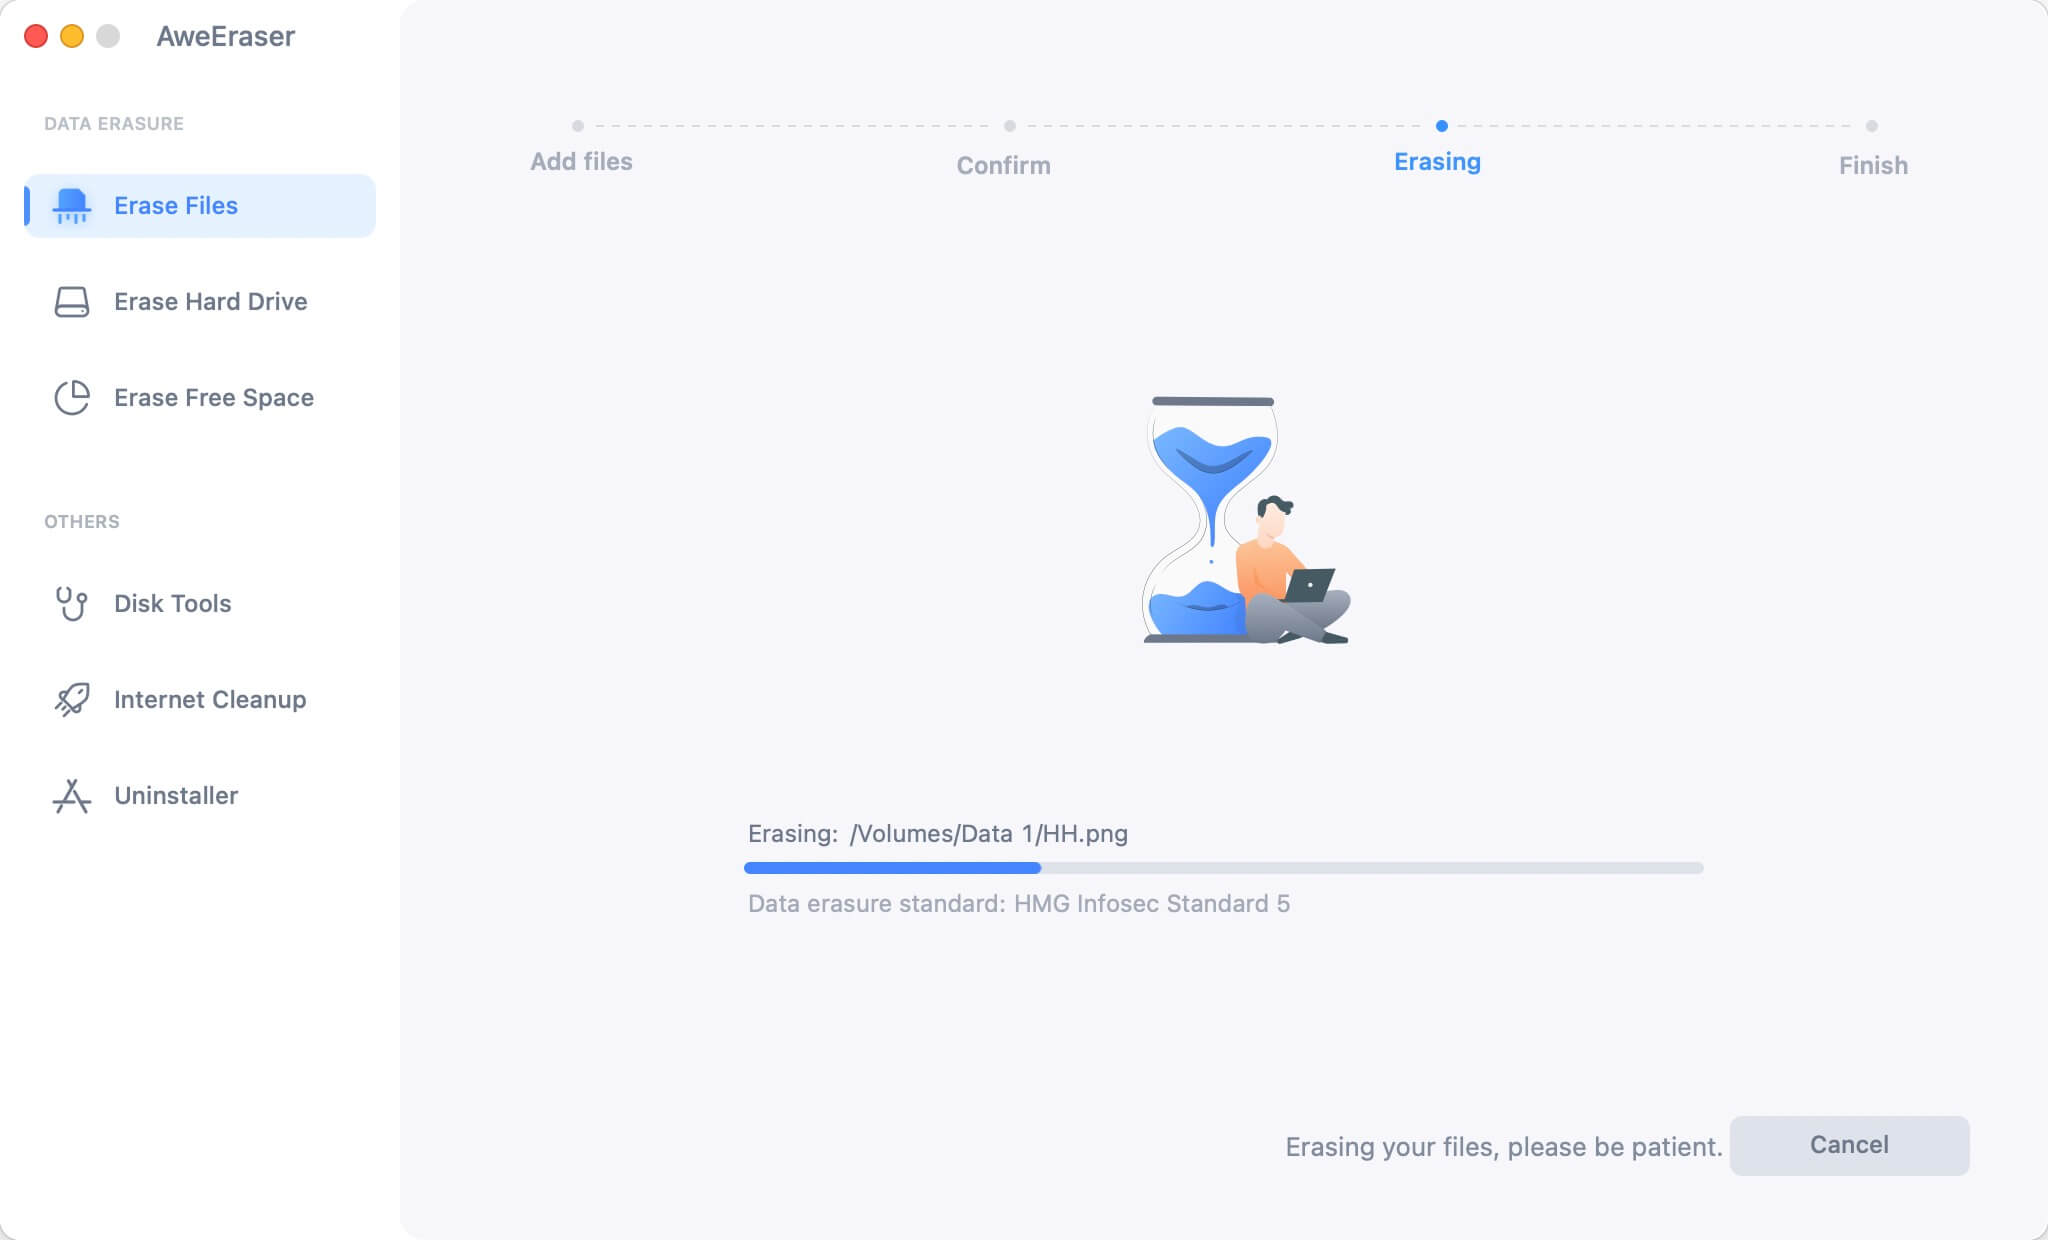
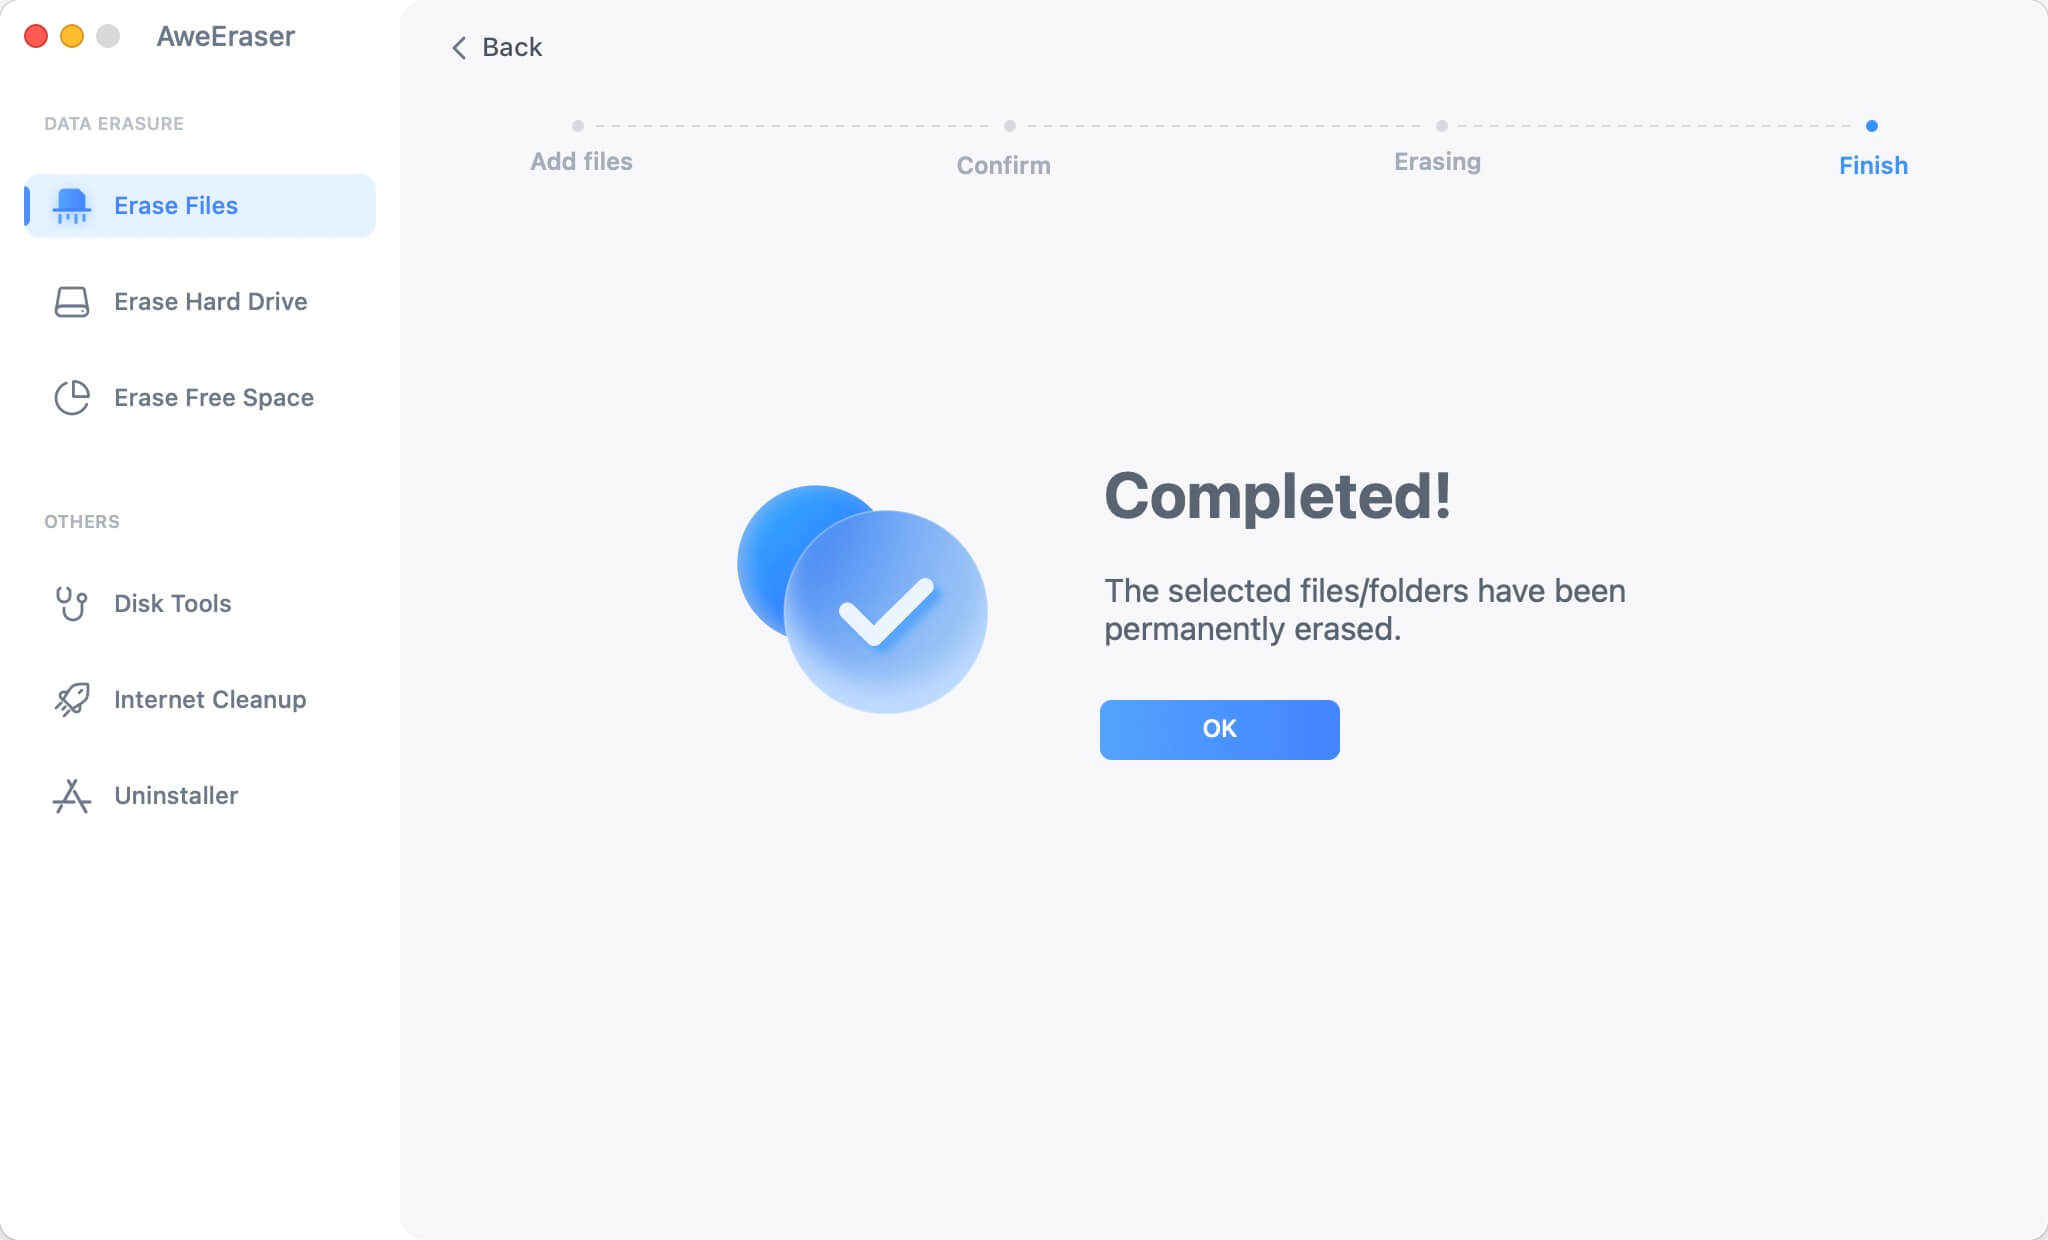
Once the process gets finished, the files are gone forever, can’t be recovered by any method.
Conclusion
If an undesired file is deleted but not removed from the system, an internal event may prevent the deletion. Don't allow yourself to become irritated if you ever find yourself in such a scenario again now that you know how to delete files on Mac manually. Give the aforementioned solution a go; I'm certain they'll work for you.