How to Recover Lost Data from Crucial SSD?

updated on 2021-06-21 to Removable Device Data Recovery
Crucial solid state drive is a great SSD for you to upgrade your PC, Mac, desktop. It also can help you back up important data and clone hard disk drive. However, when you find your important data in a Crucial SSD gets lost, you can’t put back the data from recycle bin. You need special data recovery software to help you securely and easily recover lost data from a Crucial SSD.
Quick Navigation:
- Part 1. Download Crucial SSD data recovery software.
- Part 2. Recover lost data from Crucial SSD within 3 steps.
- Part 3. Fix crashed Crucial SSD on Windows and Mac.
- Part 4. Permanently erase data from Crucial SSD beyond recovery.
Part 1. Download Crucial SSD data recovery software.
When data loss happens, you can recover lost data from recycle bin or previous backup. If you can’t recover lost data from recycle bin or have no backup, you can try data recovery software. In this article, we will introduce an easy-to-use data recovery program to help you recover lost data from your Crucial SSD.
The deleted or formatted data in your Crucial SSD is not lost forever. With right data recovery software, you can easily get lost data back. Magoshare Data Recovery is one of the best data recovery software. It can help you:
- Recover permanently deleted files from Crucial SSD.
- Unformat Crucial SSD and get all lost data back.
- Recover lost data from damaged or inaccessible Crucial SSD.
- Raw recovery on Crucial SSD.
Magoshare Data Recovery is fully compatible with Windows and Mac OS. It means you can recover lost data from Crucial SSD on PC and Mac. First of all, just download and install this data recovery software on your computer.


Part 2. Recover lost data from Crucial SSD within 3 steps.
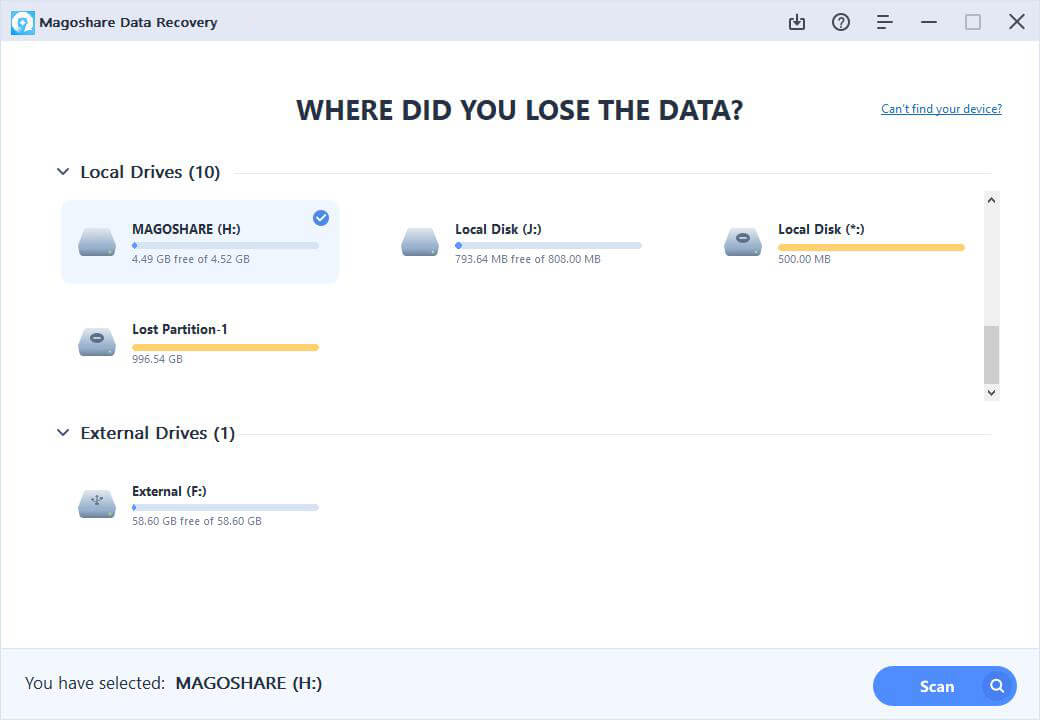
Step 1. Select the Crucial SSD to start data recovery.
Run Magoshare Data Recovery on your computer and connect the Crucial SSD to your computer. Then select the Crucial SSD to start data recovery.
Step 2. Scan the Crucial SSD to find lost data.
Click on Scan button. Magoshare Data Recovery will deeply scan the Crucial SSD and find all recoverable files.
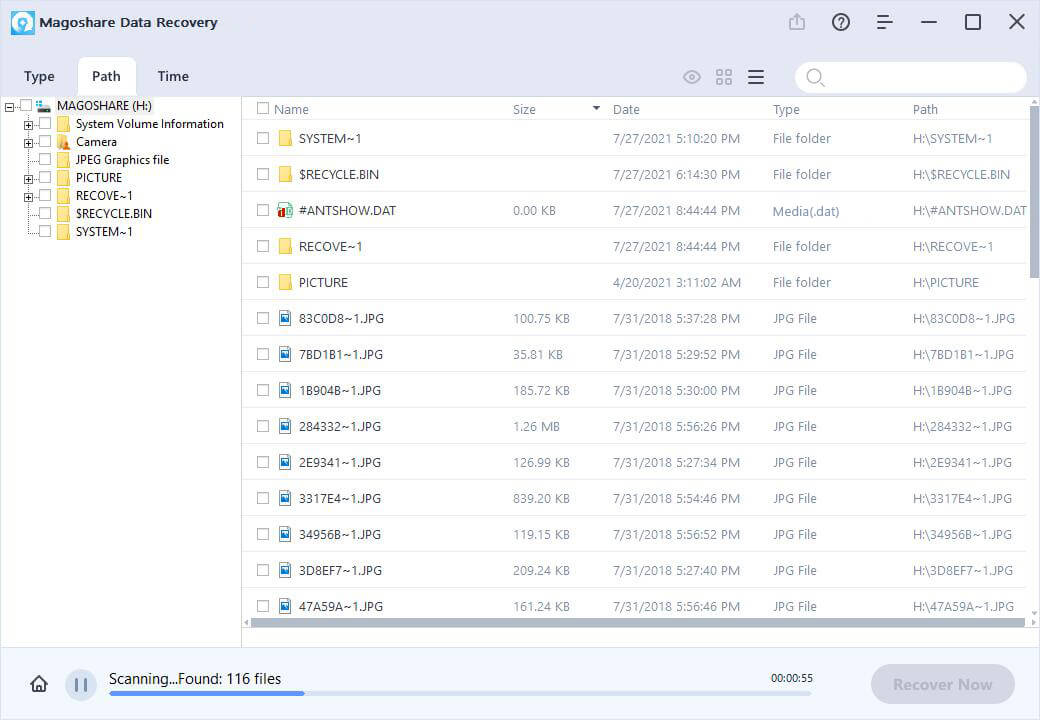
Step 3. Recover lost data after scanning.
Once the scan is completed, you can preview all recoverable files. Then select the wanted files and save them to a safe location.

Part 3. Fix crashed Crucial SSD on Windows and Mac.
If your Crucial SSD is not showing up, check the guide below:
Fix unrecognized SSD on Windows >>
Fix unrecognized SSD on Mac >>
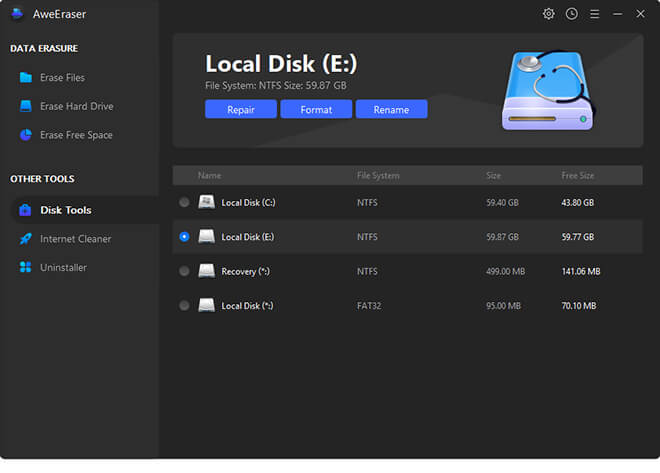
AweEraser is a powerful data erasure & disk management tool. It offers disk tools to help you format and repair disk drive. Download it here:
Step 1. Open AweEraser on your computer. Then select the Crucial SSD.
Step 2. Click on Repair button to scan your Crucial SSD, find and fix minor logical errors.
Part 4. Permanently erase data from Crucial SSD beyond recovery.
As you’ve seen, the deleted/formatted data on your Crucial SSD is still can be recovered by data recovery software. In most cases, you don’t need to permanently erase your data from the Crucial SSD because there is no security issue. If you are going to sell, donate or discard your Crucial SSD, you’d better permanently erase all your sensitive data to prevent potential data recovery.
AweEraser can help you securely and permanently erase data from Crucial SSD. It offers three modes to permanently erase data from your Crucial SSD.
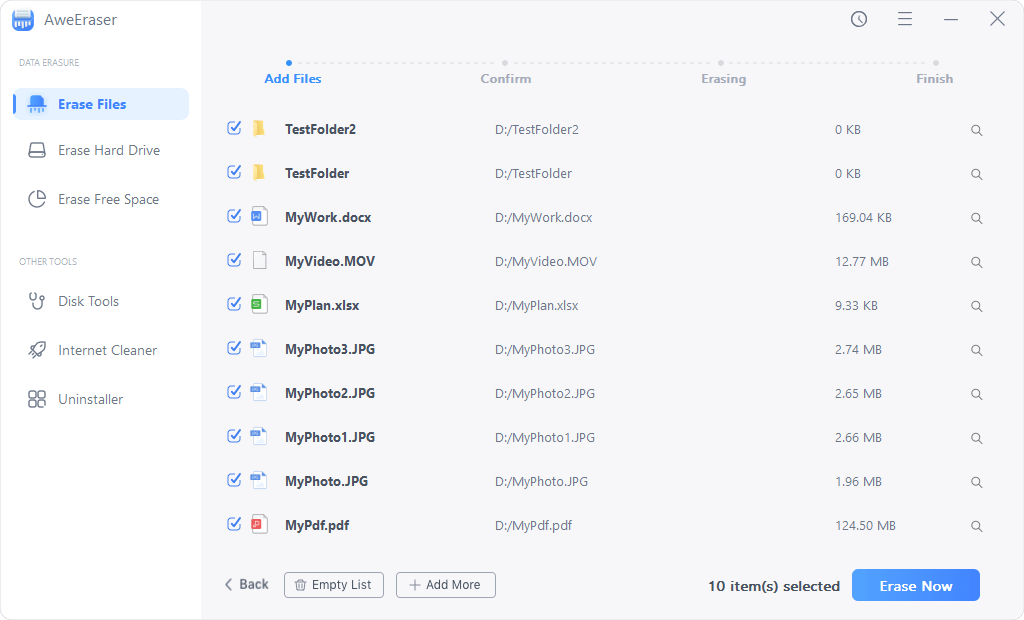
Mode 1. Selectively and permanently erase files/folders from the Crucial SSD.
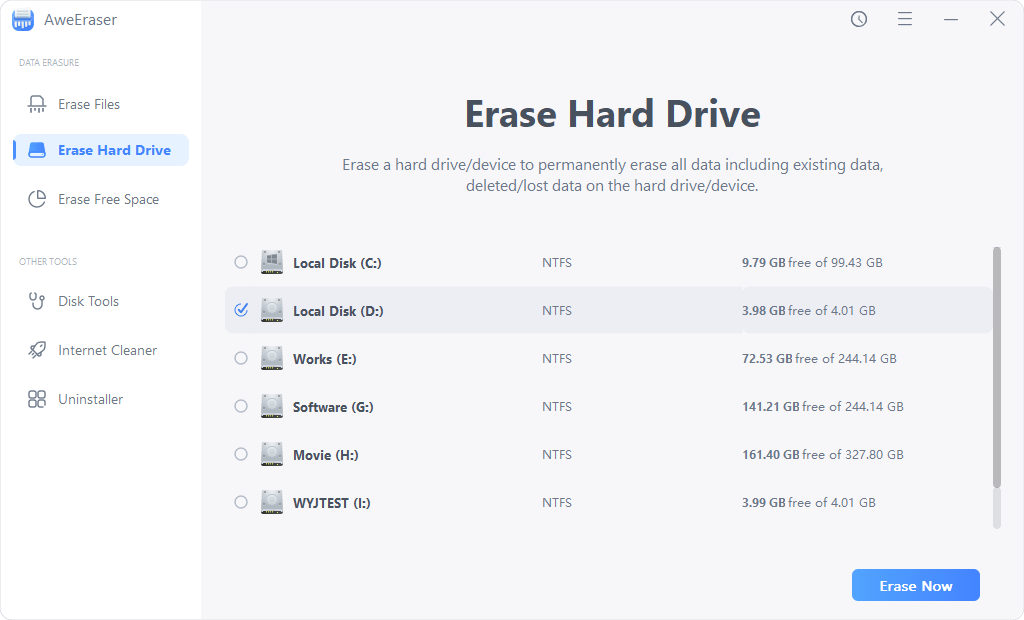
Mode 2. Format and wipe the Crucial SSD. It will permanently erase all data from the Crucial SSD.
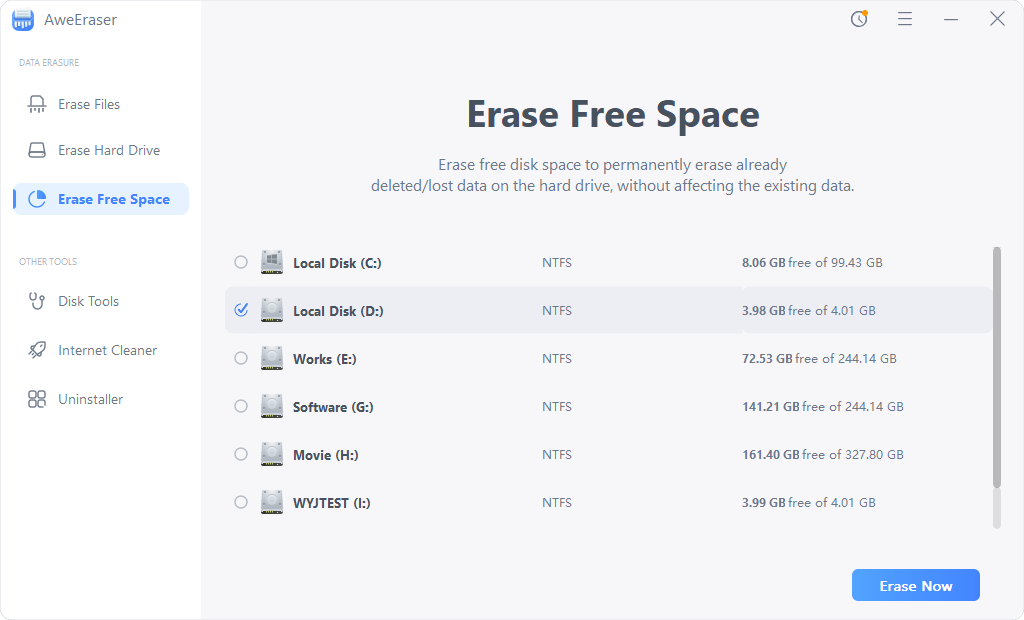
Mode 3. Wipe free disk space of the Crucial SSD to permanently erase all deleted/lost data.
Please note that once the data is erased by AweEraser, the data will be lost forever, can’t be recovered by any data recovery software. This software is 100% safe, it will not shorten the service life of your Crucial SSD. Before you sell, donate or discard your Crucial SSD, you can use this software to permanently erase all your sensitive data.