Clone Hard Drive Using Disk Utility In macOS Ventura

updated on 2022-07-25 to Mac Disk Clone
It is possible to generate an exact copy of a bootable system on an external device through cloning. Mirroring a hard disk has also been referred to as this. To be clear, Disk Utility can generate clones, but the program calls it "Restore" since it's like moving data from one disk to another.
Using the restore feature isn't limited to drives. It may be used with disk images, hard disks, SSDs, and USB flash devices that can be mounted on your Mac. This article lets you discover the simple steps necessary to clone a hard drive using the Disk Utility in macOS Ventura.
What's the Purpose of Cloning A Mac's Disk?
"Is it essential to make a clone of Mac's hard drive?" While using Mac, this notion must have occurred to you at least once. To put it another way, duplicating hard drives safeguards your vital data against physical damage, loss, or theft.
You cannot guarantee that your hard drive will survive a lifetime without ever failing or experiencing a crash, regardless of how new or high-quality it is. There are several reasons why a hard disk might fail and permanently lose all of your data, including images, documents, movies, and music.
In addition, if essential personal and commercial papers are lost during the move, it is very hard to find them again. As a result, in order to avoid the aforementioned and a plethora of other problems that might develop as a result of lost data, we strongly advise that you get familiar with the Disk Utility Clone feature.
Using the "Restore" capabilities of Mac Disk Utility, you may protect your data, vital information, and files by physically copying them from your Mac Drive.
Restoration of A Non-Startup Volume
In order to utilize the Restore feature, you must choose a drive that does not contain any active data, including the current starting disk. In the event that you want to clone your startup drive, you have the option of using either the Recovery HD volume on your Mac or any other disk on which there is a bootable copy of OS X installed.
Launch Disk Utility, which may be found in the Applications folder under the Utilities subfolder.
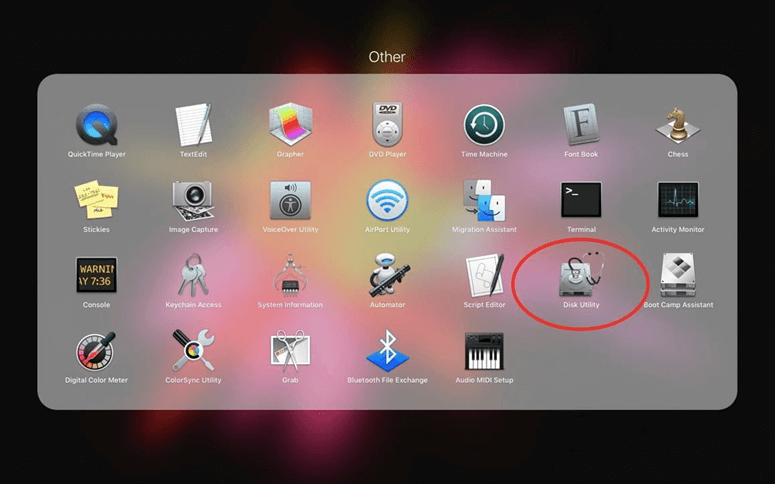
The Disk Utility software will launch, presenting a single window split into three areas: a toolbar, a sidebar displaying currently mounted drives and volumes, and an information pane, providing information about the currently chosen device in the sidebar.
Note: You may run an earlier version of the Mac OS if the Disk Utility software appears different from the one shown in this guide. You may look for instructions on how to clone a drive by utilizing an older version of the Disk Utility program.
Choose the volume that you wish to duplicate or clone the data to in the sidebar that appears. For the Restore function, you must choose a destination volume.
From the Edit menu of Disk Utility, choose Restore.
You'll be presented with a drop-down option, and you'll be asked to pick the source device you want to utilize for the Restore procedure. Additionally, a warning will appear on the sheet informing you that the volume you have chosen as the destination will be deleted. The data on that volume will be replaced with data taken from the volume used as the source.
Make your selection from the "Restore from" drop-down option, and then hit the Restore button to begin your restore.
The process of restoring will start at this time. Status bars will appear in a new drop-down menu to indicate how far along the Restore procedure has been completed. In addition, by clicking the Show Details disclosure triangle, you may access more information.
The Done button in the drop-down sheet will become accessible after the Restore procedure has been completed. Close the Restore sheet by clicking Done.
Create bootable clone backup in macOS Ventura using AweClone
Another easy method to clone hard drive on macOS Ventura is to use disk cloning software - such as AweClone for Mac.
AweClone for Mac
- Create bootable clone for macOS Ventura.
- Clone HDD, SSD, external device on macOS Ventura.
- Create disk image backup for macOS Ventura.


Now, follow the steps below to make a bootable clone for macOS Ventura:
Step 1. Open AweClone for Mac, choose disk cloning mode - OS Clone and connect an external hard drive to your Mac.
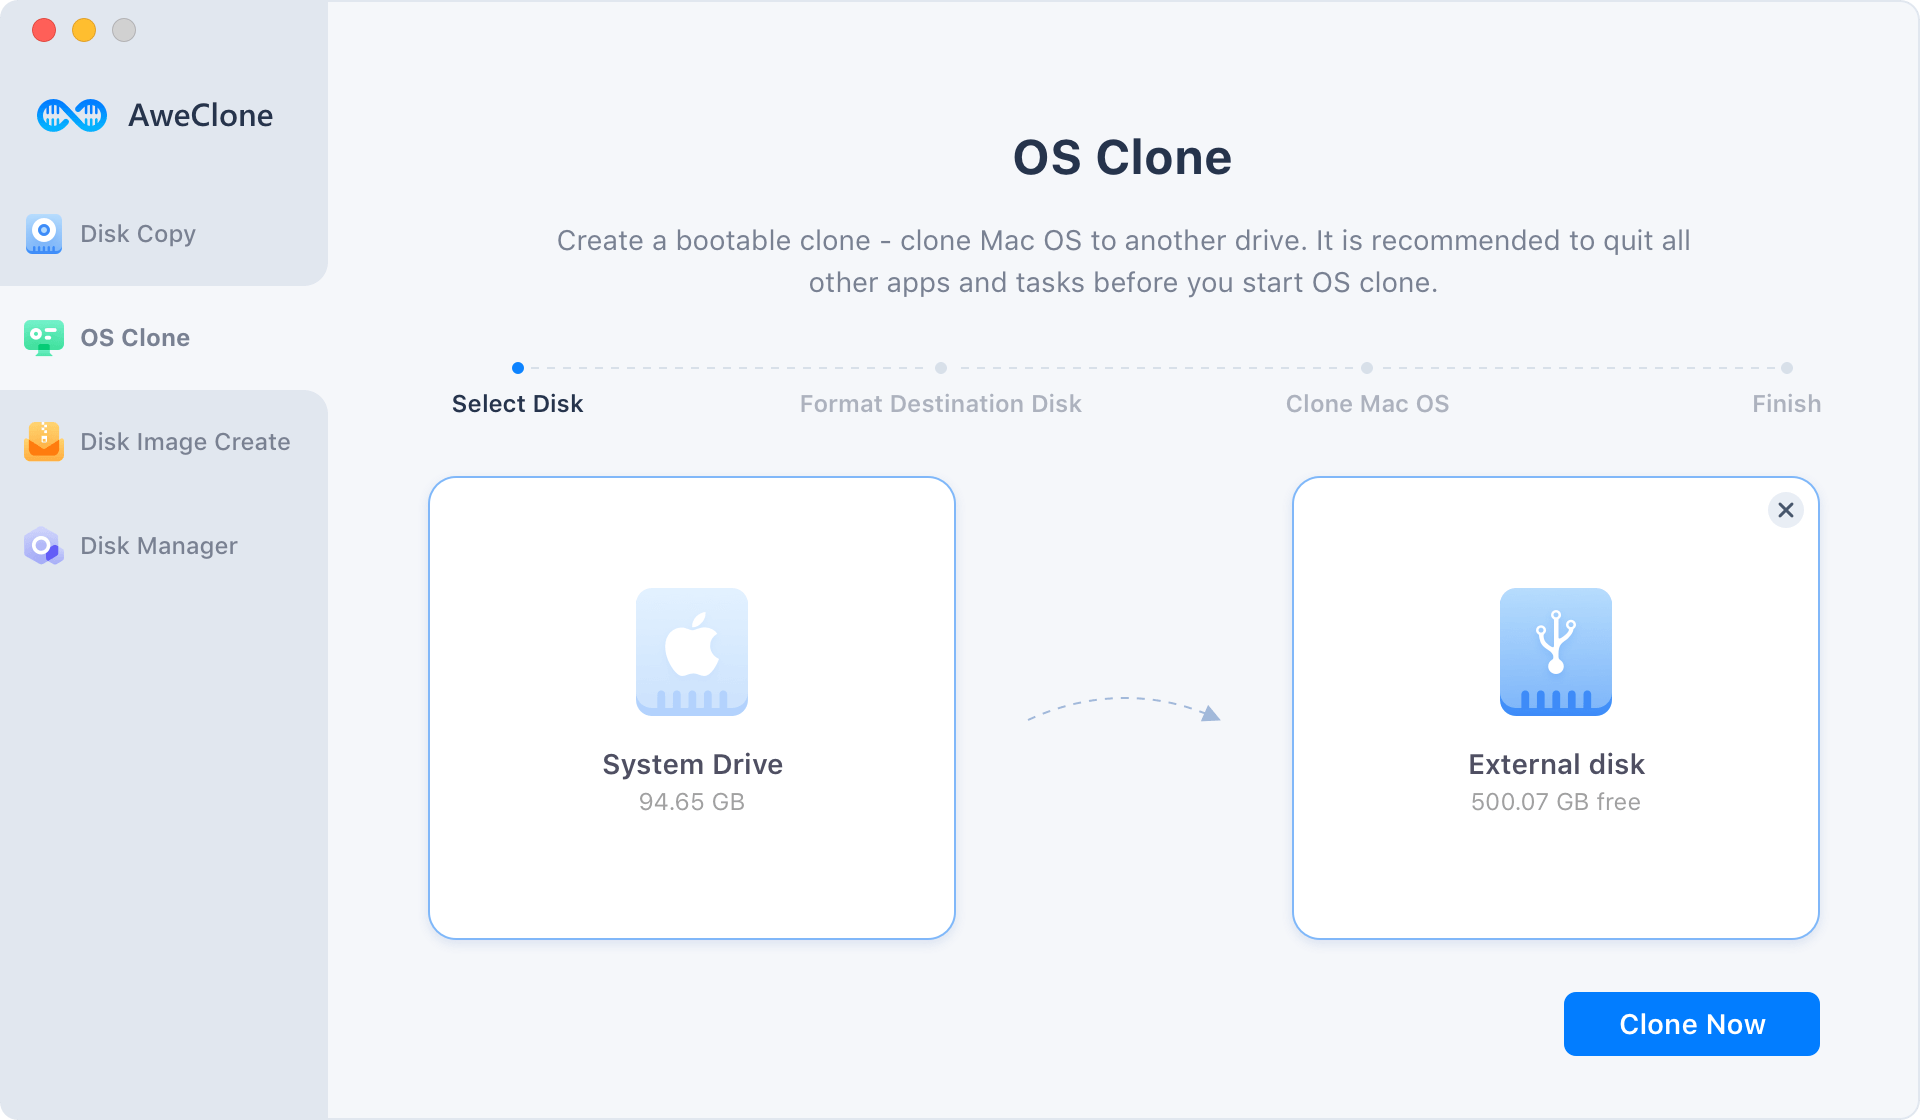
Step 2. Select the external hard drive as the destination drive and then click on Clone Now button.
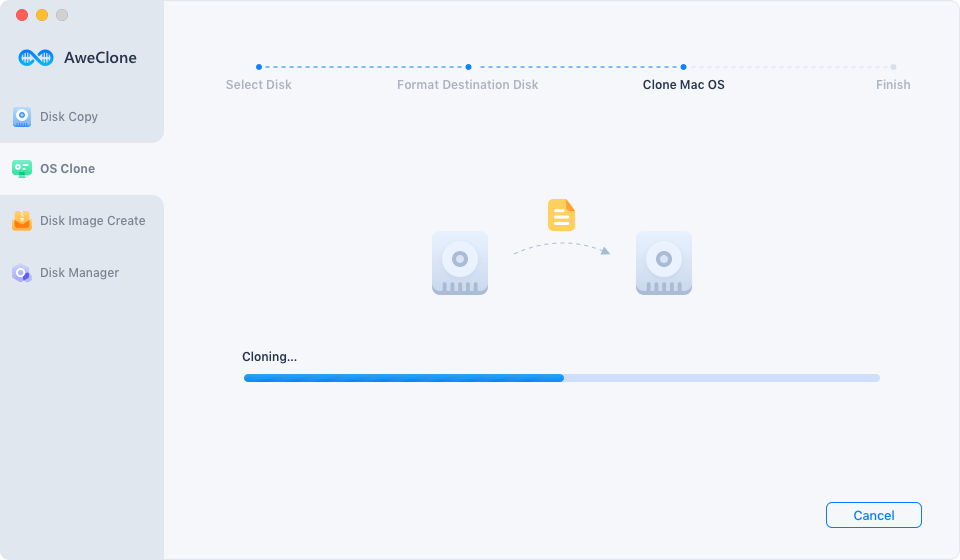
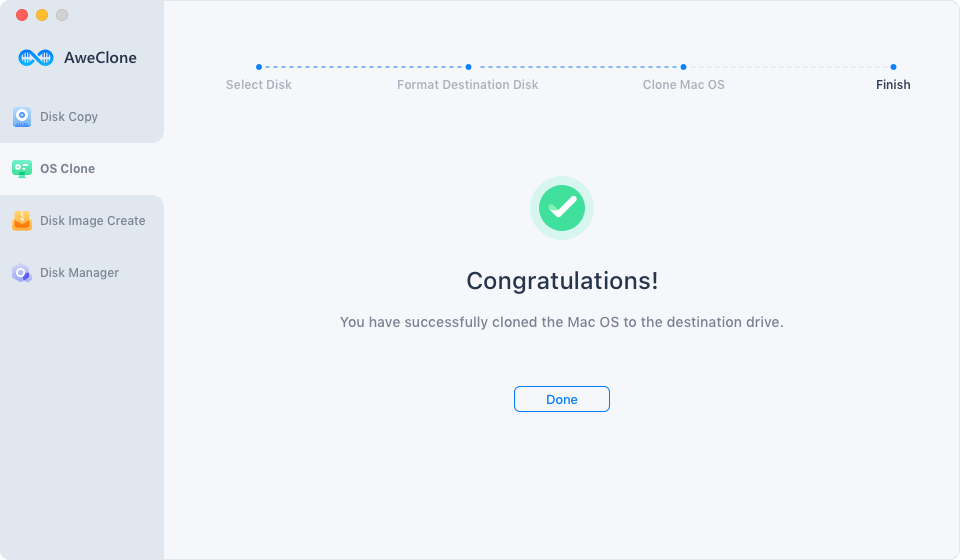
Step 3. AweClone for Mac will clone all data on the startup disk to the external hard drive. Once the process gets finished, you can use the external hard drive as a bootable disk.
Some useful tips:
If you want to use the external hard drive as a bootable disk, just set it as the bootable disk on your Mac.
If you lose important data on macOS Ventura, try Magoshare Data Recovery for Mac to get all lost data back.