How to Create A Disk Image Backup for macOS Ventura?

updated on 2022-11-08 to Mac Disk Clone
Cloning allows you to create a replica of a bootable system on an external device. This is another term for mirroring a hard disk. To be clear, Disk Utility can make clones, but the program refers to it as "Restore" because it is similar to shifting data from one disk to another.
The restore feature is not restricted to drives. It is compatible with disk images, hard disks, SSDs, and USB flash drives that can be mounted on your Mac. This tutorial will walk you through the easy procedures required to clone a hard disk in macOS Ventura using the Disk Utility.
What is a bootable USB or external drive?
Let's define a bootable macOS Ventura USB drive to make sure we're all on the same page. A bootable USB (also known as an external drive) is a disk used to boot up a system to install an operating system.
What is Cloning?
You can use Cloning to generate an exact clone of your Mac’s hard drive and its contents. You clone bootable operating system folders and files in addition to replicating the content.
The main advantage of Cloning is that it works flawlessly while backing up, transferring, or upgrading your drive. Furthermore, Cloning can let you transfer data from one drive to another.
What is the need for Cloning?
It is not harmful to rely on Cloning, as you can see from the reasons listed below. It aids with the backup of your drive to save important data.
- Cloning can let you relocate data from one drive to another.
- Cloning allows you to move data from one location to another while upgrading from a hard disk to an SSD.
- Because the Mac is such a powerful system, it tends to slow down over time. As a result, you should establish a backup of your vital files using a cloned hard drive so that you may transfer the data when necessary.
What’s the Purpose of Cloning A Mac’s Disk?
“Is it necessary to create a clone of Mac’s hard drive?” You must have had this thought at least once when using Mac. To put it another way, duplicating hard drives protects your essential data from physical damage, loss, or theft.
You cannot ensure that your hard disk will last a lifetime without ever failing or crashing, no matter how new or high-quality it is. A hard drive can fail for various causes, resulting in permanently losing all of your data, including photographs, documents, videos, and music.
Furthermore, they are challenging to locate if necessary personal and commercial paperwork is lost during the move. As a result, we strongly recommend that you become acquainted with the Disk Utility Clone feature to avoid those above and a slew of other issues that may arise due to lost data.
You can secure your data, essential information, and files by physically copying them from your Mac Drive using the “Restore” capabilities of Mac Disk Utility.
Restoration of A Non-Startup Volume
To use the Restore feature, select a drive with no operational data, including the current beginning disk. If you want to clone your startup drive, you can do it using either the Recovery HD volume on your Mac or any other disk with a bootable copy of OS X.
Disk Utility can be found in the Applications folder in the Utility subfolder.
The Disk Utility software will begin, displaying a single window divided into three sections: a toolbar, a sidebar listing currently mounted drives and volumes, and an information pane displaying information about the device presently selected in the sidebar.
Note: If the Disk Utility software appears different from the one illustrated in this guide, you may run an earlier version of the Mac OS. You might be able to find instructions on how to clone a drive by using an older version of the Disk Utility application.
In the sidebar that displays, select the volume to which you want to replicate or clone the data. You must select a destination volume for the Restore function.
Select Restore from the Edit menu of Disk Utility.
You'll be given a drop-down menu and asked to select the source device you want to use for the Restore procedure. A warning will also show on the sheet telling you the volume you chose as the destination will be removed. The data on that volume will be replaced with data from the source volume.
Select "Restore from" from the drop-down menu, and then click the Restore button to begin the restore.
At this point, the restoration process will begin. Status bars will appear in a new drop-down menu to show how far the Restore procedure has progressed. You can also get additional information by clicking the Show Details disklosure triangle.
After the Restore procedure, the Done button in the drop-down sheet will become available. Click Done to close the Restore sheet.
Create disk image backup for macOS Ventura using AweClone for Mac
AweClone for Mac is a powerful disk cloning software. It offers method to help you create disk image backup for your macOS Ventura system disk. Now, just download and install AweClone for Mac on your Mac.
AweClone for Mac
- Create disk image for macOS Ventura.
- Create bootable clone for macOS Ventura.
- Clone SSD, HDD, and external storage device.


Now, follow the steps below to create a disk image of a hard drive on Mac:
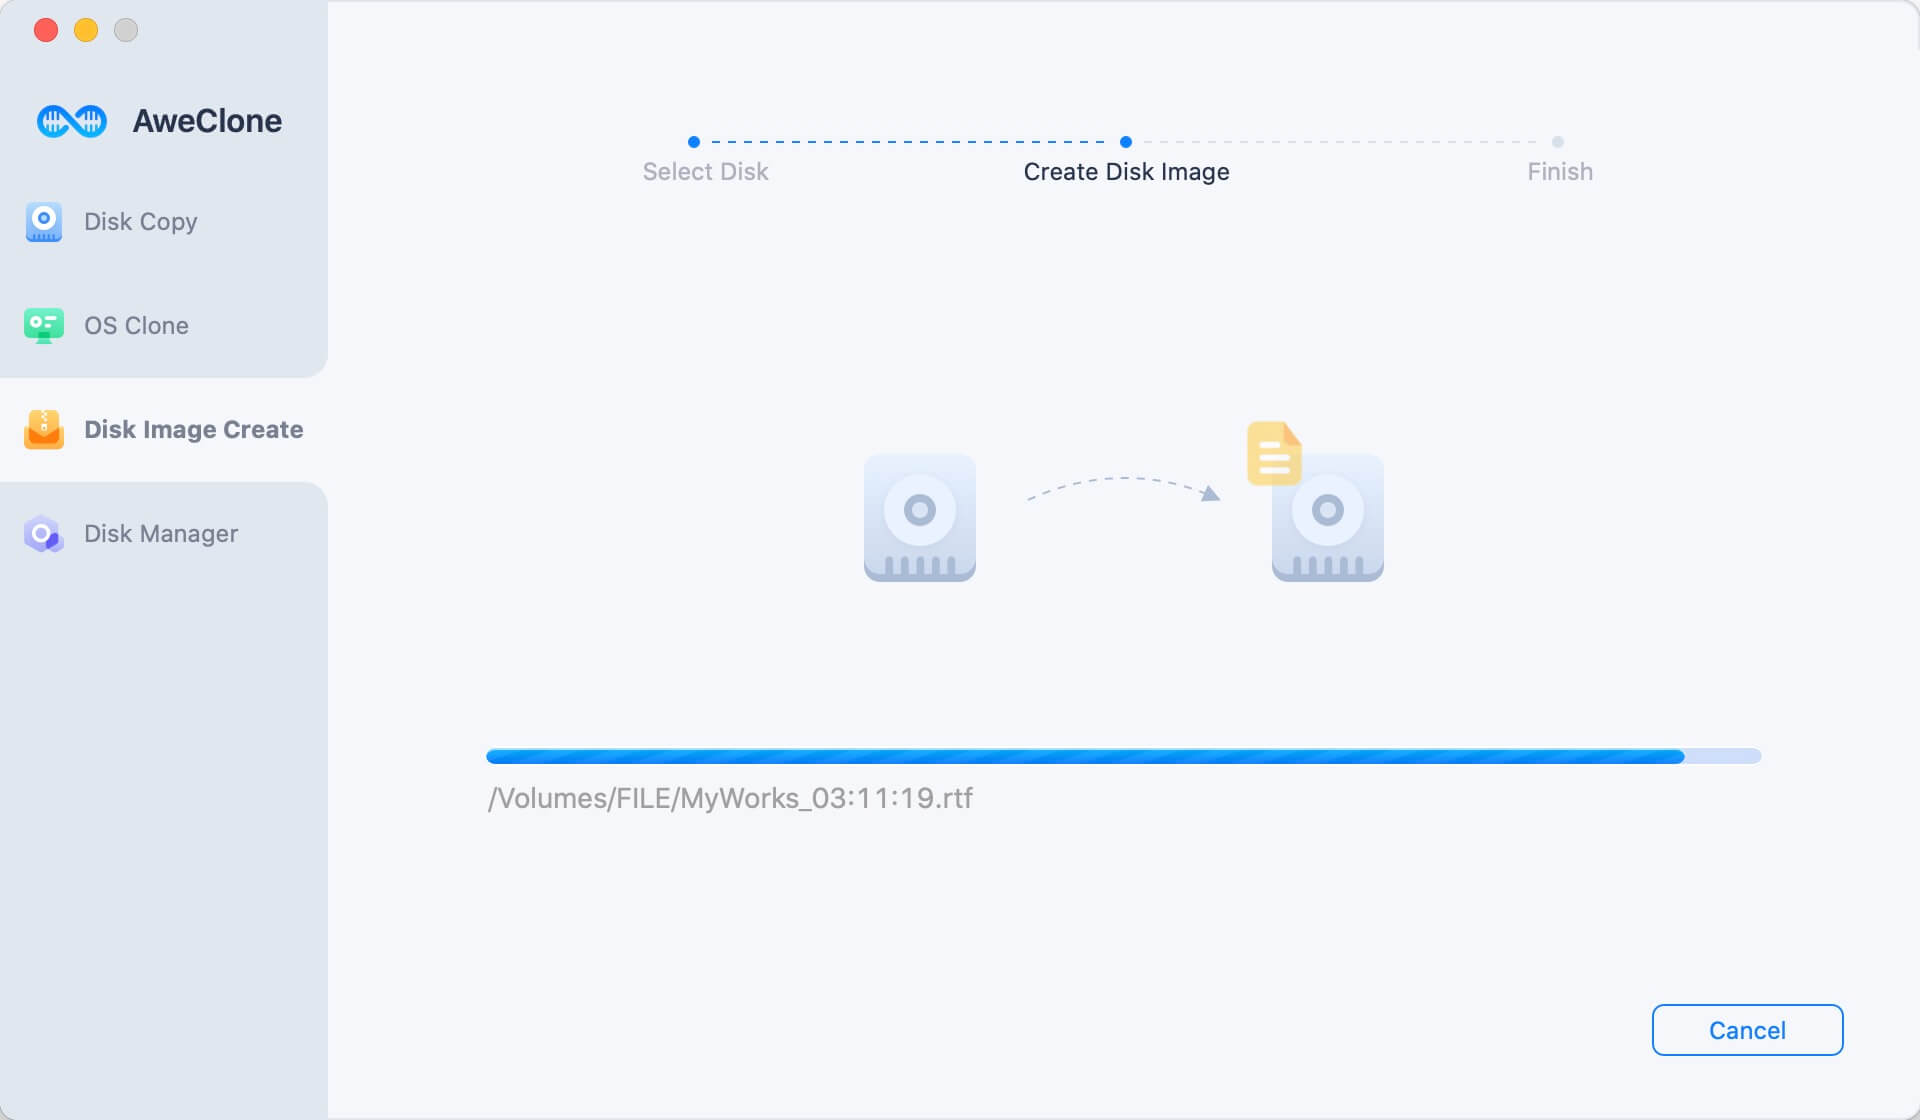
Step 1. Open AweClone for Mac, select disk cloning mode - Disk Image Create.

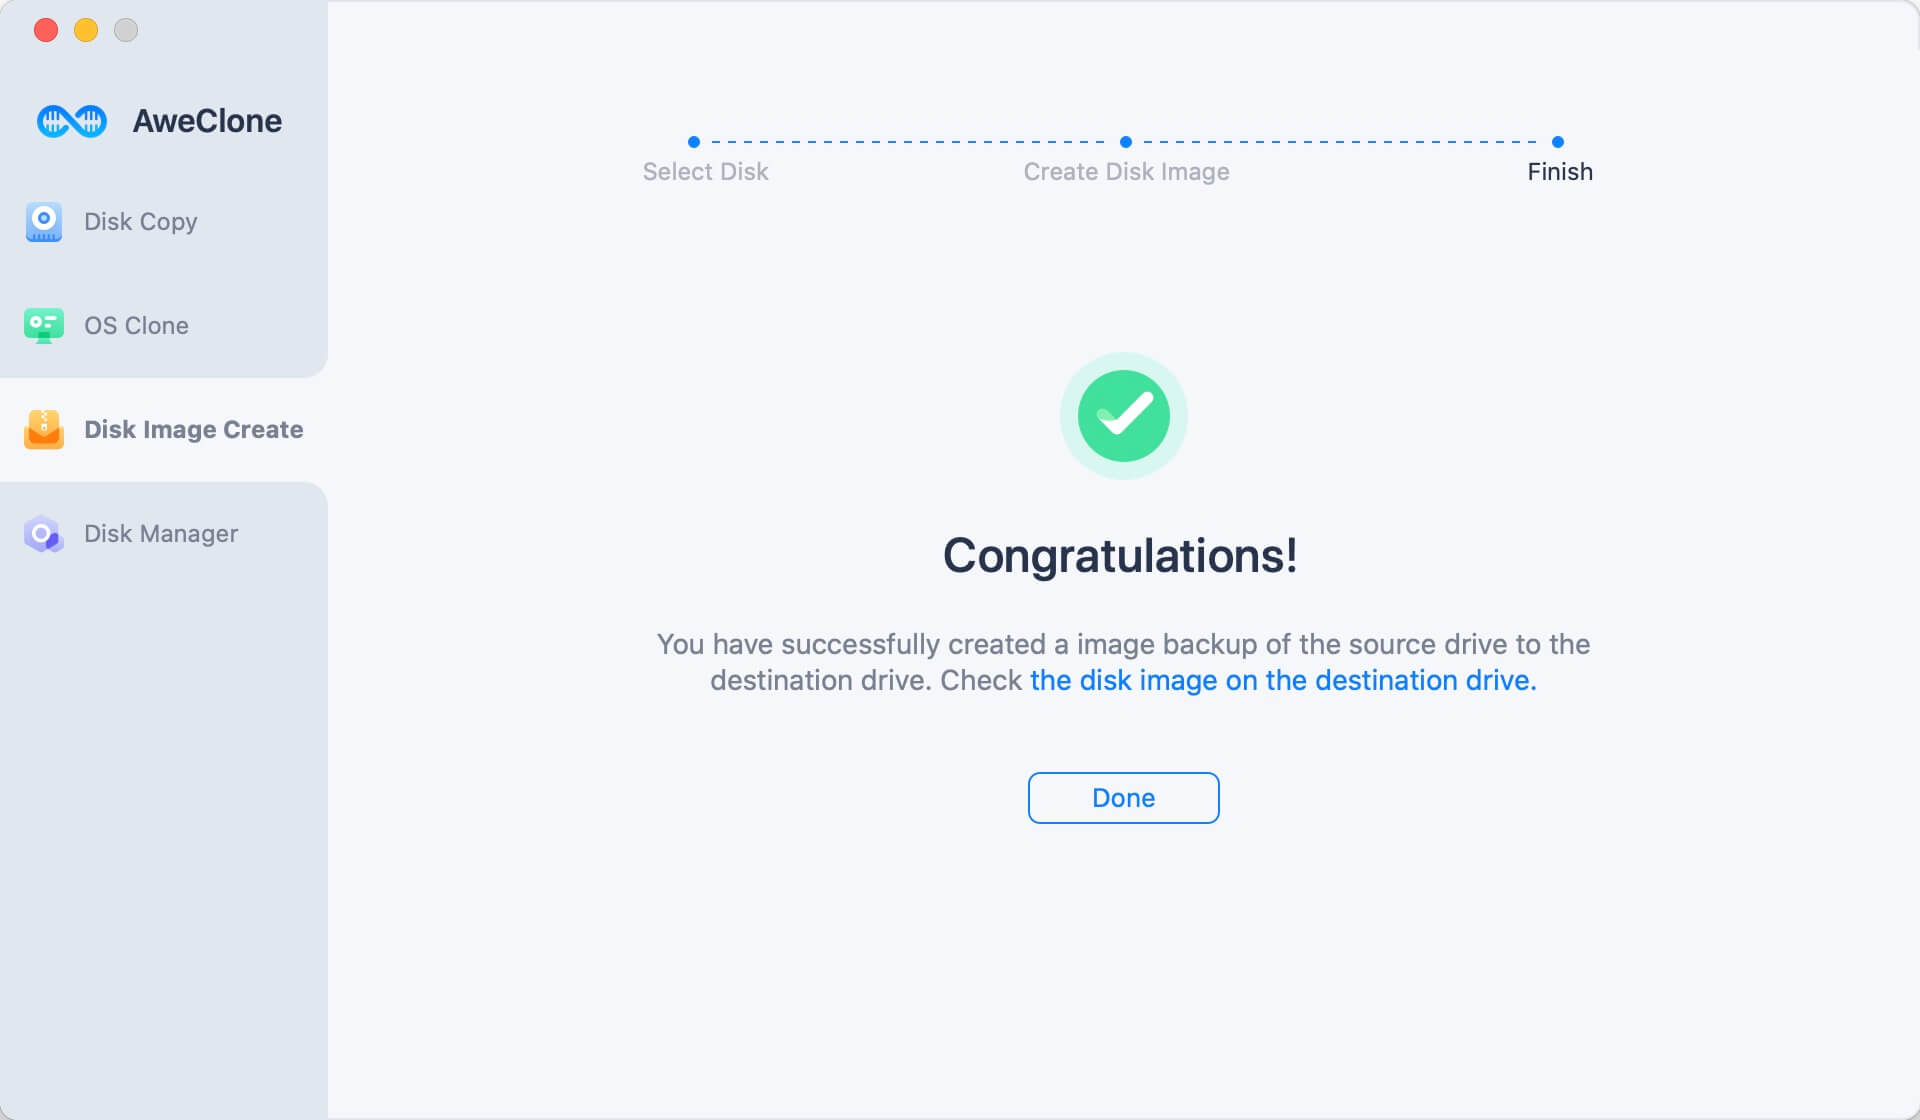
Step 2. Select the source disk and destination disk. It will create a disk image of the source disk and save the disk image (.dmg or .zip) to the destination disk. Click Create Now button.
Once the process gets finished, you can check the cloned data in the destination disk.