Wipe Free Disk Space on macOS Ventura

updated on 2022-09-21 to Mac Data Erasure

Quick Navigation:
- Get more free disk space on macOS Ventura
- Wipe free disk space on macOS Ventura - permanently erase deleted data
If you wish to keep its operating system in good health, you must leave at least 10 percent of your Mac's total storage space open for use by other applications. Because you will not be willing to use your Mac as long as it cannot boot from a full starting drive, it is imperative that you quickly delete some of the extraneous material stored on its storage.
The fact that high-resolution video, images, and music take up more space than they did in the days when hard drives were the standard means that these items now require more space than they did when we all had plenty of storage space on our Macs.
You should not overlook warnings that indicate your beginning disk is nearly full. It is possible that after updating the operating system on your Mac, you will discover that you need to free up some space on the device's hard disk.
In such a situation, you will most likely be looking for the easiest methods for freeing up space on a Mac. Such as discovering the files on your hard drive that are using up the most space and eliminating them one by one in order of their increasing level of space consumption.
Get more free disk space on macOS Ventura
You'll find several suggestions for freeing up disk space further down the page. Still, if you're in a pinch and don't require a significant amount of space, or if you're not very concerned about the possibility of another storage emergency, you can try the following:
Get Rid of Any Unused Programs
Your Mac's storage is full of all the programs you've installed. If you don't need an app, you can delete it by opening a Finder window, clicking Applications on the left sidebar, and dragging its icon to the Trash icon on your Dock. Some of these programs may be taking up a lot of room.
Launch Applications from a Finder window to learn which programs are using your hard drive space. To arrange the currently installed programs in descending order of their file sizes, select the "Show items in a list" icon from the toolbar and click the Size heading.
Clear Out Trash Cans
You can think of the Trash in your Mac as the Windows Recycle Bin. If you delete a file in the Finder and then change your mind, it will be moved to your Trash, which will remain until you empty it. It would help if you emptied the Trash after deleting these items to make room for other content.

However, Macs may have more than one trash can, so you may have to empty several. Emptying the main trash can requires either a Ctrl-click or a right-click on the Trash icon in the far right corner of the Dock. Doing so will permanently remove whatever you've tossed in the Trash in Finder.
Remove temporary files
In all likelihood, unused temporary files are stored on your Mac's hard drive. Disk space is typically wasted on these files. Mac OS X makes an effort to delete temporary files on its own, but a specialized app will likely discover even more files that can be deleted.
While deleting temporary files may not make your Mac run faster, it will make room for new data. If you want to quickly save a little space on your hard drive, you can utilize the browser's built-in option to clean away browsing data. In the future, when you visit the same websites, your browser can load their files from the cache much more quickly.
Transfer Your Data to iCloud or an External Drive
Have you removed all unnecessary files, yet there is still a lack of storage space? There are also certain files we do not use, but we may use them in the future; nonetheless, they are taking up a significant amount of space.
Transfer some of your data to an external disk or the iCloud, particularly any files that are huge or that you won't need for some time. Select the files you wish to relocate, then drag or copy them into the destination folder. After that, you can remove the source files from your Mac.
Useful guide:
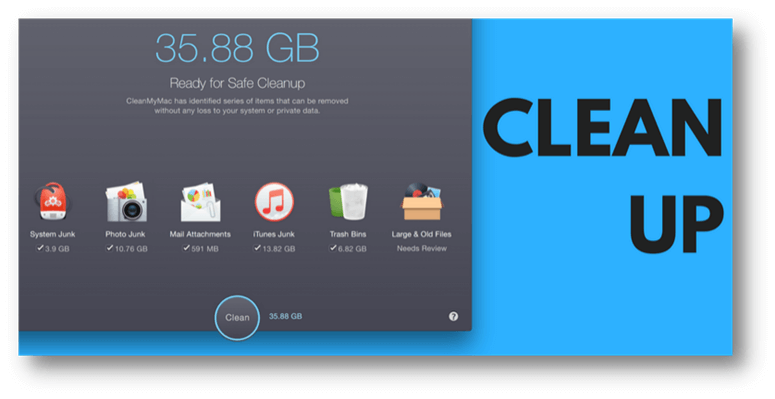
How to quickly clean up all junk data on macOS Ventura >>
Recover deleted or lost files on macOS Ventura >>
Create a bootable clone backup for macOS Ventura using external hard drive >>
Wipe free disk space on macOS Ventura - permanently erase deleted data
In some cases, for example - sell your Mac, you need to permanently erase some sensitive files and documents to avoid potential data recovery. Data erasure software, such as AweEraser for Mac, can help you permanently shred data.
Data Eraser - AweEraser for Mac
- Wipe free disk space to permanently erase already deleted/lost data.
- Wipe hard drive on macOS Ventura.
- Shred files on macOS Ventura.
- 100% safe, no damage.


Now, follow the steps below to wipe free disk space on macOS Ventura:
Step 1. Open AweEraser for Mac, choose data erasure mode - Erase Free Space. This mode will wipe free disk space of Mac disk and erase all deleted/lost data. It will not erase the existing data on your Mac.
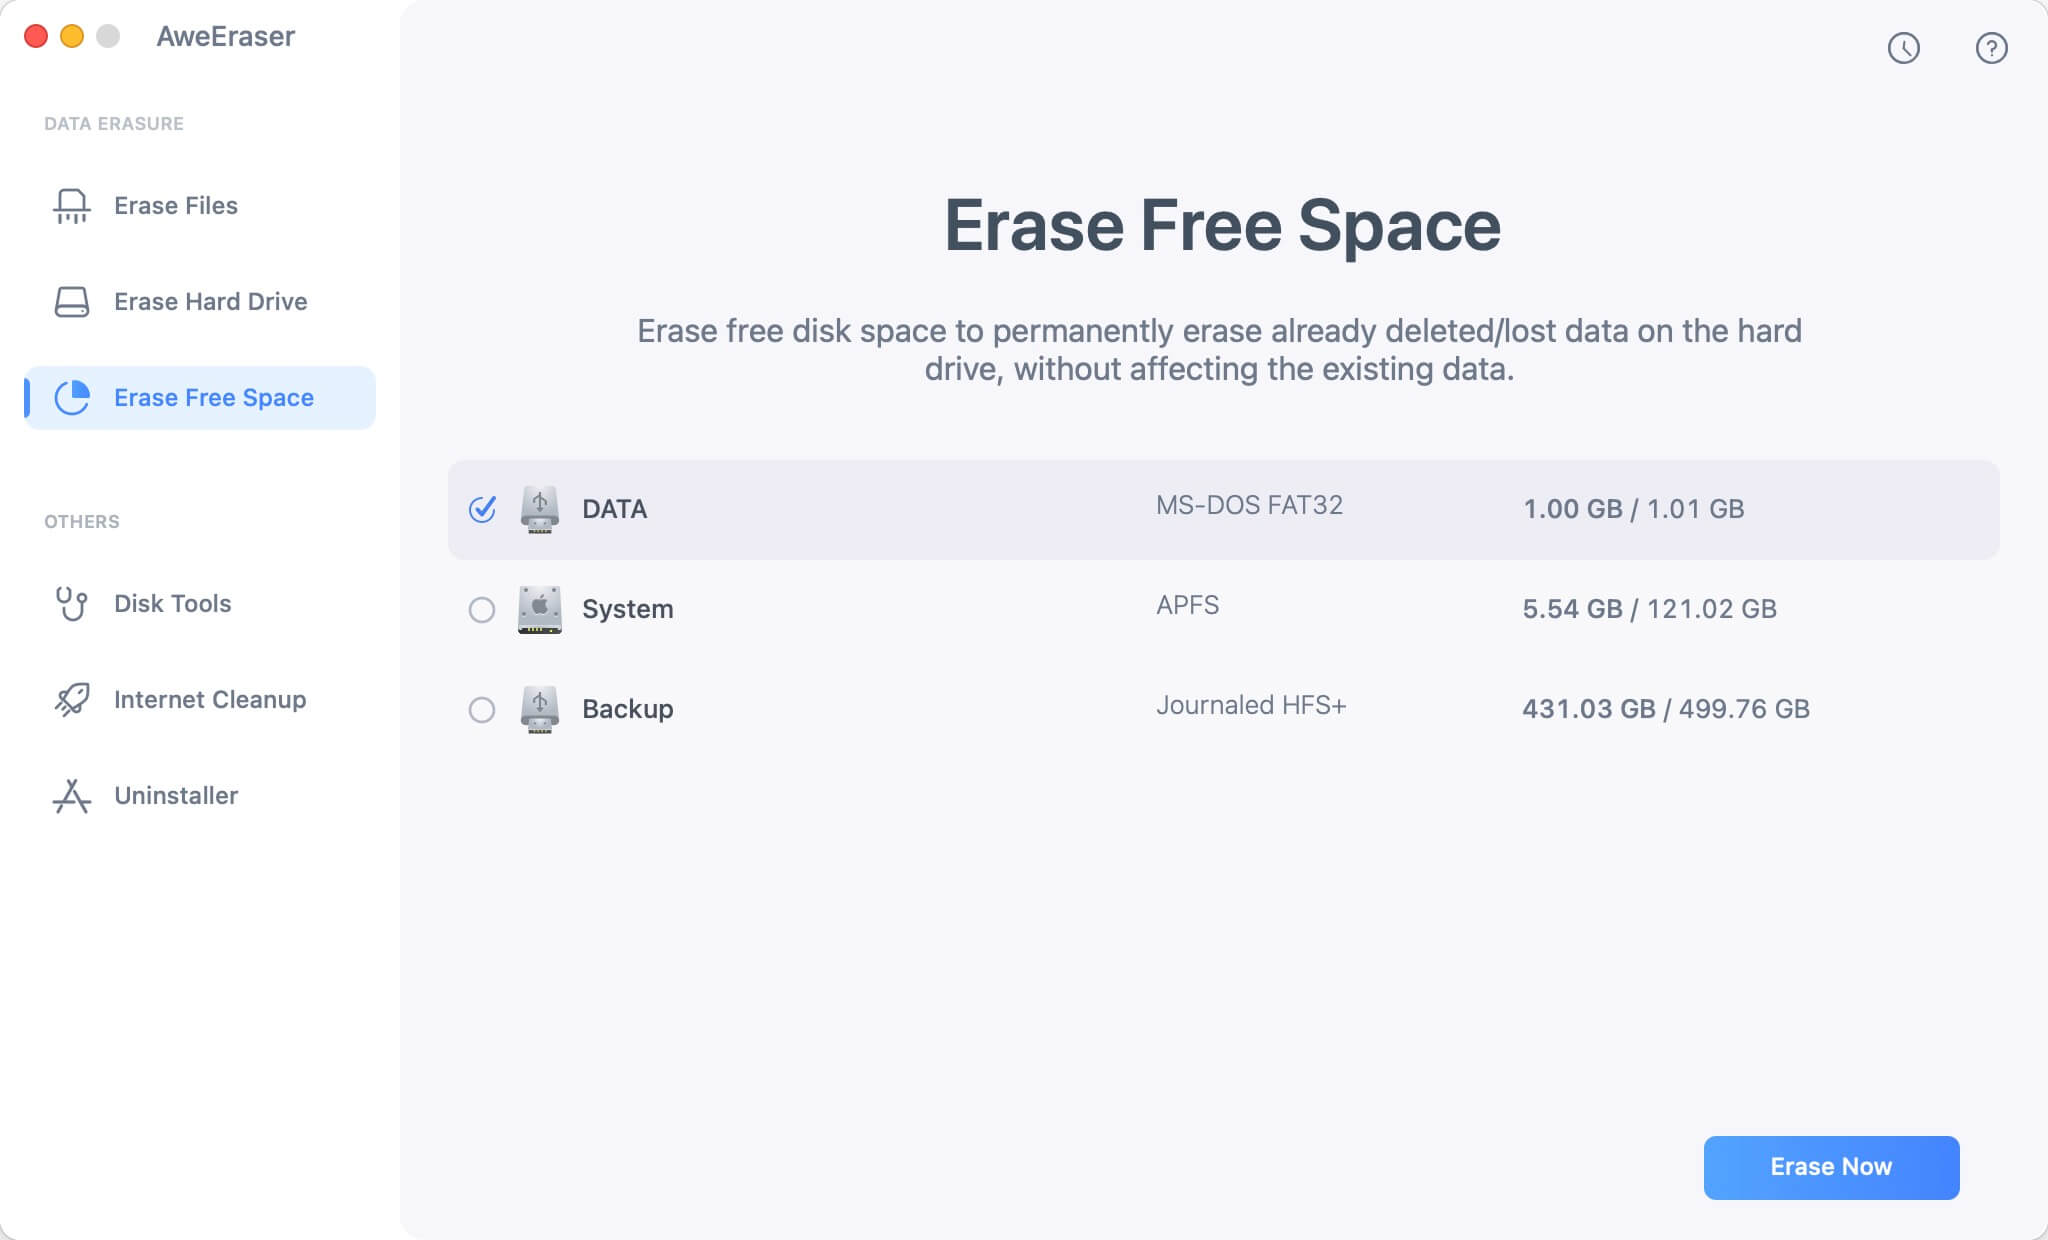
Step 2. Select the Mac HDD or SSD, then click on Erase Now button.
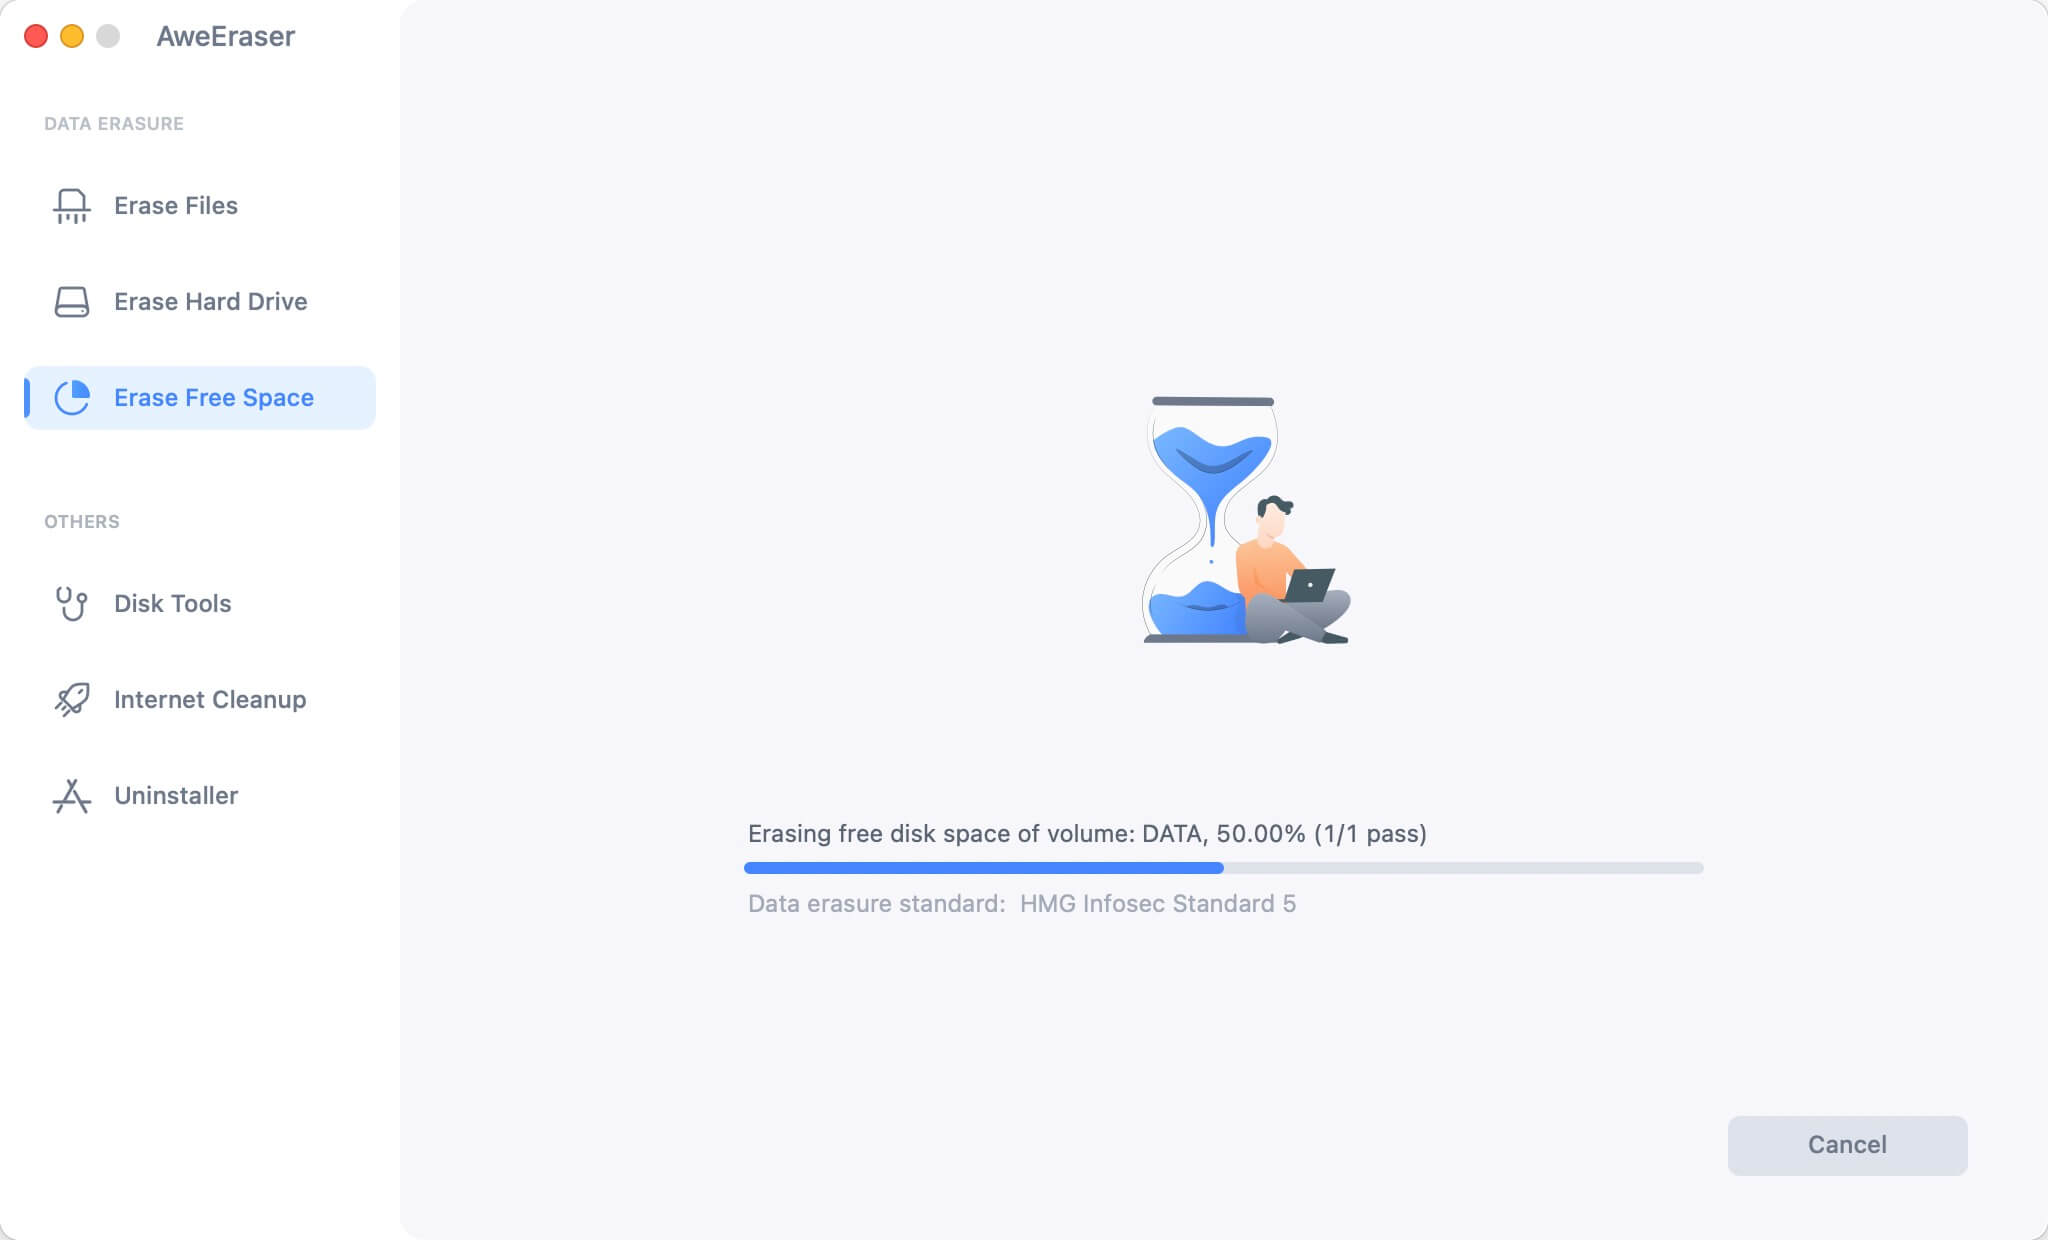
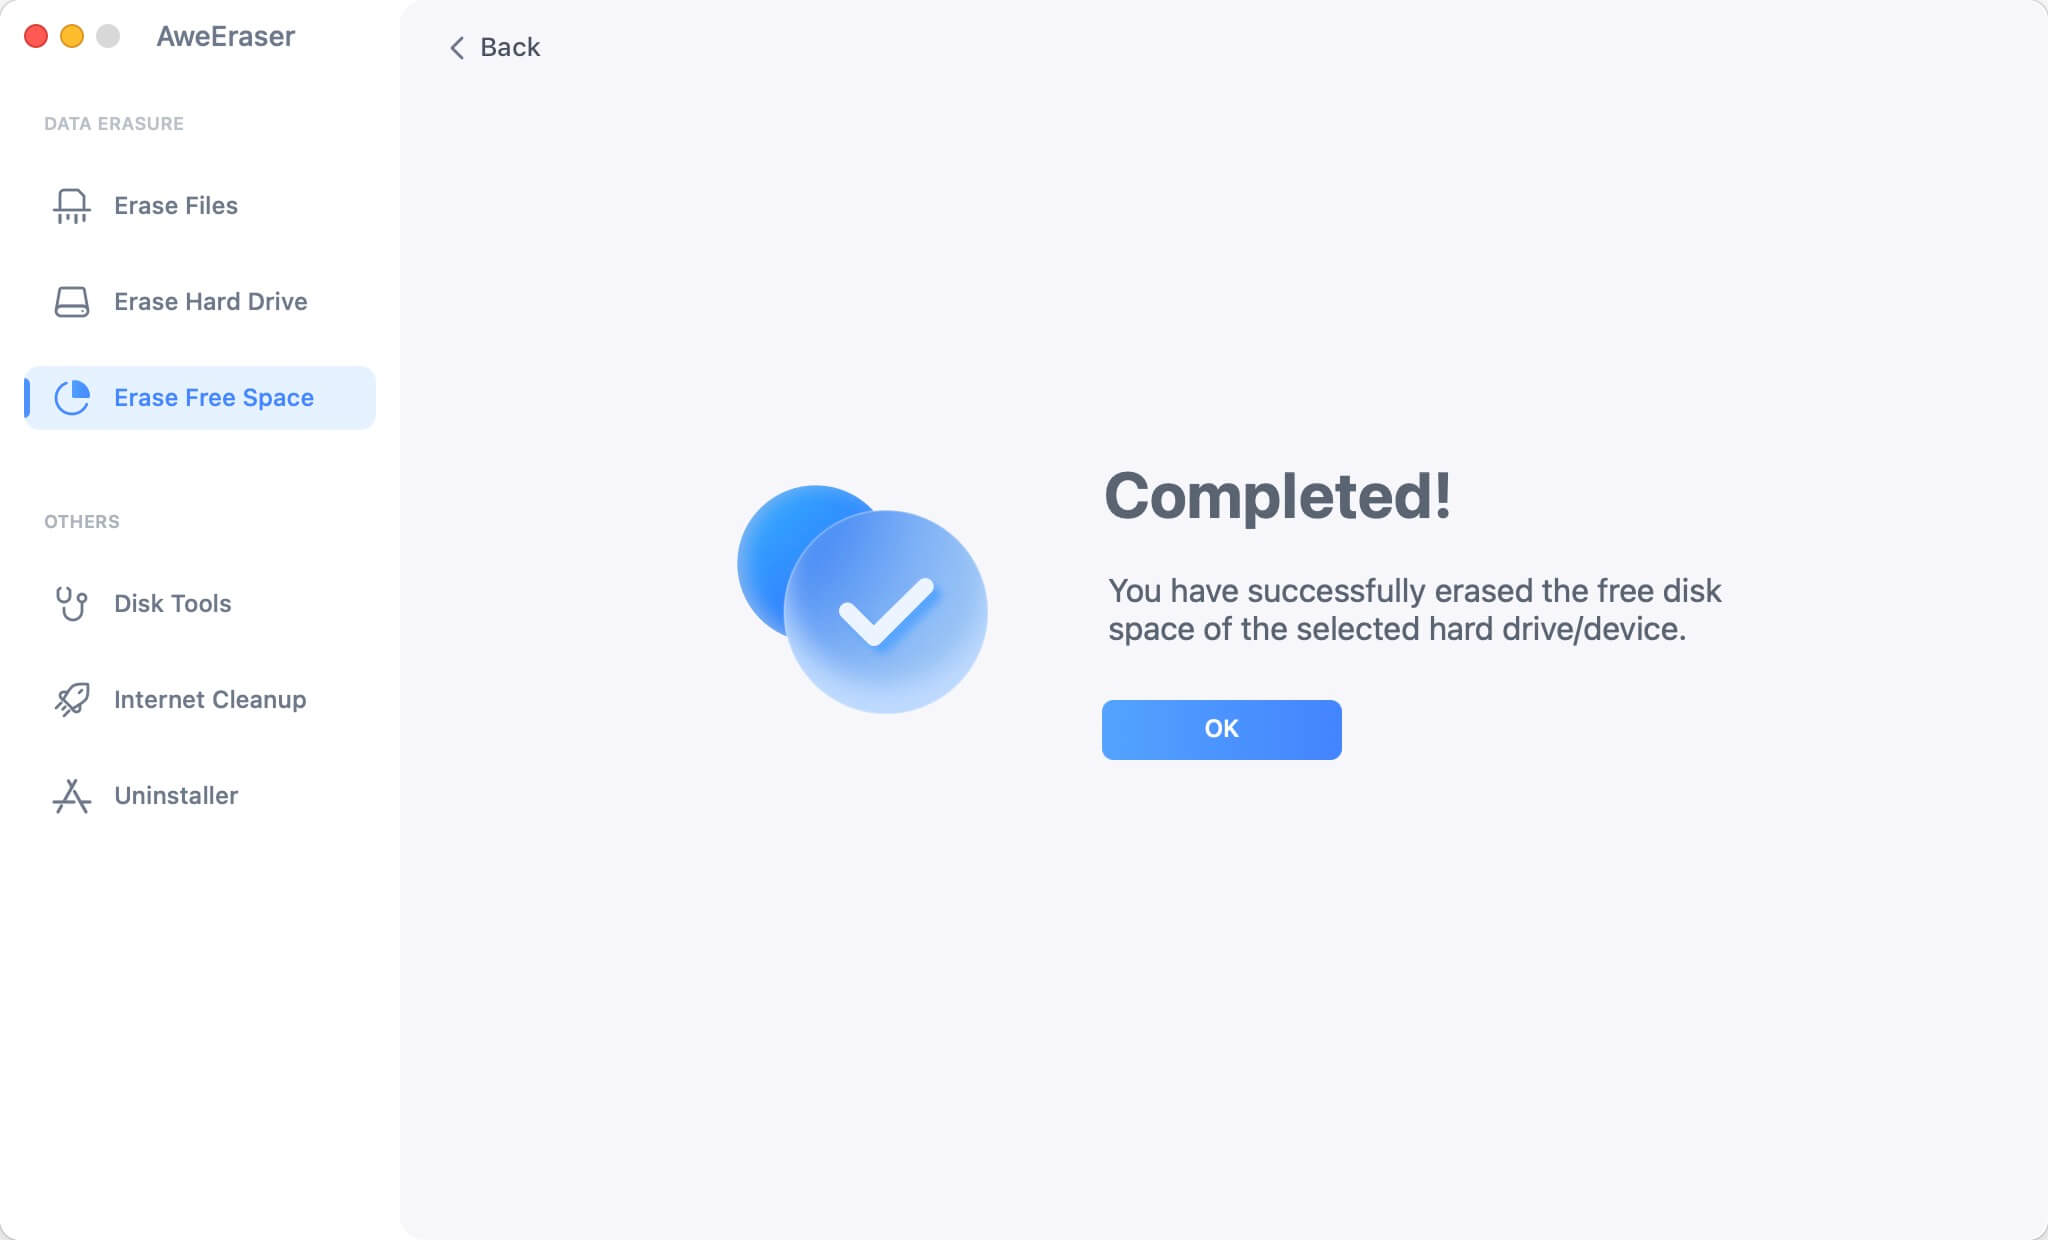
Once the process gets finished, all deleted/lost data is erased permanently, can’t be recovered by any method.
Conclusion:
If you are running out of storage space on your Mac, the computer may begin to perform more slowly. It is a problem in and of itself, but if you run out of space entirely, you might not even be able to turn it on. Before you get to that point, you should examine what's currently using up space on your Mac because that will tell you what you should get rid of and what you may keep.