AweClone for Mac User Guide
AweClone for Mac offers three disk cloning modes: disk copy, OS clone and create image backup. Just follow the user guide of AweClone for Mac to help you clone hard drive or copy data under Mac OS. After installing it on your Mac, just run it from Launchpad.
Mode 1: Disk Copy
Disk Copy mode can help you copy/clone hard disk drive to another hard disk drive. It performs 1:1 disk copy to ensure cloning all contents from one hard drive to another. Here are some tips:
- You can clone HDD/SSD, Mac system hard drive, Mac folder, external device to another disk drive or location.
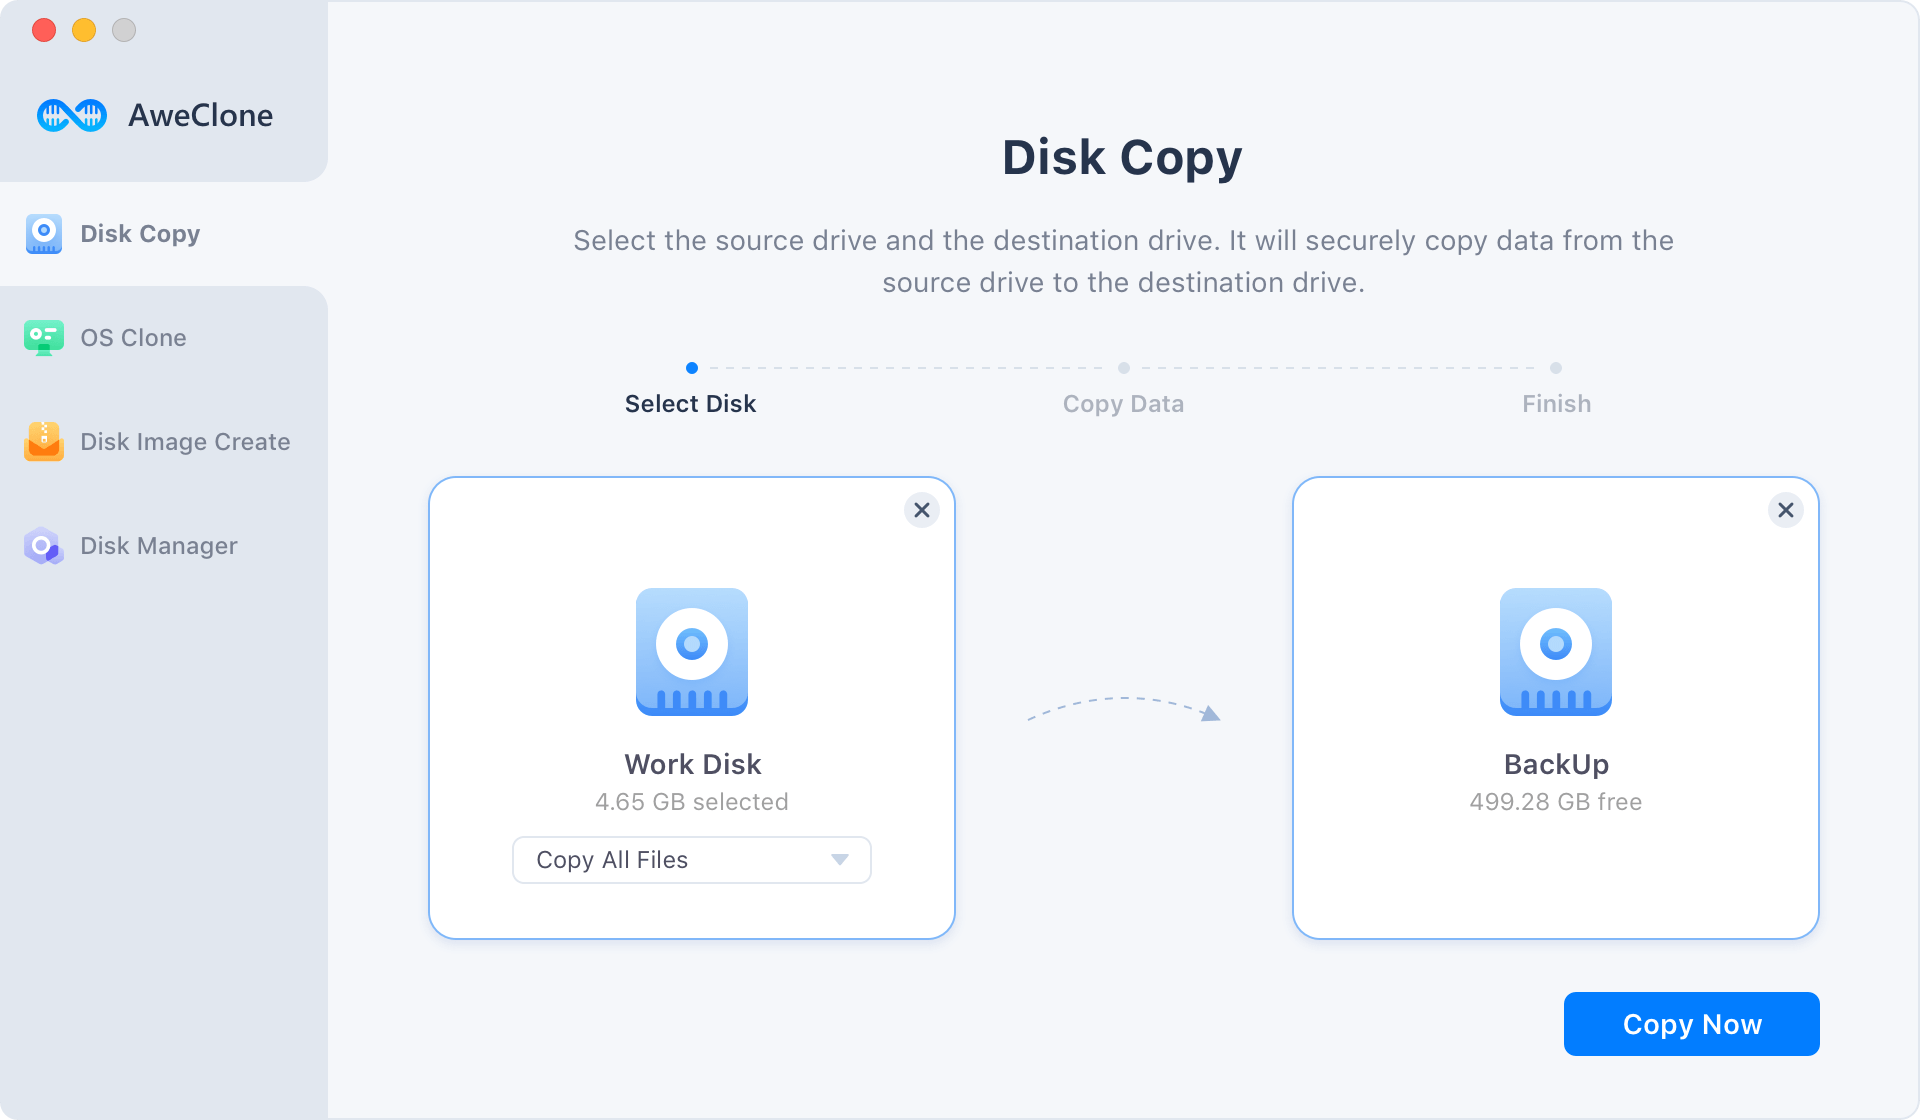
- “Copy all files” will copy all contents from the source drive to the destination drive. “Copy some files” allows you to selectively copy some files from the source drive to the destination drive.
- The copying process will not affect the existing data on the destination drive.
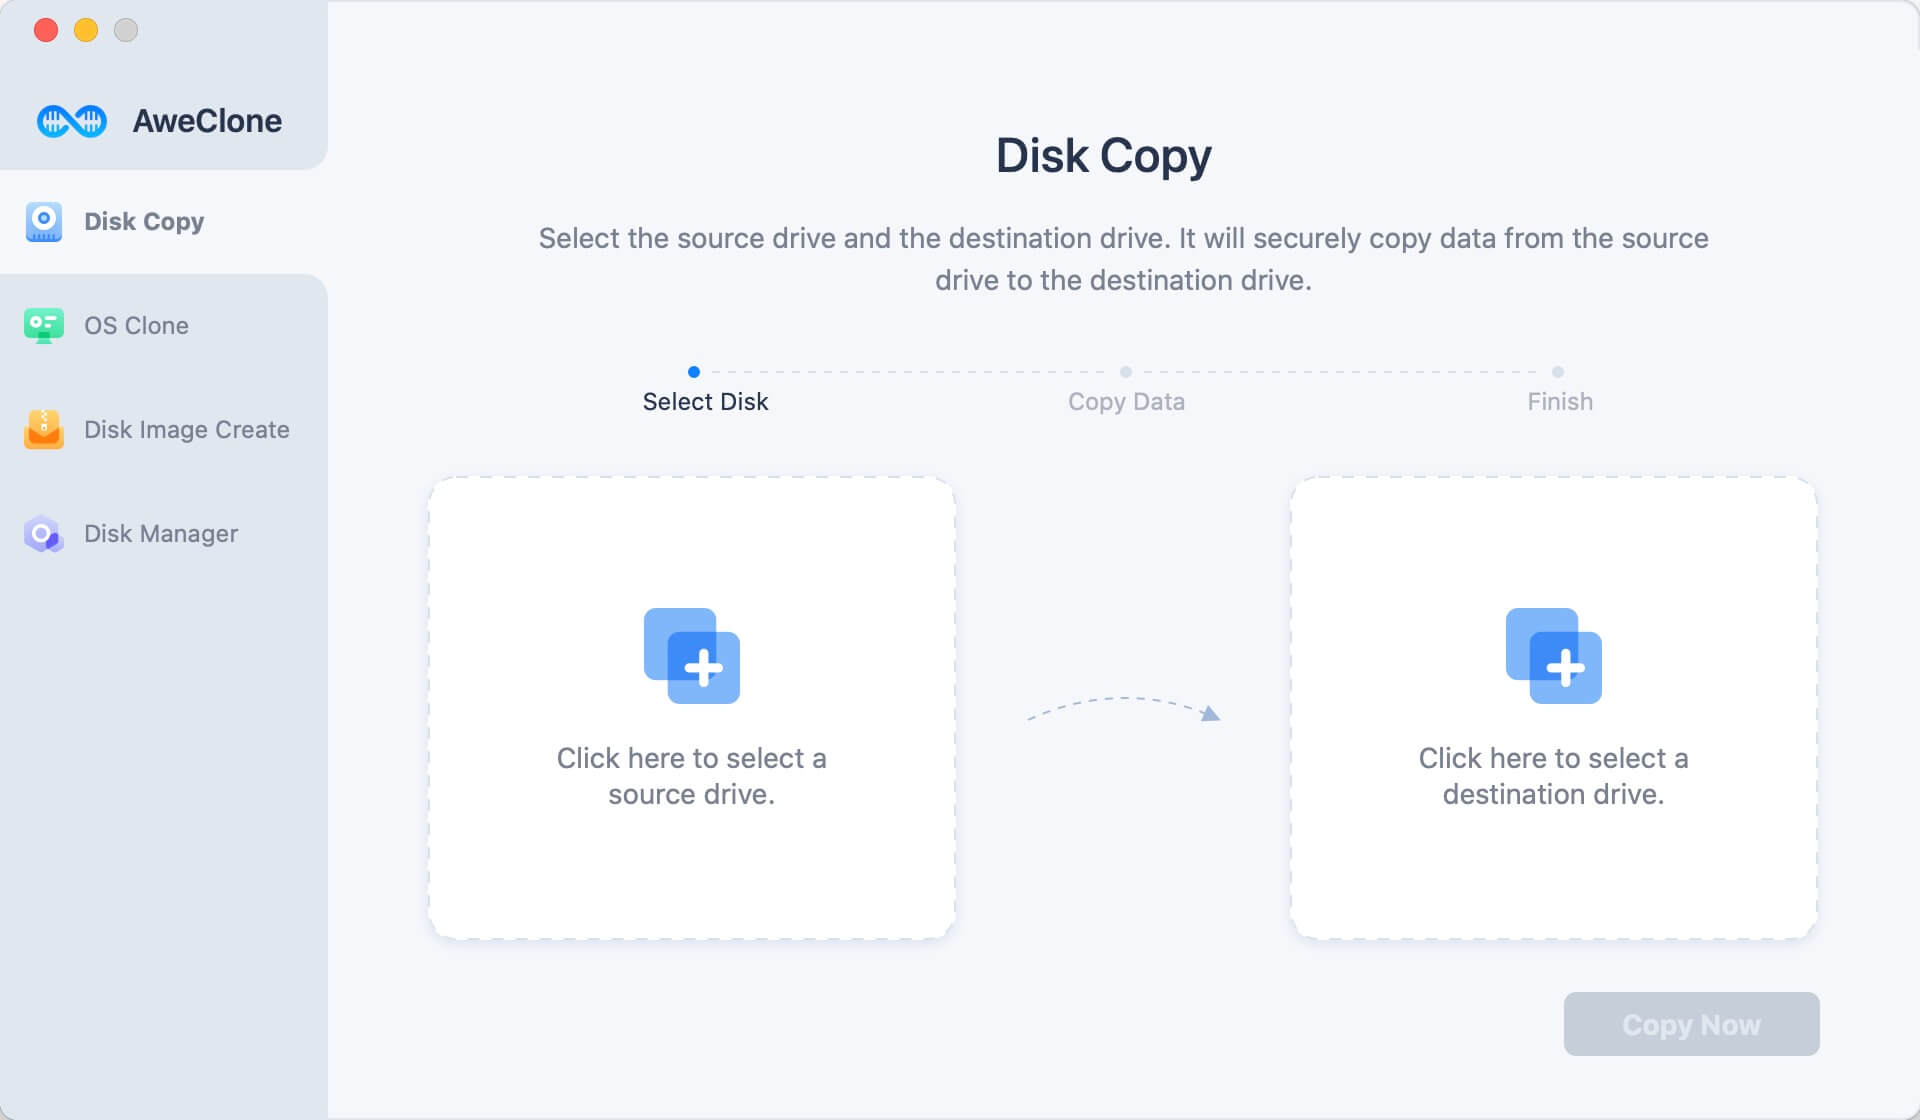
Step 1: Choose the source drive and the destination drive.
First of all, just select the source drive and the destination drive. If you want to the external device as the source drive or destination drive, just connect it with your Mac.
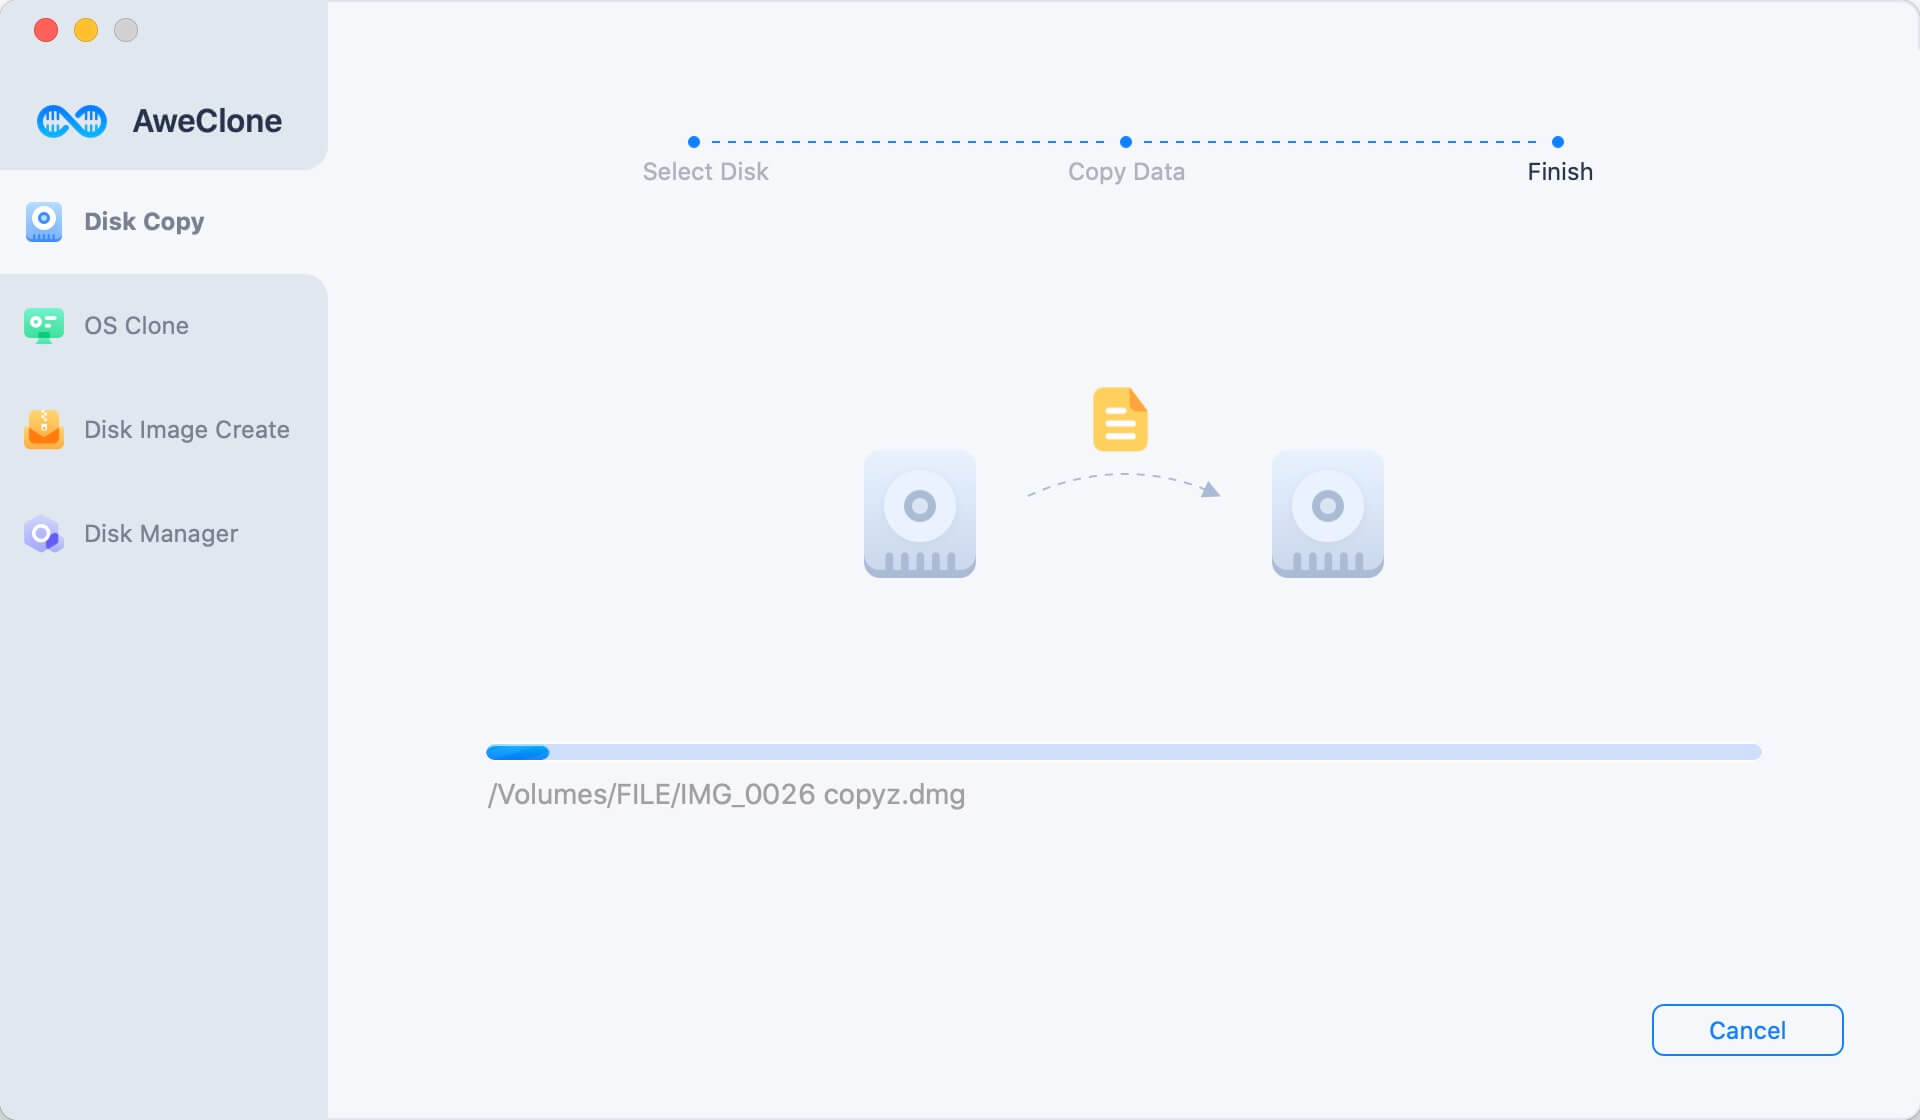
Step 2: Copy the source drive to the destination drive.
Just click on “Copy Now” button. Then the software will copy the source drive to the destination drive.
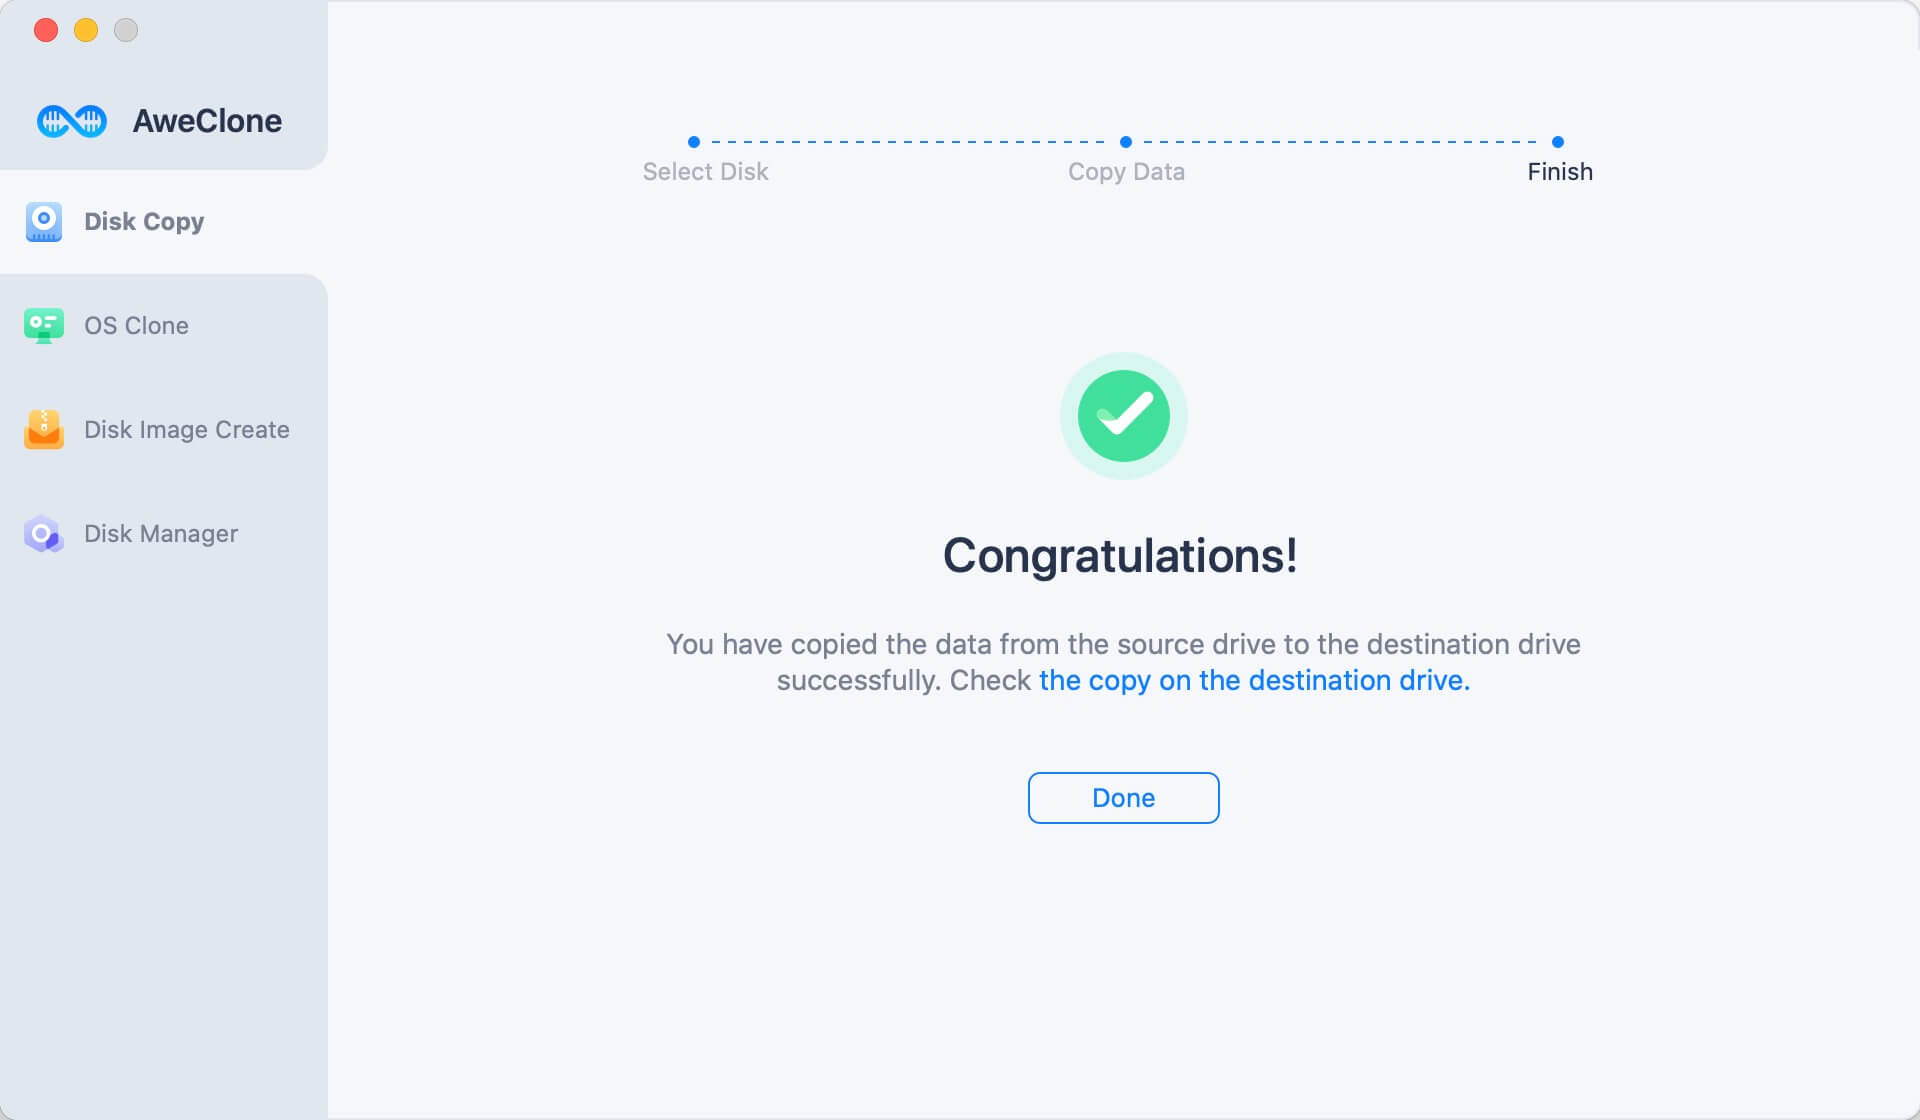
Step 3: Copy completed.
Once the process gets finished, you have successfully copy the contents from the source drive to the destination drive. You can check the data on the destination drive.
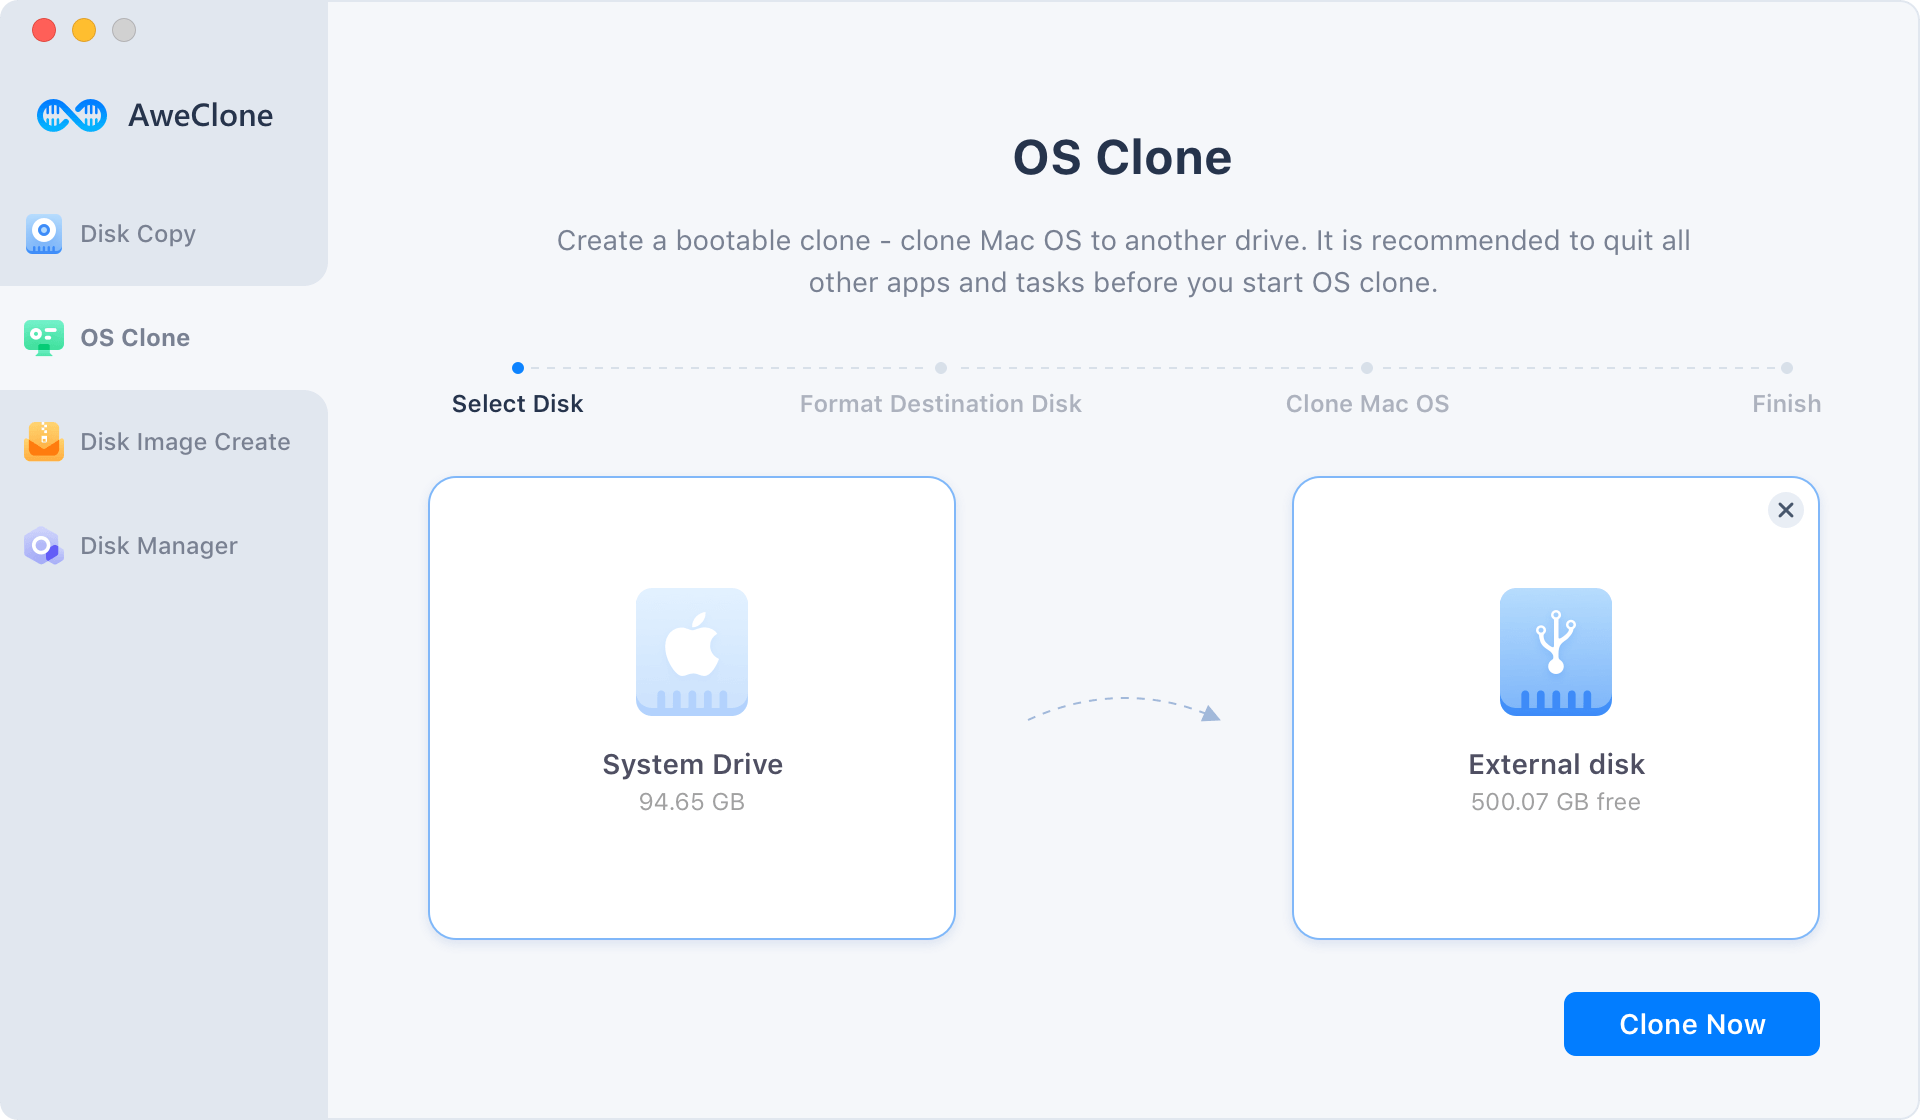
Mode 2: OS Clone - Create a bootable clone backup
This mode can help you create a bootable clone backup for macOS, it will clone all data (macOS data, apps, user files included) from the Mac startup disk to an external disk.
Step 1. Select the external disk as destination drive.
First of all, connect the external disk to your Mac, then choose OS clone. The system drive will be selected as the source drive, you just need to select the external disk as the destination drive.
Step 2. Clone system drive to the external disk.
Click on Clone Now button. Please note that this process will format the external disk first, then completely clone the system drive to the external disk.
Once the process gets finished, you’ve successfully created a bootable backup for your Mac.
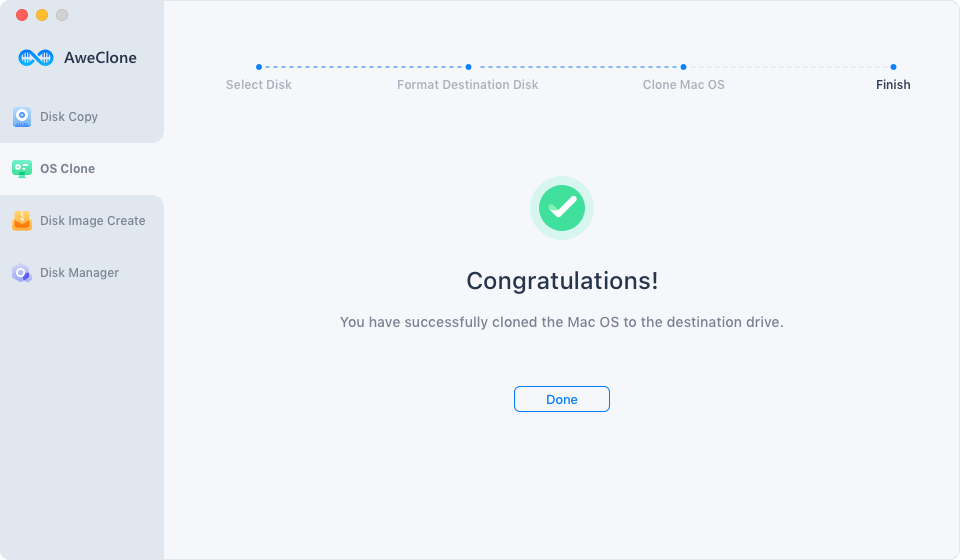
You can use the clone disk as a bootable startup disk on any compatible Mac. You also can use the backup to restore macOS or data in macOS Recovery mode. Check full guide >>
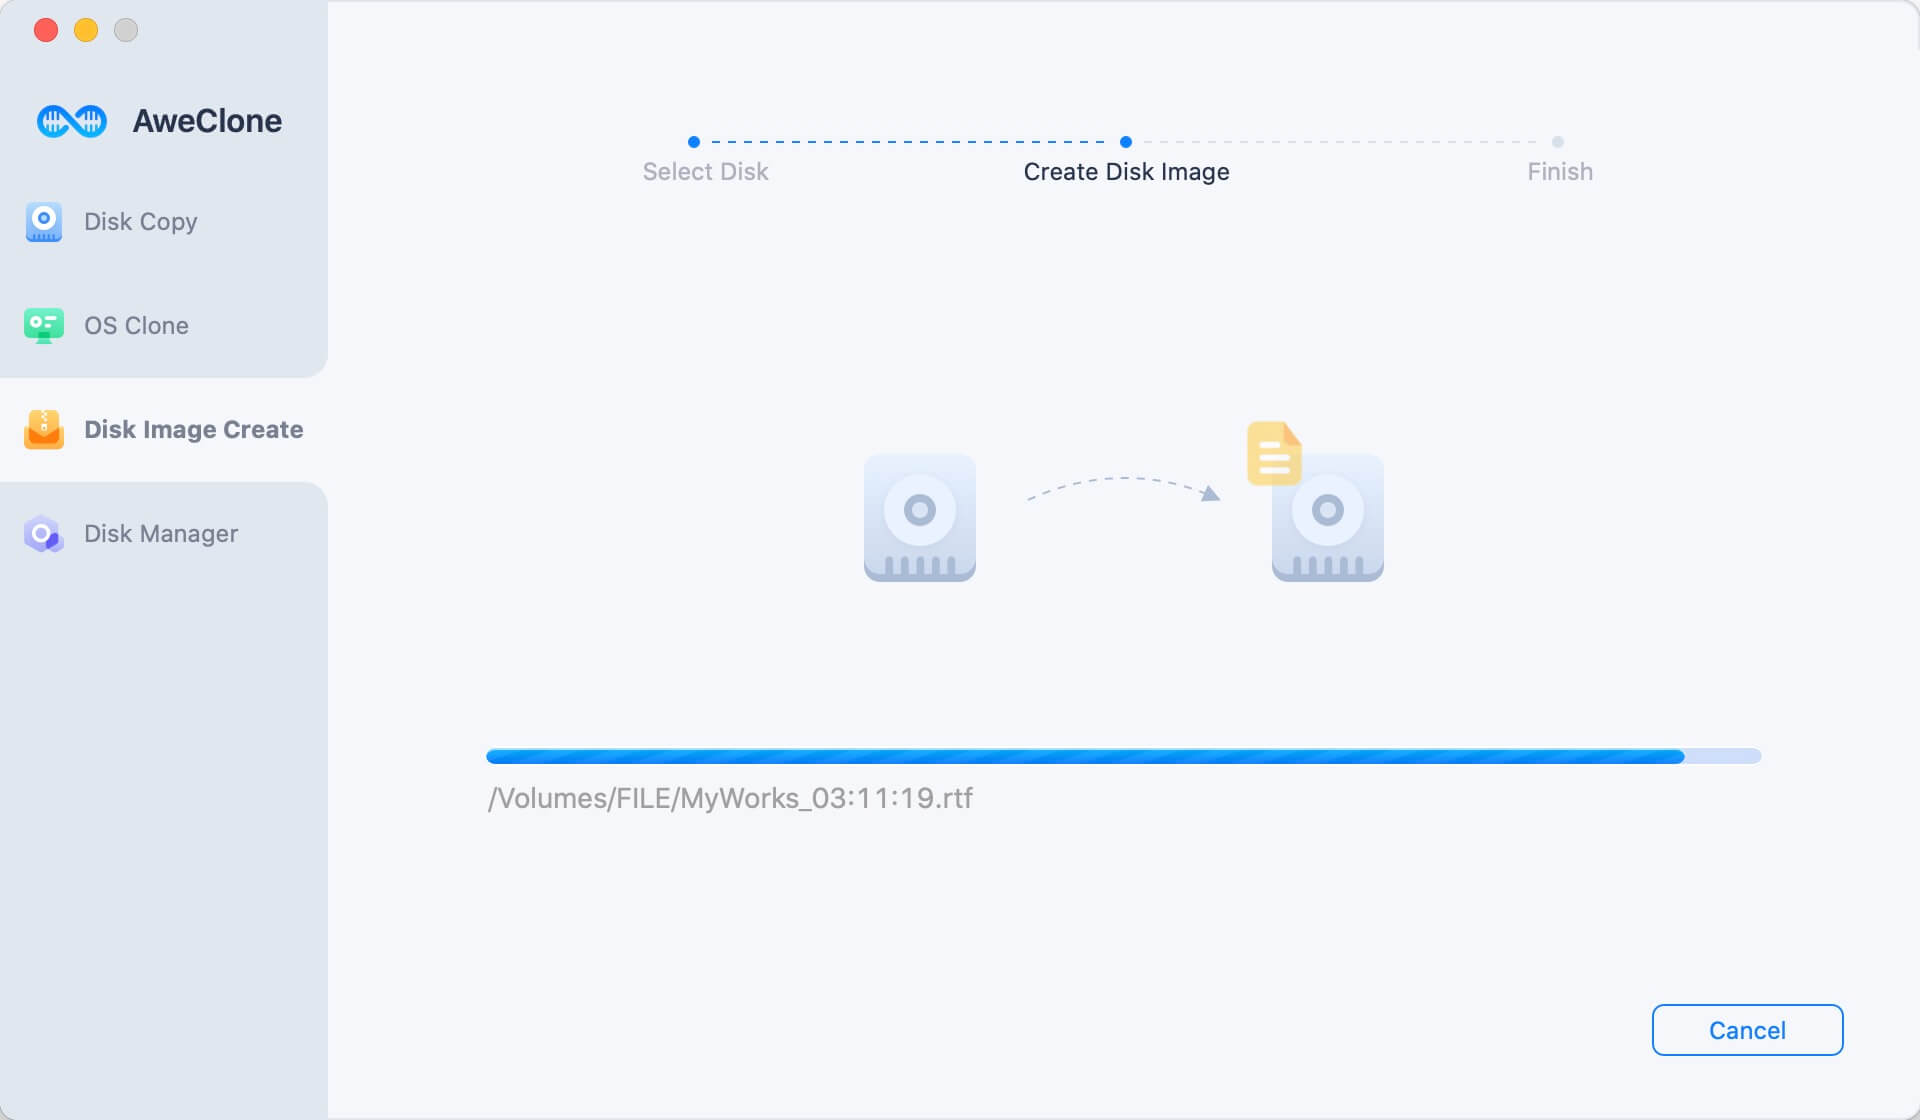
Mode 3: Disk Image Create
Disk Image Create will help you create a disk image of the source drive and save the disk image to the destination drive. You can use the disk image to any Mac or computer. The disk image will be compressed in ZIP or DMG format.
Step 1: Choose the source drive and the destination drive.
First of all, just select the source drive and the destination drive. If you want to the external device as the source drive or destination drive, just connect it with your Mac.

Step 2: Create the disk image of the source drive.
Just click on “Create Image” button, then the software will compress the source disk and create the disk image. The disk image will be saved to the destination drive.
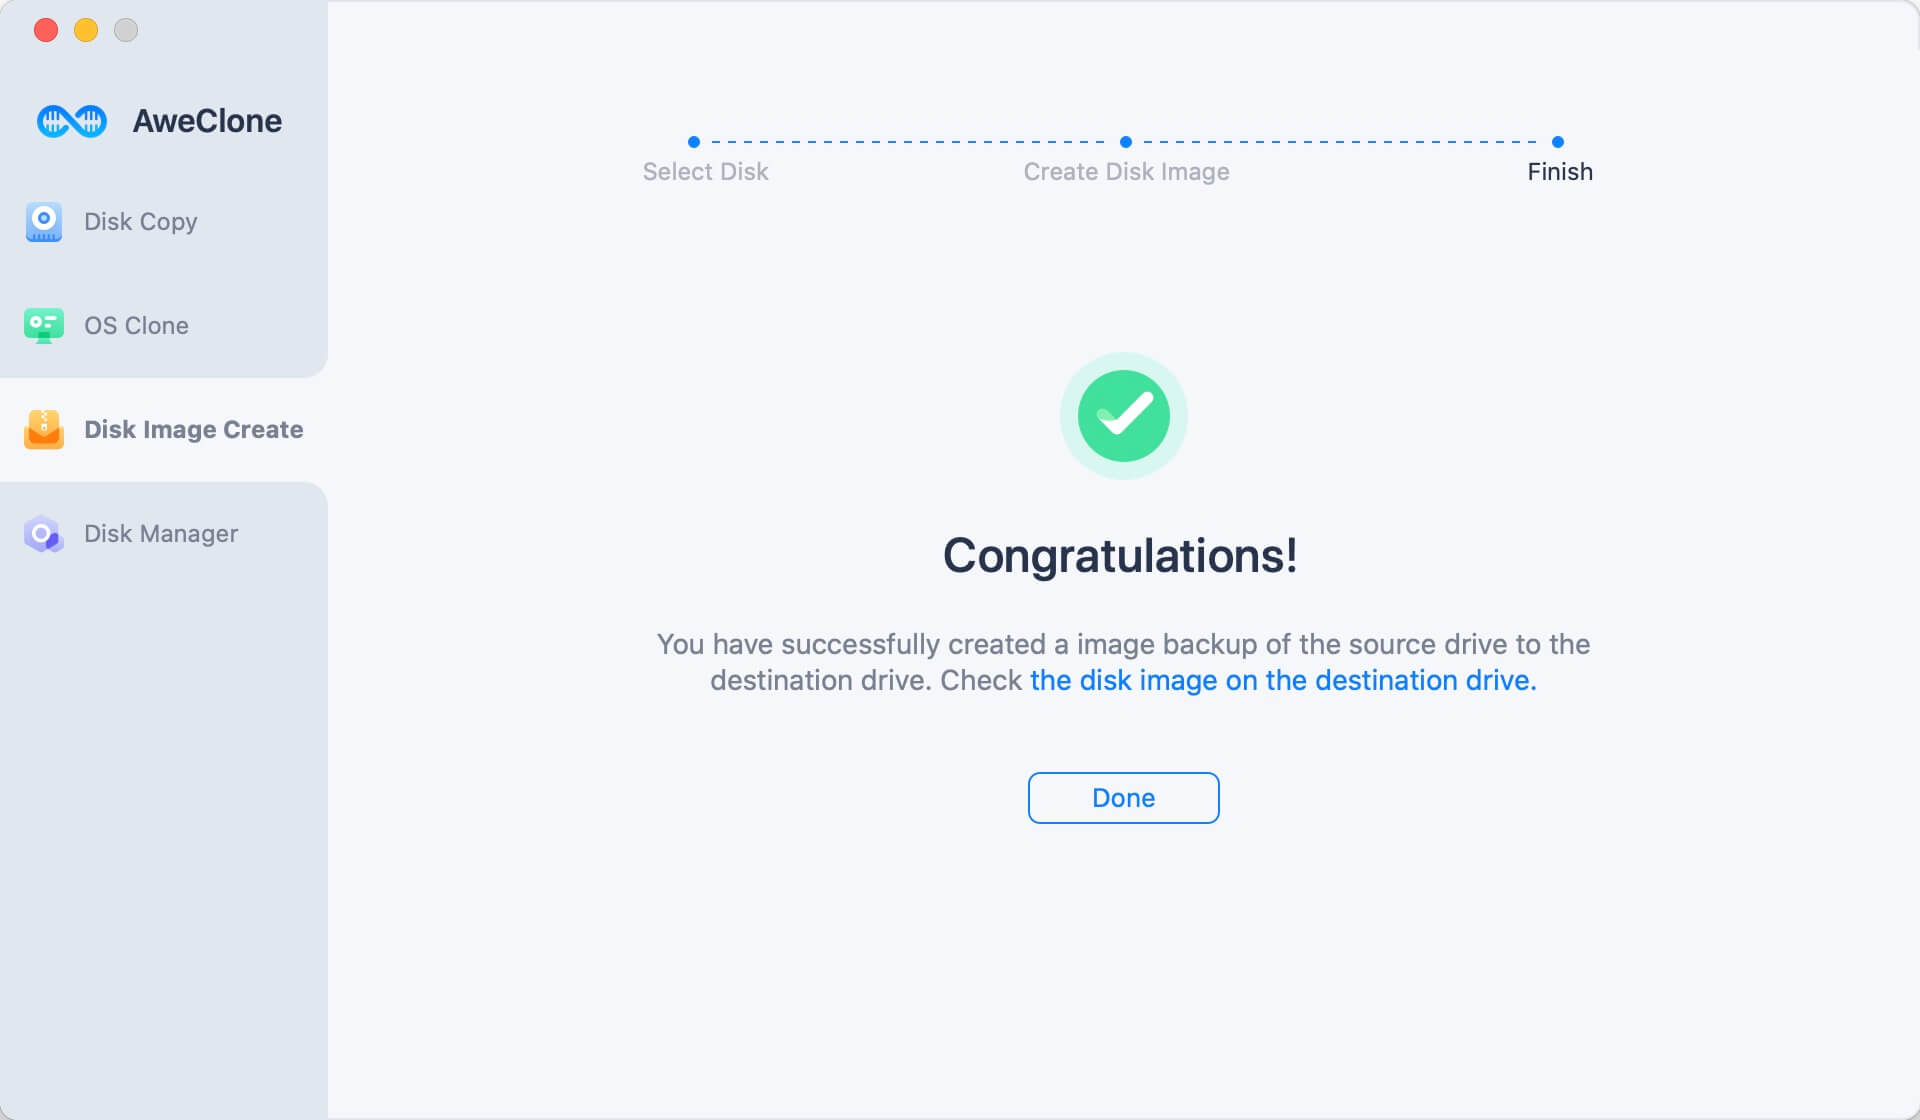
Step 3: Create Image completed
This software will quickly create a disk image of the source drive and save the disk image to the destination drive.
If you have any question or need any help, feel free to contact us: support@magoshare.com. Our support team will reply you as soon as possible.
 Hot Solutions