How to Install Windows 11 on A Mac?

updated on 2022-02-03 to How To
The rearmost Windows11 public release has been available for a while now and the rearmost figure is 22000.318 (21H2). It’s a free upgrade from Windows 10 OS if your device meets the minimal conditions. The stylish part is that you can bypass these conditions and install Windows 11 on any Apple MacBook Pros, MacBook Airs, iMacs, and more running Intel or AMD processor with the mileage called Boot Camp available on numerous Apple products.
We're going achieve this by installing Windows 10 first, and also upgrading to Windows 11. The reason we're taking this path is because Microsoft has set some minimal Windows 11 system conditions in order to upgrade to the rearmost operating system.
There minimal conditions include TPM2.0, UEFI, Secure charge, among other effects like a newer Intel or AMD processor, further RAM, x64, etc. A rule of thumb is if your PC can run Windows 10, it can handle Windows 11. So if you formerly have Windows 10 installed using Boot Camp on your Mac, you can fluently upgrade using Windows 11 ISO, Update Assistant, and Media Creation Tool.
Else, you'll have to go through the following procedure.
Download and Install Windows 10 on your Mac
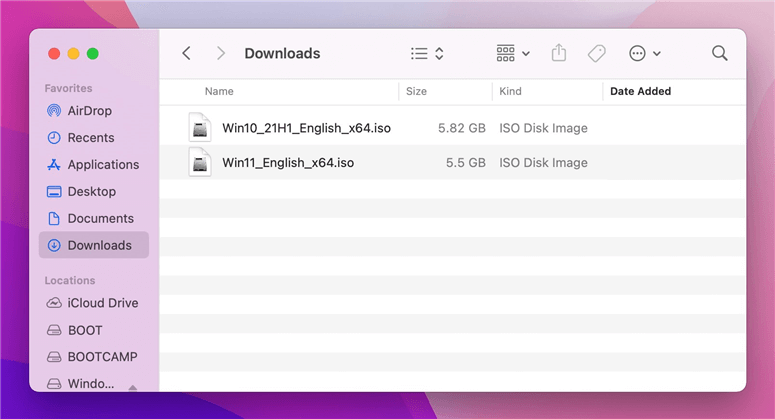
Download Windows 10 ISO
Step 1 Visit Microsoft’s Download Windows 10 Slice Image (ISO Train) runner. OR download the Windows 10 ISO directly from then. Further Windows ISO download styles are then. Download you’re asked language and elect the 64- bit Windows 10 ISO Download.
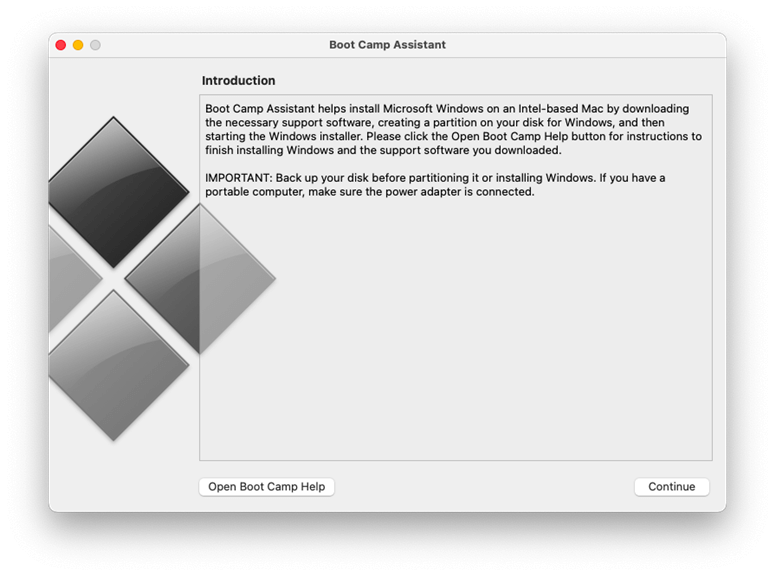
Run Boot Camp Assistant
Step 2 Click on Finder and go to Applications → Utilities → Boot Camp Assistant and click Continue.
Step 3 Set the path to the ISO image in the box by clicking the Choose button, and elect the ISO train downloaded in step 1.
Step 4 Acclimate the Boot Camp partition size by opting the fleck in the middle and moving the Windows partition to the left to set the space for Windows OS. Immaculately, 100 GB is enough. However, a minimum of 30 GB should be assigned, if you have low space.
Step 5 Click on the Install button. The Boot Camp Assistant should set up the Windows partition and copy the necessary Windows lines to get started. However, you may need to enter your admin word to do, if asked.
Your MacBook or iMac will reboot into Windows Setup.
Installing Windows 11
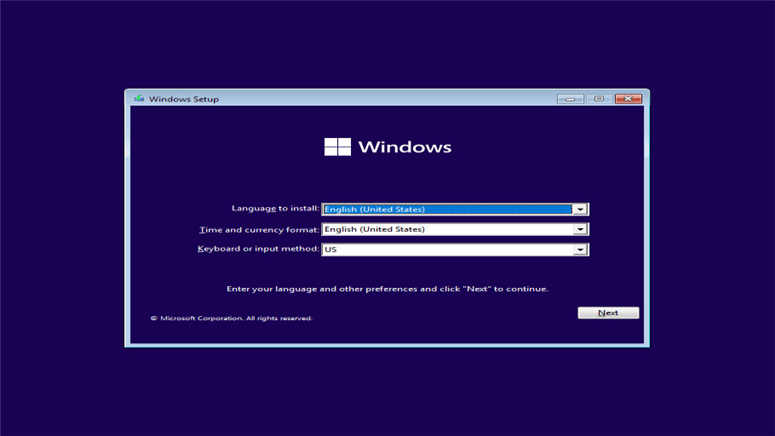
Step 6 upon reboot, you’ll be saluted with a Windows totem followed by the Windows Setup screen.
Step 7 while setting up, elect your asked language, time, and country format and click next. You can also Spark Windows during the setup by entering the Windows 10 product key, OR, click I do not have a product key at the bottom of the box to spark it latterly.
Step 8 Continue with the setup and choose your preferred Windows 10 Edition. Immaculately, Windows 10 Home is fine.
Step 9 Follow the on- screen instructions until the setup is complete. Step 10 upon reboot, you should now enter the Windows OS welcome screen.
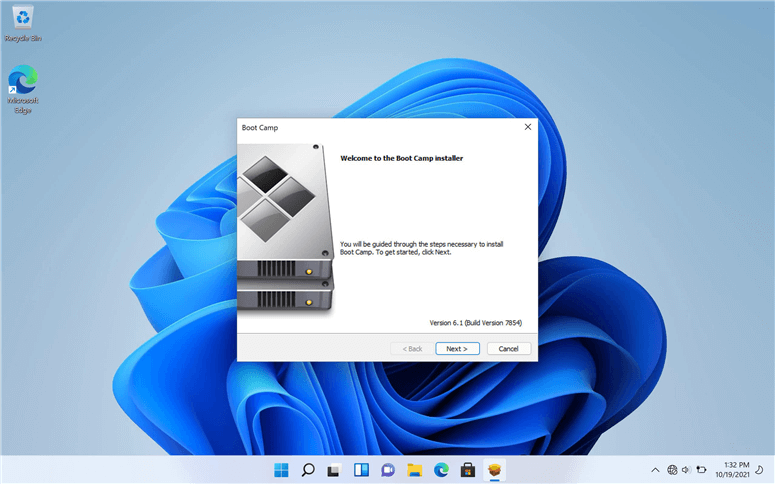
Step 11 you should see a Hello to Boot Camp installer box. Accept the terms and click Install. This will set up the Charge system will hail you with mac os and Windows OS partitions. Make sure the Restart System box is checked. Reboot system.
Alternate system
Step 1 Download Windows 11 Update Assistant officially from Microsoft then. OR then the direct download link. Alternate Direct download link.
Step 2 Download ultimate Universal MediaCreationTool wrapper from Github by Aveyo. Get the zip from the top right corner where it says “Code”> “Download zip”. Then the Direct download link. Then the old Mirror link and direct download link.
Step 3 ExtractMediaCreationTool.zip file to get theMediaCreationTool.bat and “Bypass 11”folder.However, you should get”Skip_TPM_Check_on_Dynamic_Update_v2, If you're using the oldversions.cmd” lines.
Step 4 Go to MTC and run all lines named “No_11_Setup_Checks”. Or if you're running long-lived performances, runSkip_TPM_Check_on_Dynamic_Update_v2. cmd train for as long the installation process is complete. This will bypass TPM conditions, Secure Charge, and all Windows 11 checks.
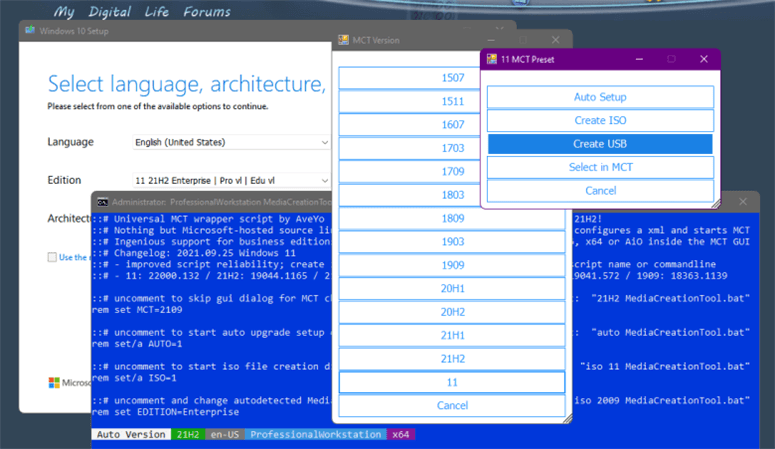
Step 5 RunMediaCreationToolbat.bat.
Step 6 Select 11 as the MCT account. If you want to produce a bootable Windows 11 USB also choose “Produce USB” or download an ISO by opting “Produce ISO” and produce it manually via Rufus.
Step 7 Click Yes when egged by Windows to allow Power Shell to open an app. Windows media creation tool will launch. It may say “Windows 10 setup”, but it’s Windows 11.
Step 8 The Media Creation Tool will now take several tries downloading and creating bootable Windows 11 USB Flash drive or an ISO train.
Step 9 if you earlier have a bootable Windows 11 USB drive, mount the installation and double clickSetup.exe.
Step 10 Charge from the installation media or ISO file you created. You should be suitable to install Windows 11, indeed though your Apple device does not support TPM.
Hot Solutions:
Recover deleted, formatted or lost data on Windows 11 >>