How to Back up Your M2 Mac or Clone Hard Drive?

updated on 2022-05-20 to Mac Disk Clone
Summary: In this article, we will introduce an easy way to back up M2 chip Mac data using Time Machine and use AweClone for Mac to help you clone hard drive on M2 chip Mac or create a bootable clone backup for M2 chip Mac.
Quick Navigation:
- 1. Why should you backup your M2 Mac?
- 2. How to prepare your external drive?
- 3. How to backup your Mac via Time Machine?
- 4. Clone Hard Drive on M2 Mac Using AweClone for Mac
You can't deny the importance of backing up your data. You'd have stored many important files and documents on your new M2 Mac device (such as MacBook Air, MacBook Pro). Unfortunately, an unexpected disaster can take data away from the M2 Mac device, and you might lose your data.
Facing these kinds of repercussions won't be justified when you have the opportunity to backup your data. Using a backup method, you can store your data in an external hard drive. You can retrieve the data with minimal effort when something causes data loss on your Mac.
There are many backup methods, and why would you go and roam around when you've got a built-in tool in the shape of a Time Machine.
It is the perfect tool for Mac users if they are to back up the M2 Mac data. Moreover, backing up the data via Time Machine is probably easier than any other tool; guess what?
We're going to show you how to backup your data on an M2 Mac with the help of Time Machine.
Why should you backup your M2 Mac?
Backing to your Mac is considered a pretty good strategy as it allows you to protect your data from getting deleted.
Countless reasons urge you to backup your device. Some of the most prominent reasons for backing up your device are documented below.
- Backups allow you to protect your data from unexpected data loss scenarios as you won't be able to get back your data without backing it up. Moreover, if your hard drive gets damaged, you'll only be able to restore your data if you've created a backup of your data.
- You might use backups to retrieve your data after installing macOS.
- Suppose a catastrophic disk failure occurs, and you lose your data. In that case, backups will rescue you by recovering your lost data.
- You can restore historical copies of files and documents via Backups.
Storing your Backups
When you opt to use Time Machine to back up your hard drive, you need to ensure that the hard drive in which you're creating the backup has sufficient storage space.
Designating a main hard drive partition to back up the data wouldn't be a wise idea. Your main objective is to protect your data from unexpected data loss. Creating the backup on the same device where you stored original data won't fulfill your objective.
Hence, you should opt for a USB-attached hard drive. You'll only need to attach the hard drive to your PC when you tend to create the backup. Once you're done with backing your data, you can disconnect the USB hard drive afterward.
However, suppose you want to run the automatic backup. In that case, you'll always need to connect the USB hard drive as it will allow the USB hard drive to back up the data automatically.
How to prepare your external drive?
If you want to backup your M2 Mac data on an external hard drive, you'll need to prepare the external drive in the first place. Importantly, you'll need to ensure that the hard drive has enough space to backup any data. Moreover, you'll also need to ensure that the format of the hard drive is correct.
You can follow the guide below to format the hard drive to make it Mac OS supported format hard drive.
Step 1: To begin with, you'll need to connect the external hard drive to Mac M2.
Step 2: Navigate to Launchpad and Disk Utility. Next, select your external hard drive from the main interface.
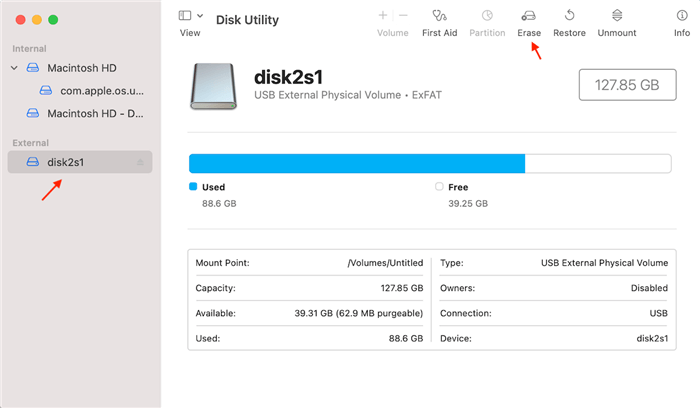
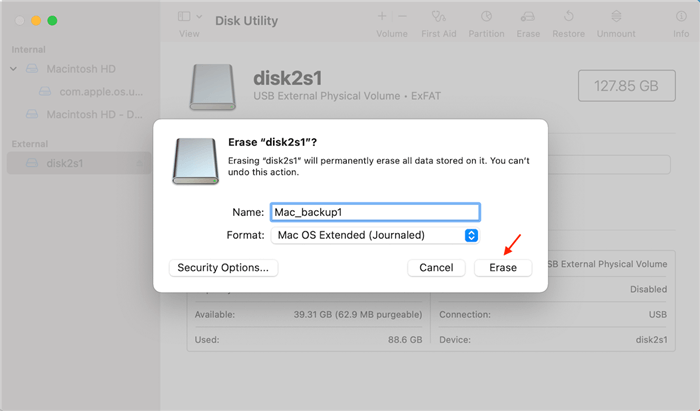
Step 3: After selecting the Erase button, you'll need to type the name of your drive and choose the format. Hence, you better of selecting Mac OS Extended format.
Next, you'll need to tap the Erase icon to confirm the action, and when it gets completed, you'll need to hit the Done icon.
How to backup your Mac via Time Machine?
After ensuring that the external hard drive has sufficient storage and supports macOS, you'll need to start backing up M2 through Time Machine.
Here's the step-by-step guide to backup your data.
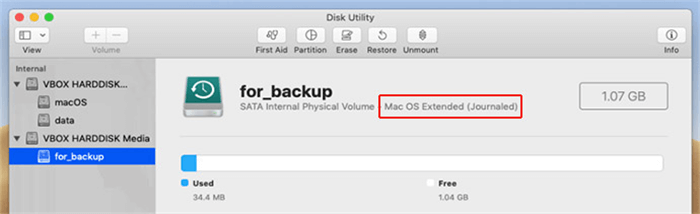
Step 1: Connect the external hard drive to your Mac. You can opt for the APFS file system for Time Machine backups. Moreover, you've got the luxury of using Xsan formatted disks, Mac OS Extended, and Mac OS Extended format.
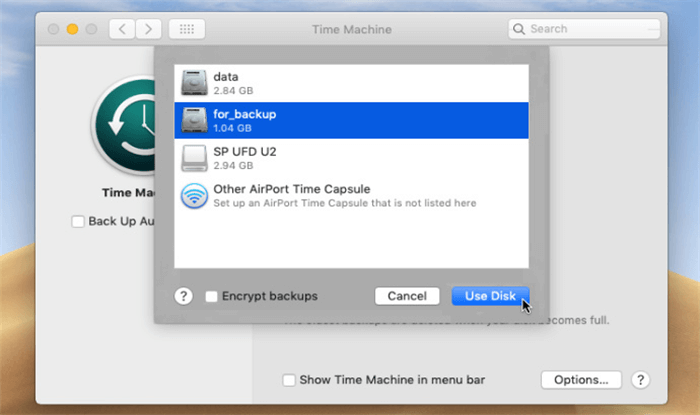
Step 2: Once you connect the storage device to Mac, it will ask you if you want to use the hard drive to back up your data with Time Machine. You're recommended to select to encrypt your backup. Next, you'll need to tap Use as Backup Disk.
Suppose your Mac doesn't recognize your hard drive automatically. In that case, you can navigate to Time Machine preferences and connect the disk manually.
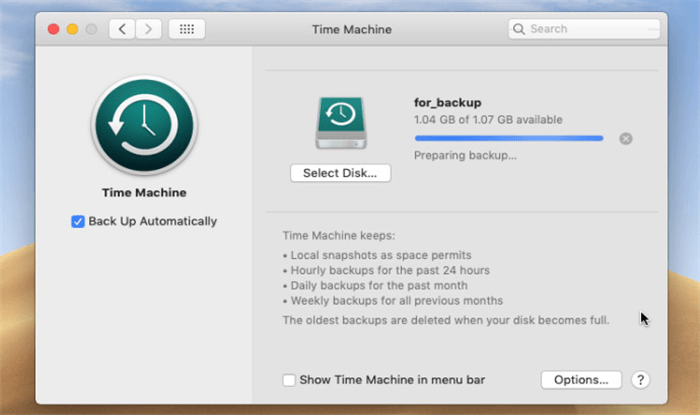
Step 3: After selecting the disk, Time Machine will initiate creating a backup. The process might take some time, depending on how many files you will back up.
Hence, it would help if you were patient during this process as it might take longer. Once you're done with it, you'll be able to back up your essential files on the external hard drive.
Now, whatever happens to your original data on M 2 Mac, you can restore the data taking the help of that external hard drive where you stored the information.
Clone Hard Drive on M2 Mac Using AweClone for Mac
If you want to clone hard drive on M2 chip Mac, just try disk cloning application - such as AweClone for Mac. AweClone for Mac is a powerful, safe and easy-to-use disk cloning application which is able to clone hard drive on M1, M2, T1, T2 or Intel-based Macs.
AweClone for Mac
- Securely clone HDD, SSD or external storage device on M2 Mac.
- Create a bootable clone backup for M2 Mac.
- Create disk image backup on M2 Mac.
- 100% safe and very easy-to-use.


AweClone for Mac is the best way to clone hard drive on M2 Mac or back up startup disk data to an external hard drive. It offers three modes to help you clone hard drive on M2 Mac.
Mode 1. Copy hard drive data on M2 Mac.
This mode will help you copy data from the source drive to the destination drive - an easy way to back up your M2 Mac data to an external device.
Step 1. Open AweClone for Mac from Launchpad, then you will see the first disk cloning mode - Disk Copy. Select the source drive and the destination drive.
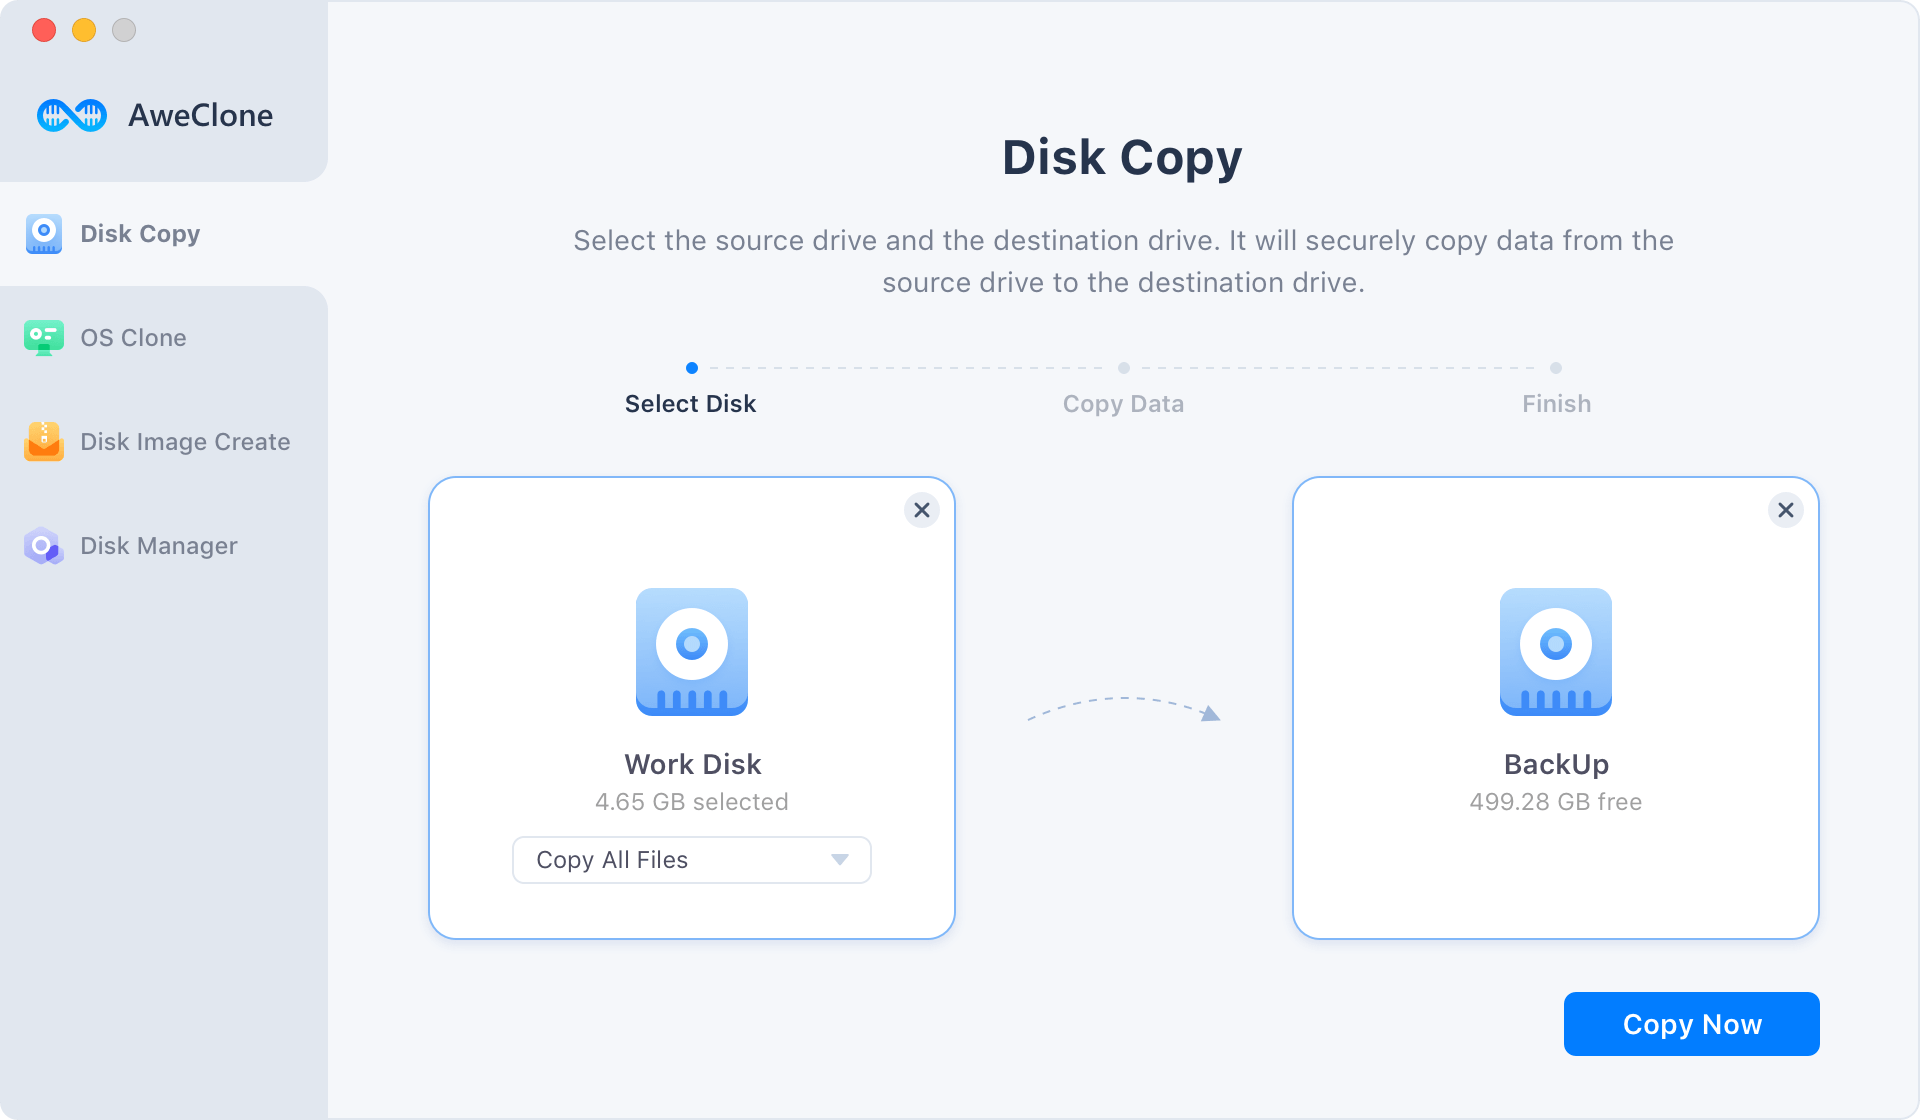
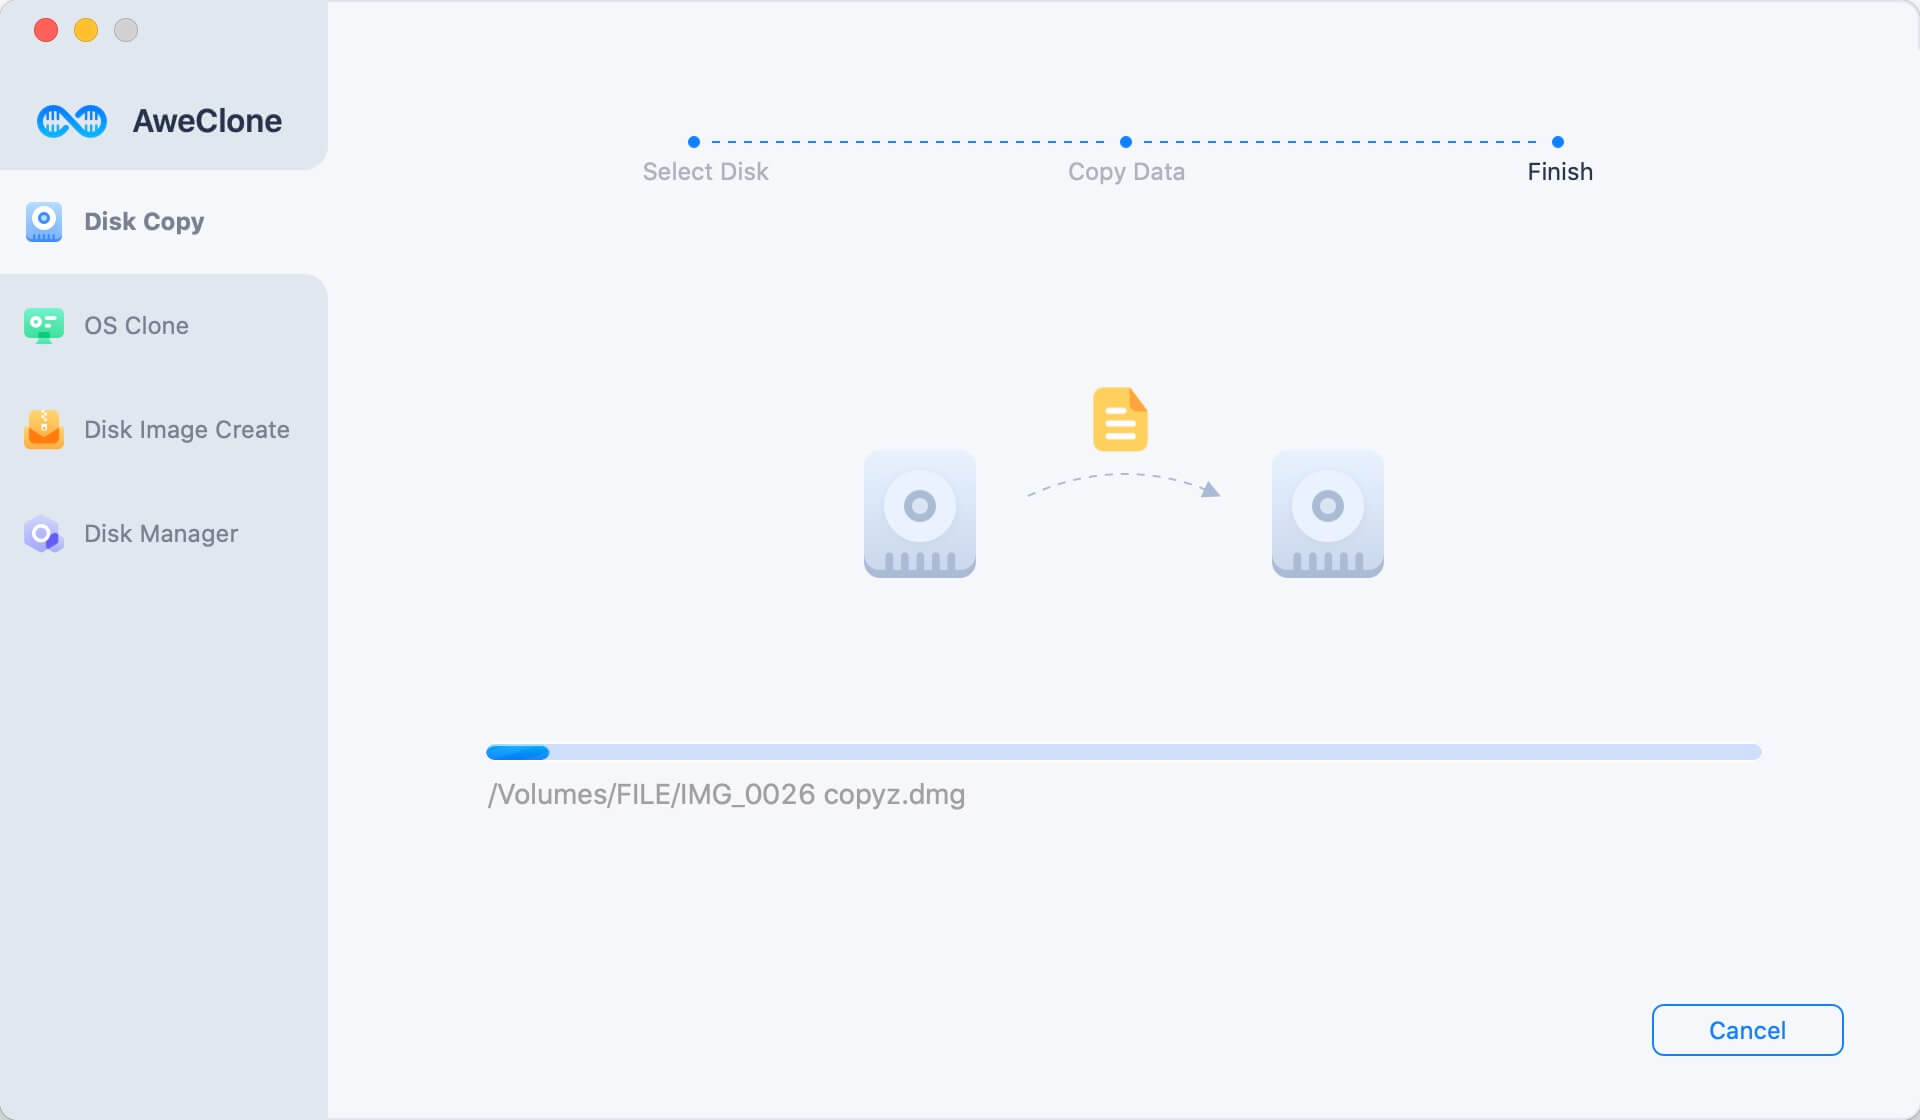
Step 2. Click on Copy Now button to quickly copy data from the source drive to the destination drive. Once the process gets finished, you can check the backup data on the destination drive.
Mode 2. Create a bootable clone backup for M2 Mac.
OS Clone mode can help you clone all data from the startup disk to the external hard drive. Just choose this mode to create a bootable clone backup for M2 Mac.
Step 1. Choose disk cloning mode - OS Clone. Connect an external hard drive to your M2 Mac and select the external hard drive as the destination drive.
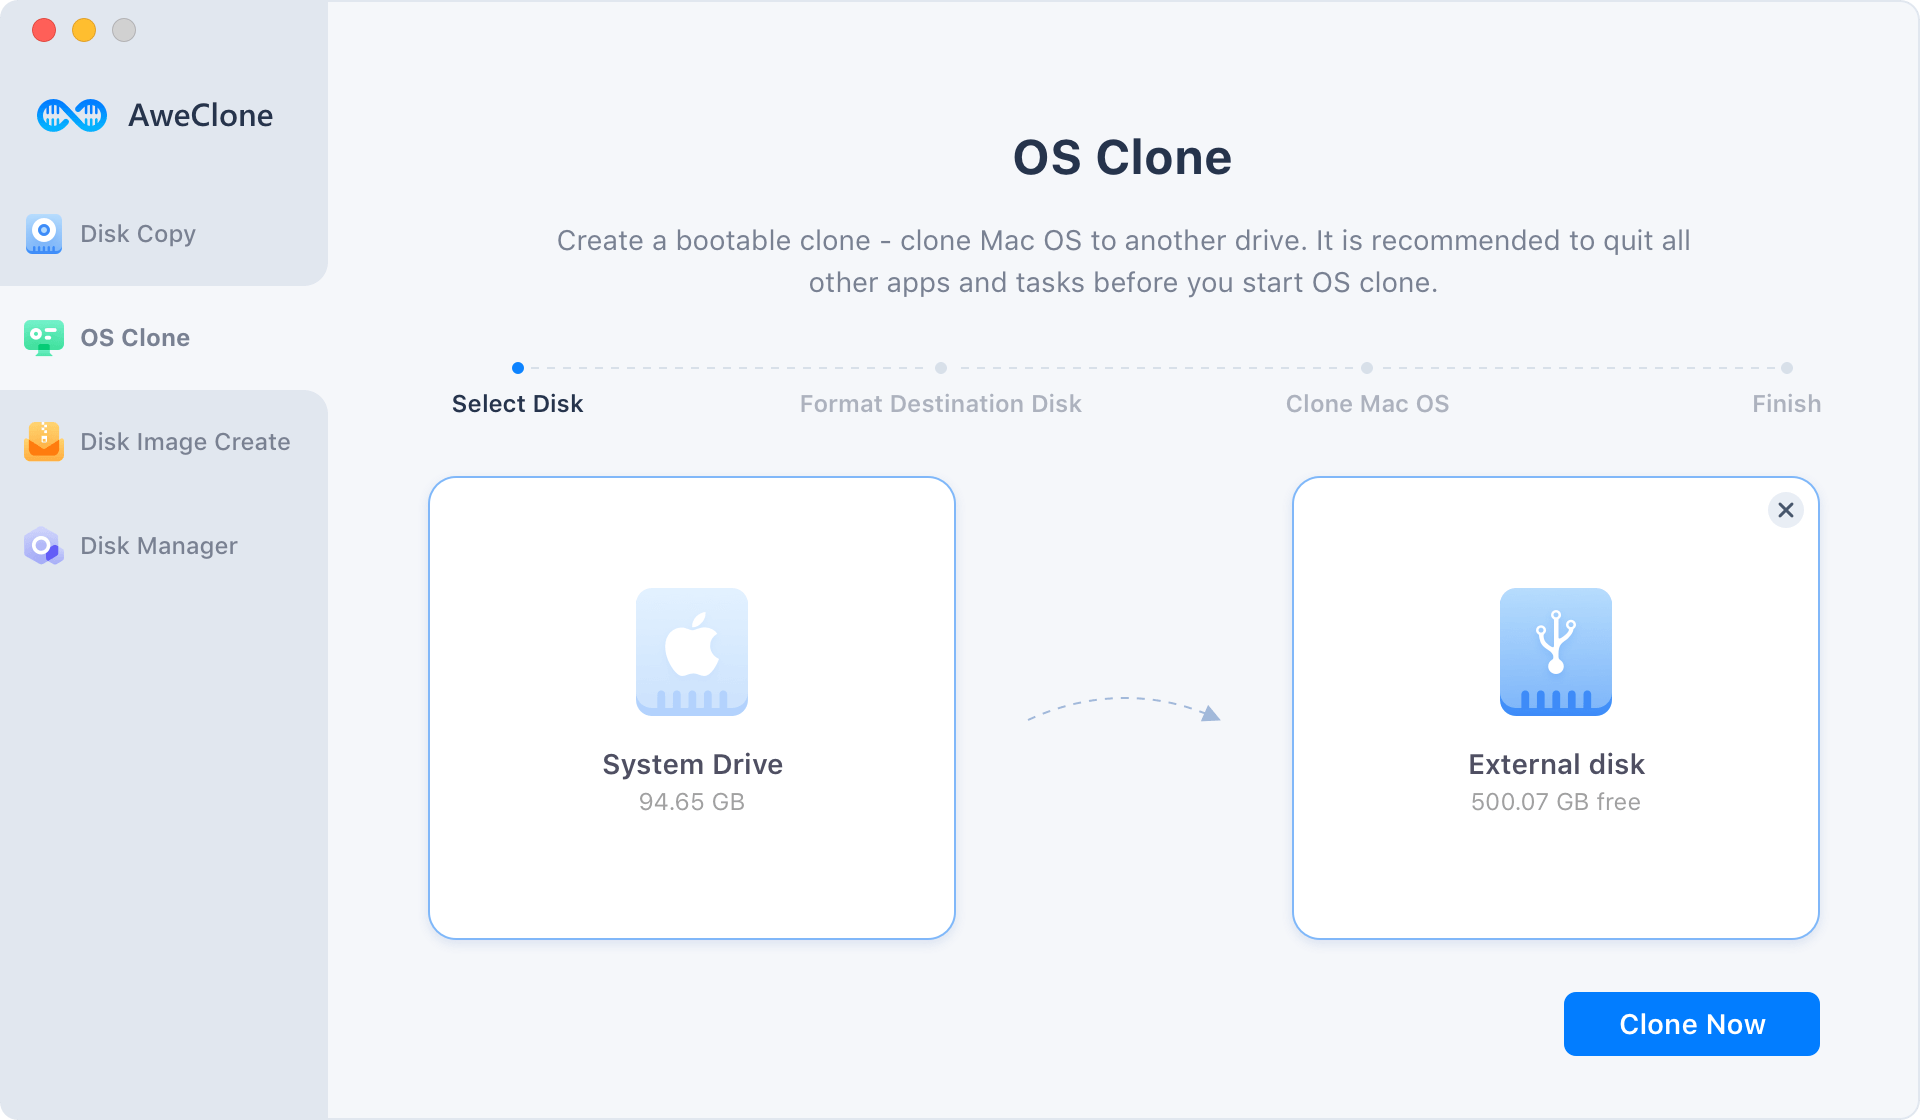
Step 2. Click on Clone Now button to clone all data including the macOS system, apps, settings, user files from the startup disk to the external hard drive.
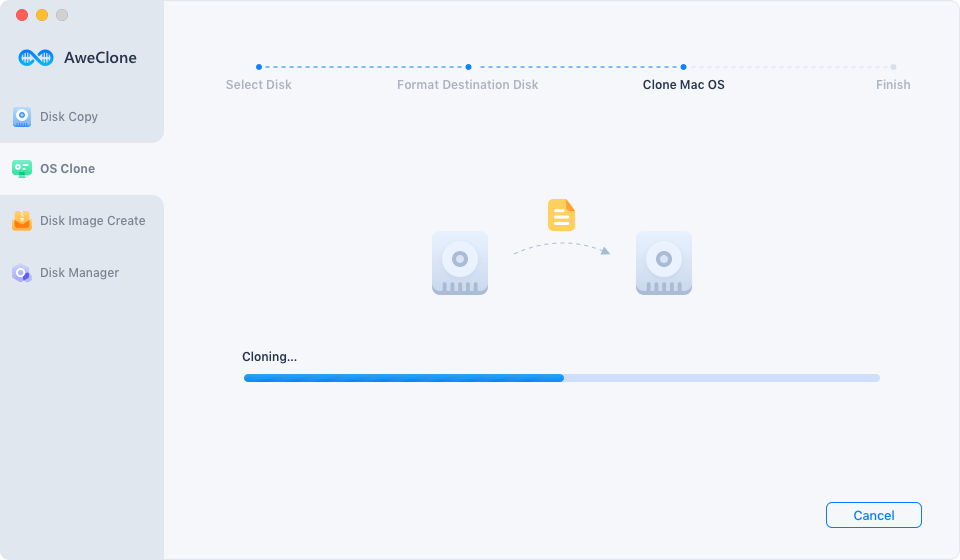
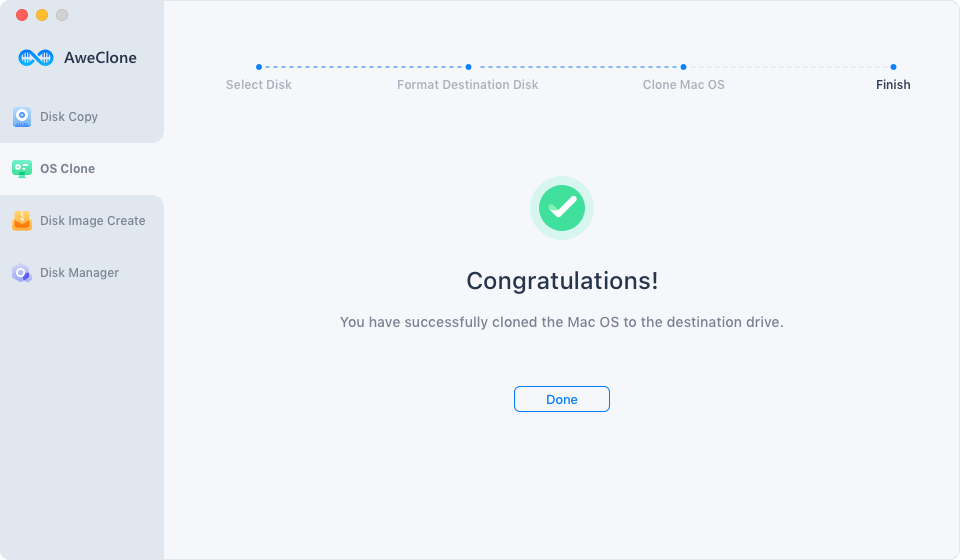
Once the process gets finished, you can use the external hard drive as the startup disk on any Mac.
Mode 3. Create disk image backup for M2 Mac.
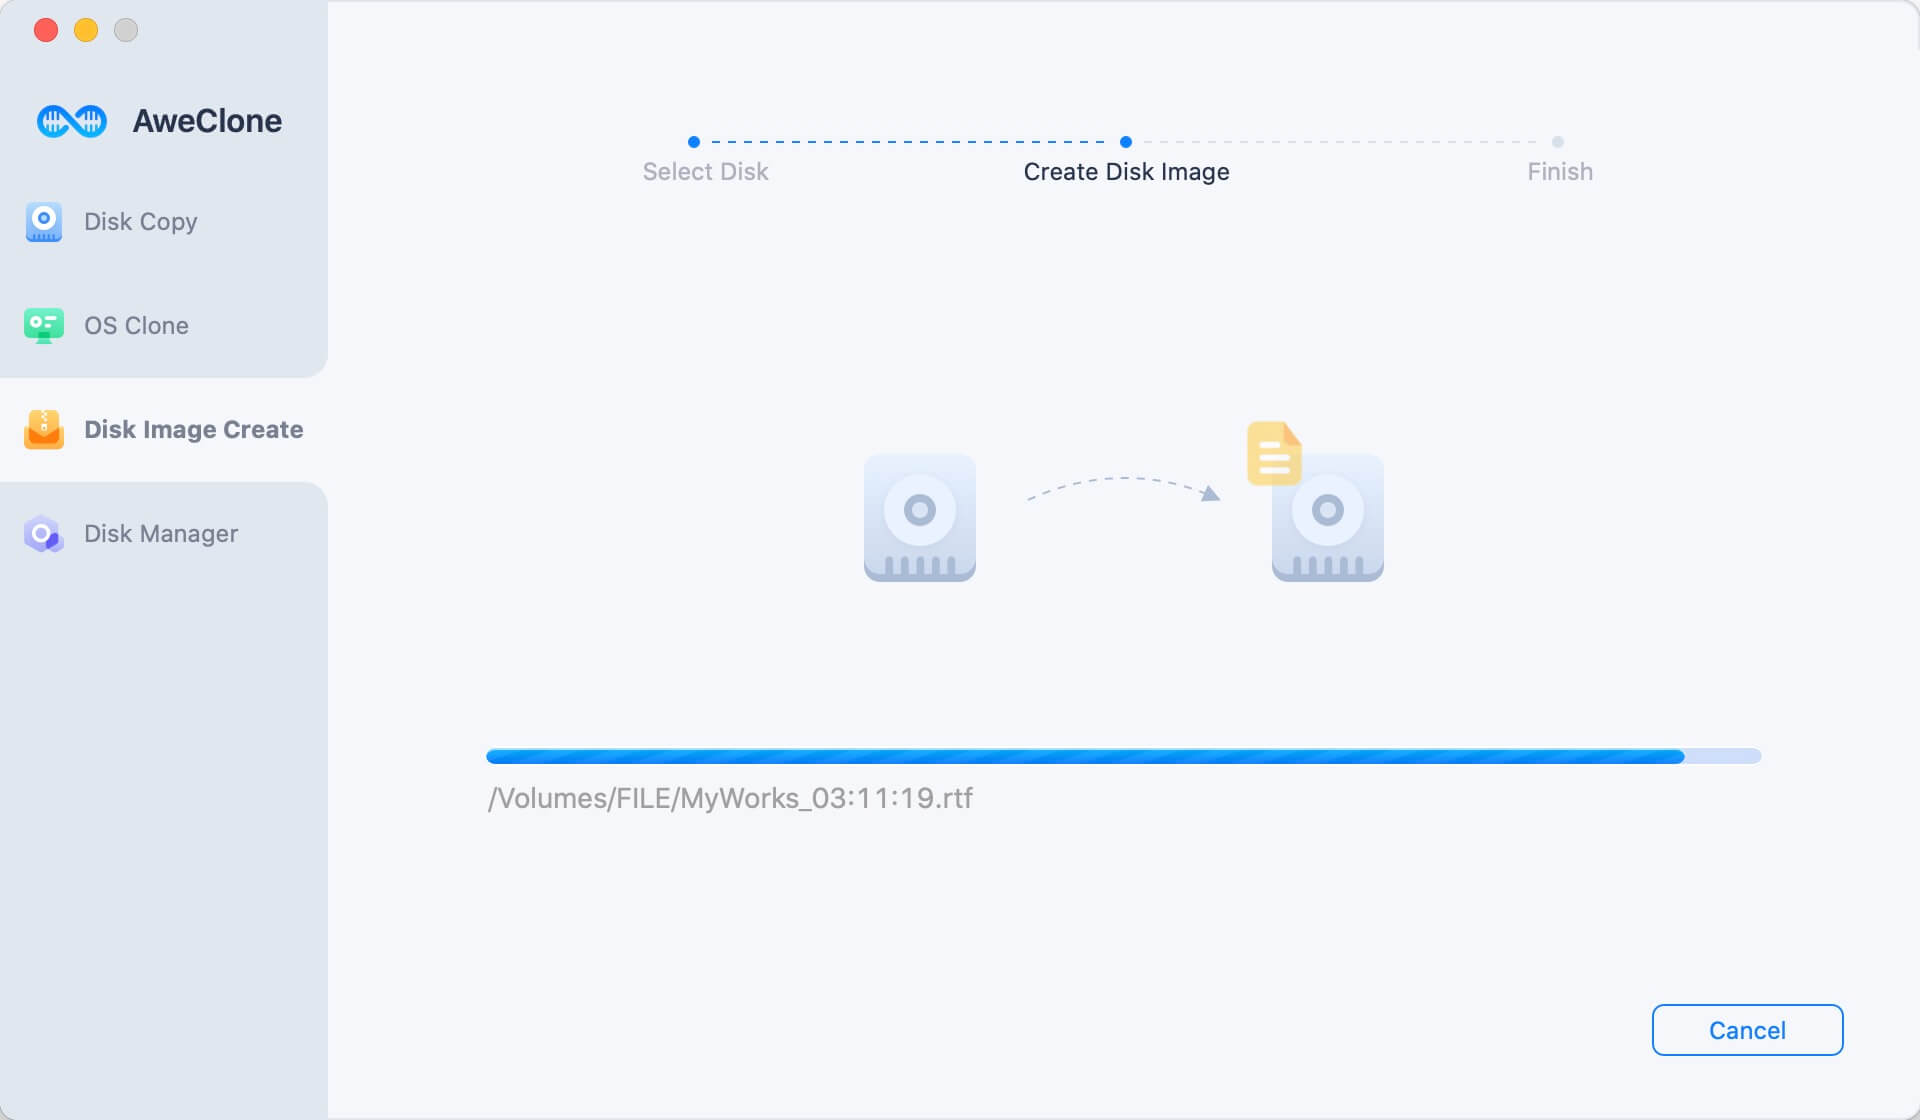
This mode can help you create a disk image of any disk and save it to the destination drive.
Step 1. Choose disk cloning mode - Disk Image Create. Select the source drive and the destination drive.

Step 2. Click on Create Now button to securely create a disk image of the source drive and save it to the destination drive.
Conclusion
Failure to backup your M2 Mac device can cause data, and you won't be able to get your data back in this way. You never know when unexpected crises might affect your Mac data.
Sometimes, Mac's internal hard drive gets damaged, and you may face the issue we're discussing. However, opting for Time Machine will be the best option if you're using an M2 Mac and want to backup your data.
The best thing about backing up your M2 Mac via Time Machine is that you don't have to install a tool to serve your purpose. Instead, Time Machine comes pre-installed, and all you need to do is connect the hard drive to M2 Mac to backup your data.
Of course, AweClone for Mac is another easy way to back up your M2 Mac, especially, when you need to create a bootable clone backup for your M2 Mac.